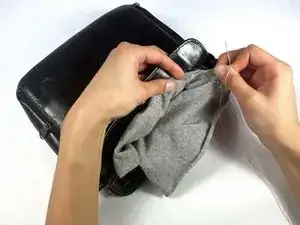
Introduction
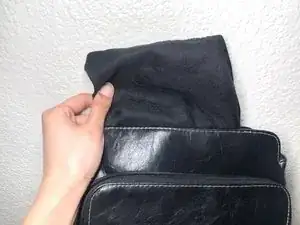
This guide outlines the basic steps to replace rectangular bag lining with a newly sewn lining, whether because the original lining was damaged or because you want a different fabric for the lining. It requires basic sewing skills to complete but will allow you to continue using a bag to its fullest with the lining like new again.
Tools
Parts
-
-
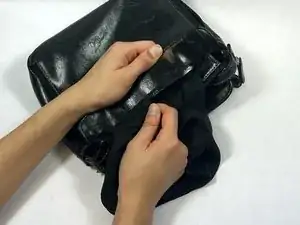
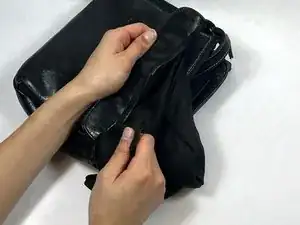
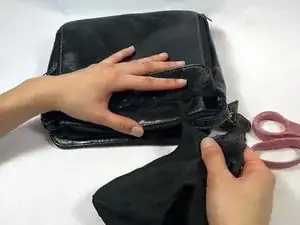
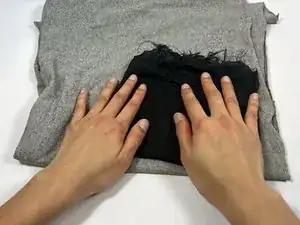
Assess the old bag lining you will be replacing.
-
Consider color, material, and amount of fabric needed for the new lining.
-
-
-
Lay out old bag lining on fabric and measure out the size of the new bag lining, adding an extra 2 cm on each side.
-
-
-
Fold new fabric in half to create one closed end for the bag lining.
-
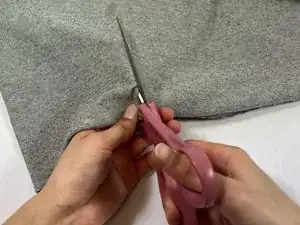
Cut out bag lining based on measurements from previous step.
-
-
-
Stitch the two sides of fabric adjacent to the folded side to create a rectangle with one opening.
-
Use stitches small and tight enough to ensure new lining remains intact.
-
Finish stitching 2 cm from the end of the open side.
-
-
-
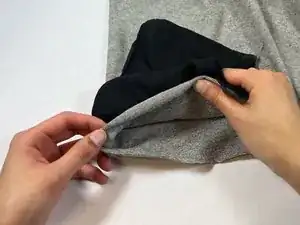
Fold over extra 2 cm from the opening of the new bag lining outward to hide the raw edge of the fabric.
-
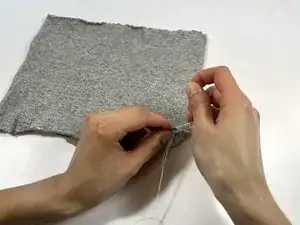
With a needle suitable for sewing through your bag material, attach the bag lining with a straight running stitch around the mouth of the bag.
-
