Introduction
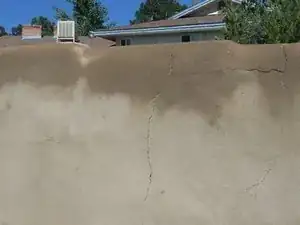
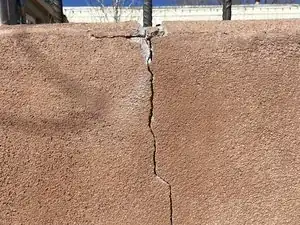
Use this guide to repair cracks or chipping on your cement plastered walls.
Cracks can occur for several reasons; however, the two most common are weather erosion and aging materials. Upkeep can be time consuming, but with proper maintenance this will not have to be done often. Small cracks in your wall can quickly become larger with moisture and freezing temperatures. Adding a stucco finish to your cement wall is not necessary but is often desired for its aesthetic appeal.
This guide features the operating of power tools and basic knowledge of using cement related products. Please be aware that if not used correctly or cautiously, cement products can be dangerous. Information on cement burns can be found here.
This repair can be done in short bursts depending on the size the area you want to fix. On average, a few cracks can be fixed over the course of three days, taking roughly an hour each day. Drying time varies depending on product but averages 48 hours.
Before beginning, make sure to read through the guide to understand what will be required of you for this repair.
Tools
-
-
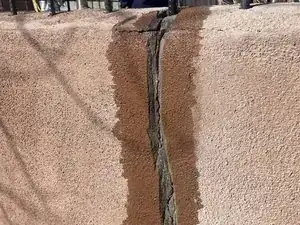
Remove the loose pieces of the wall in and around the crack.
-
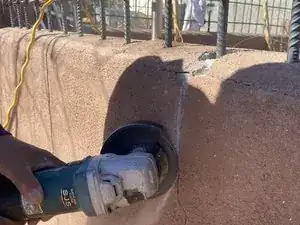
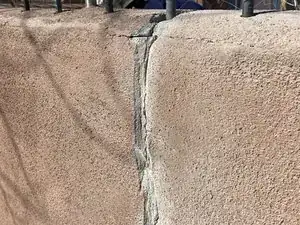
Widen the crack to about an inch thick with an automatic angled concrete grinder.
-
-
-
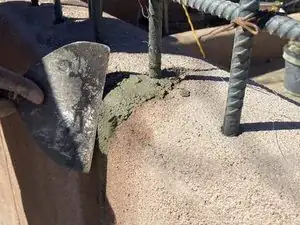
Follow the instructions on the cement patcher mix until the product is a paste consistency.
-
Soak a sponge in water and wet the now larger crack. Be sure to get water into the entire crack so that the area is moist.
-
Use a trowel to fill the mix into the crevices.
-
-
-
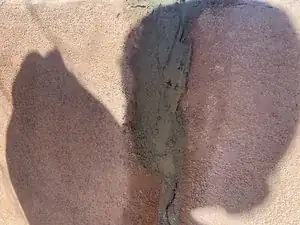
Allow the patcher mix to dry.
-
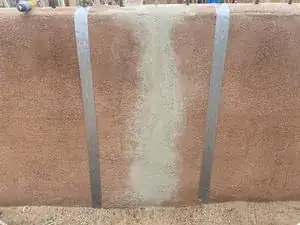
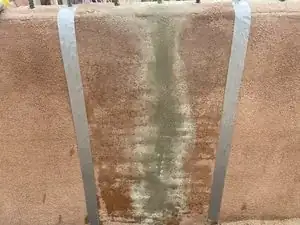
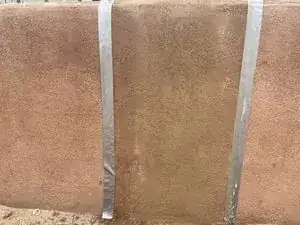
Place tape in straight lines parallel to the edges of your dry plastered area.
-
-
-
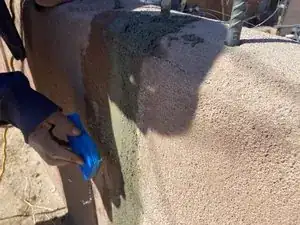
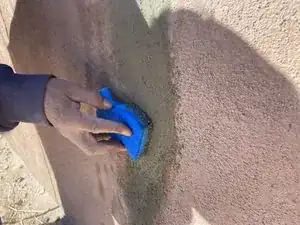
Wet the sponge and begin slightly tapping the newly plastered area.
-
Moisten the area until the entire boxed in area is damp.
-
-
-
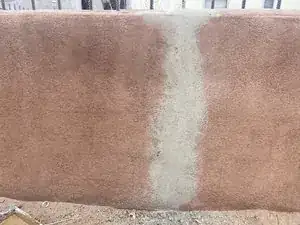
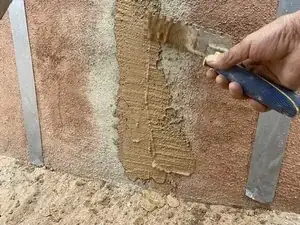
Add stucco finish with the tile trowel.
-
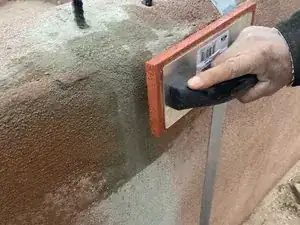
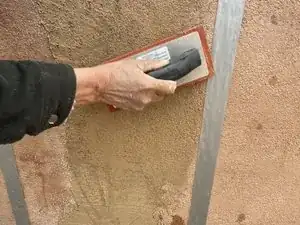
Once the cemented area is covered with the stucco finish, take the foam plastering trowel and spread stucco finish to the edges of the tape.
-
Blend the finish into the surrounding tape.
-
-
-
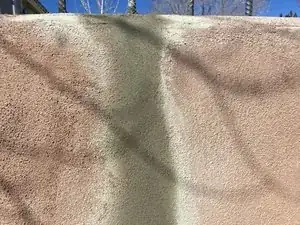
Remove the tape and blend areas that may not match.
-
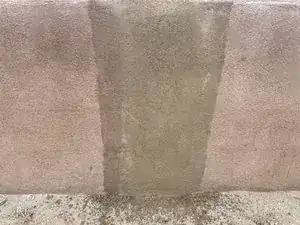
Allow time for the finish to dry and the wall will be restored to crack-free.
-
Enjoy your repaired concrete fence wall. These steps can also be used on any other concrete surfaces that have cracks.

Amazing work
luv verma -