Introduction
Text books face a lot of wear and tear and by the end of the semester their covers can be ragged. This simple and cheap fix will help those covers look like new again and prevent further damage.
Tools
-
-
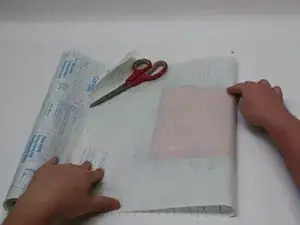
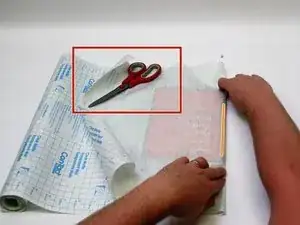
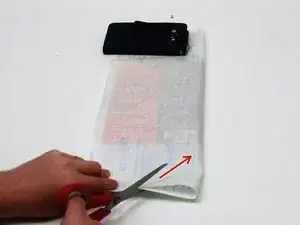
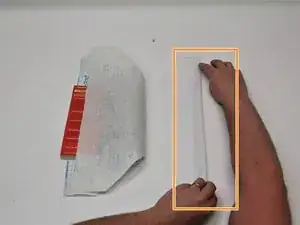
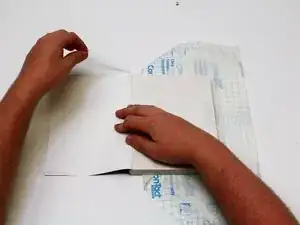
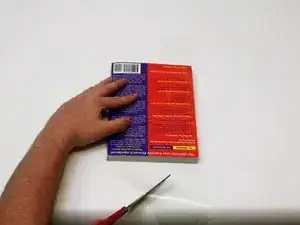
Place a paperweight on the side of the folded paper to prevent curling. Or even the scissors you're using (as shown) to hold down the corner of the paper.
-
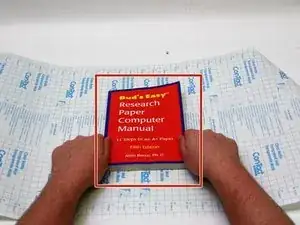
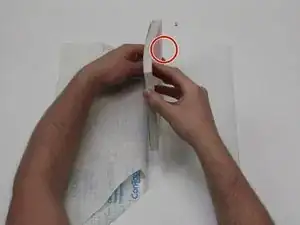
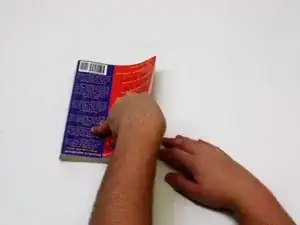
Flatten the edge of the ConTact Paper along the spine of your book.
-
-
-
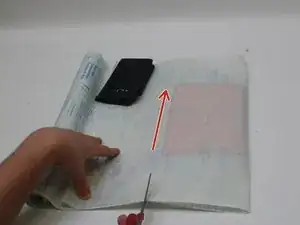
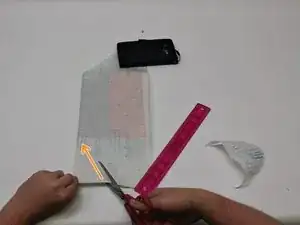
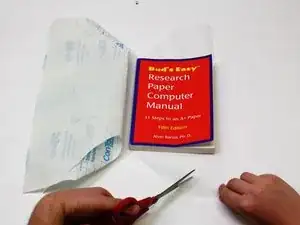
Cut the ConTact Paper from the roll, keeping to the length measured to cover your entire book.
-
-
-
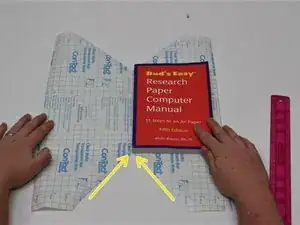
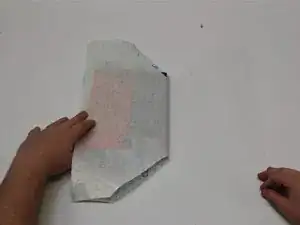
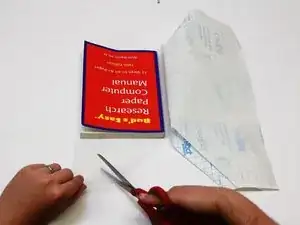
Once the extra ConTact Paper is discarded, cut the ConTact Paper diagonally towards the spine of your book.
-
Repeat this cut on the other side of the spine.
-
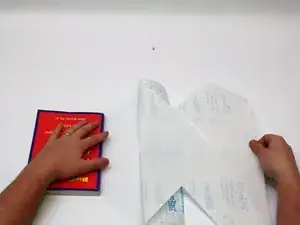
Your finished cut should have a 'v' shape pointing towards the spine of the book
-
-
-
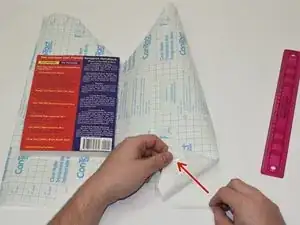
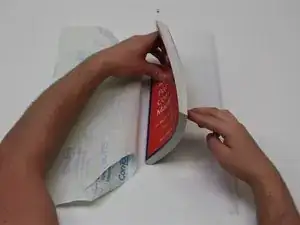
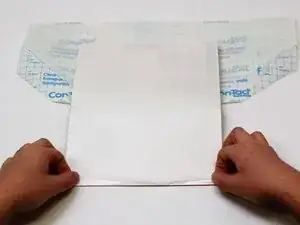
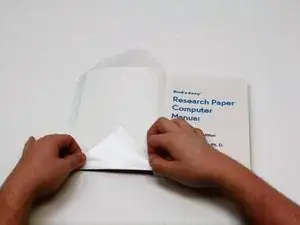
With the cover of your book laying flat against the left side of the paper, peel back the right half of the paper from the laminate film.
-
Fold the edge of the laminate film onto the table to prevent sliding and bubbles.
-
-
-
Place the top edge of your book to the top edge of the center of the laminate film.
-
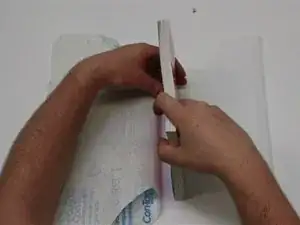
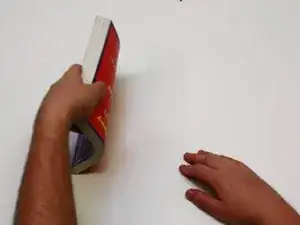
Using a rolling motion, slowly stick the rest of the spine to the laminate.
-
Using the same motion, slowly roll one side of the textbook over the exposed film.
-
-
-
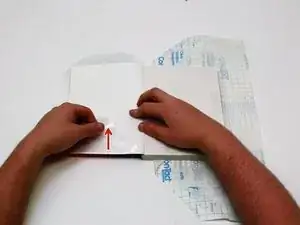
Fold the edges onto the inside cover of the textbook. Start with the top of the book cover, folding the vertical edge of the book last.
-
-
-
Remove the rest of the paper from the laminate film.
-
Repeat motions from step 7 and slowly roll your book cover onto the laminate film.
-
-
-
Repeat steps 8 and 9 to cut and secure lamination.
-
Trim any remaining lamination film to complete the project.
-
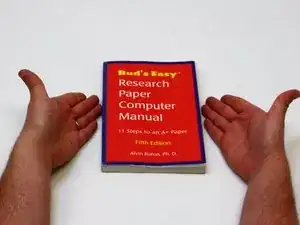
If you have followed the previous steps, your textbook should now be mended and resistant to further damage.
One comment
The original cover was completely destroyed by water and am unable to follow your instructions. Can't I just purchase a new cover?
ryanmary -
