Introduction

  1. cRUlfkgf2YwoDST3
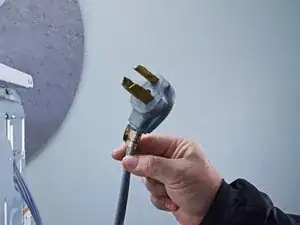
    • Before you begin your repair, unplug your dryer.

    • Your power cord may have four prongs rather than three. The additional prong is a ground connection.

  2. u4WTU4KTBjf1GgPm
    u4WTU4KTBjf1GgPm
    KmGeNIaHMQTiHSWW
    UyNbTg6t3WxLV6FM
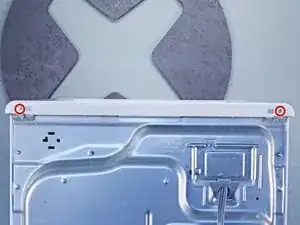
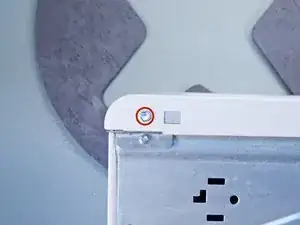
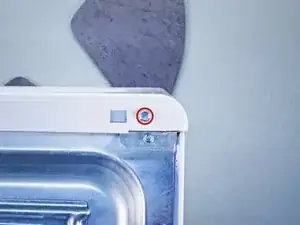
    • Throughout this guide, keep track of each screw and reinstall it exactly where it came from.

    • Use a 5/16 inch nut driver to remove the two 15.7 mm-long screws securing the top panel to the rear panel bracket.

  3. gbDdHJLNo1Iiq3Y1
    gbDdHJLNo1Iiq3Y1
    vxW1WX6cffbgMuaD
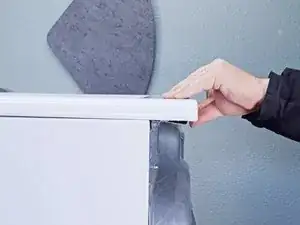
    • Grasp the top and slide it 1/2 to 1 inch toward the rear of the machine.

  4. 2iNpUqjOIuDIiEQU
    2iNpUqjOIuDIiEQU
    IkW1XSsjMSmLOsT2
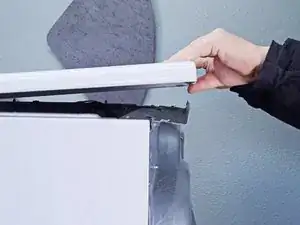
    • Lift the top panel upward to separate it from the chassis.

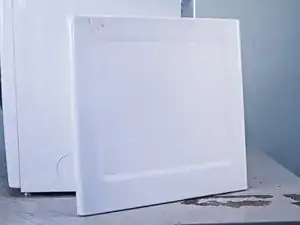
    • Remove the top panel from the machine.

Conclusion

To reassemble your device, follow these instructions in reverse order.
Bill Gilbert

Member since: 30/06/22

34697 Reputation

0 comments