Introduction

  1. NIrRYHJ3QXwg3xmN
    NIrRYHJ3QXwg3xmN
    mFOWfdtS6hPBYfWi
    XWHkN3uEpcKFIgyS
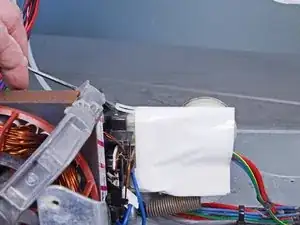
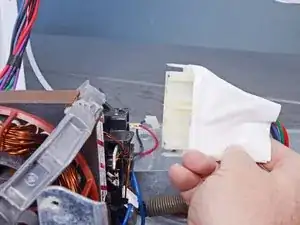
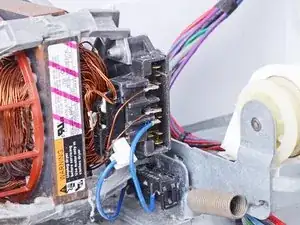
    • Use a flat head screwdriver or a spudger to lift the connector locking clips.

    • Disconnect the connector by pulling it straight off.

    • Be sure to grip the connector and not the wires when disconnecting.

  2. y5ngIXEiPXnE2L1E
    y5ngIXEiPXnE2L1E
    XiAKnKyQjTwVFurg
    bi3RdMKlJWiKfeTM
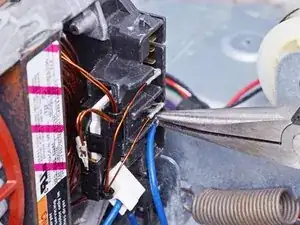
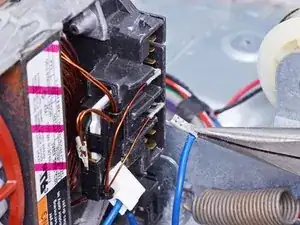
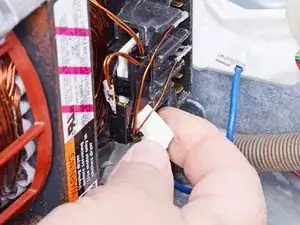
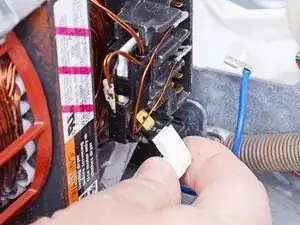
    • Use long nose pliers to disconnect the first belt switch wire.

    • Be sure to grip the connector and not the wire when disconnecting.

    • The third photo will help on reassembly.

  3. NsBKsWI126pZeu4w
    NsBKsWI126pZeu4w
    htKYSCE6KHYptc4Q
    • Disconnect the second belt switch wire.

  4. 3fpuVKyvVVdLNdJS
    3fpuVKyvVVdLNdJS
    Ie6KFKDLYEZdStvC
    jUt6rouuqoksJMVx
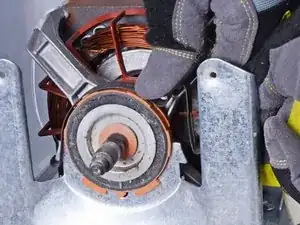
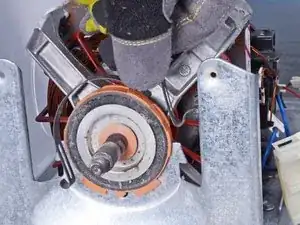
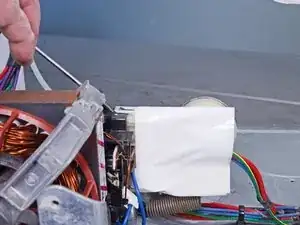
    • Use one hand to press down on the motor retainer clip bump. This should make it easy to unhook the clip from the motor cradle mount.

    • While maintaining the downward pressure, use your other hand to unhook the clip from the motor cradle mount.

    • Your motor may be mounted differently, but the principle is the same.

  5. TfBiYGCiBnXYEonC
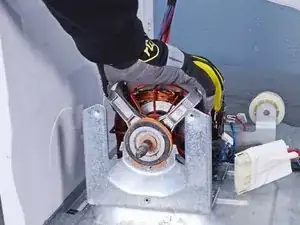
    • Lift the motor retainer clip off the motor and remove it.

    • Repeat the last two steps for the other motor clip.

  6. UBFM6kYLURTKHKqC
    UBFM6kYLURTKHKqC
    jboVgJMOBJHZ2SP3
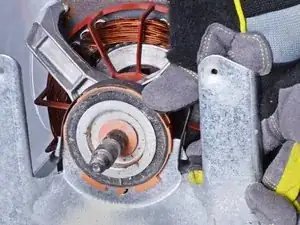
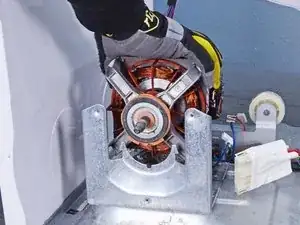
    • Lift the motor out of the motor mount and remove it.

Conclusion

To reassemble your device, follow these instructions in reverse order.
Bill Gilbert

Member since: 30/06/22

34697 Reputation

0 comments