Introduction
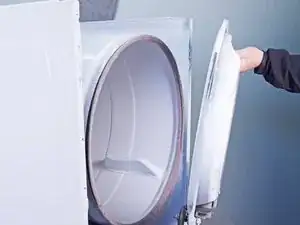
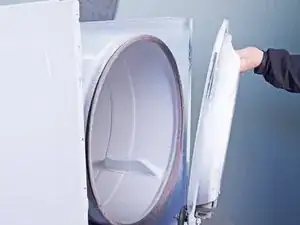
Use this guide to remove the front bulkhead of your Whirlpool Duet WED87HED Dryer.
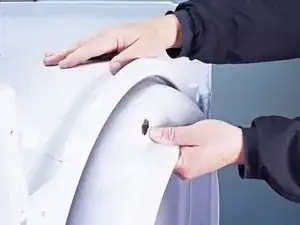
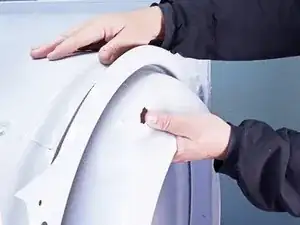
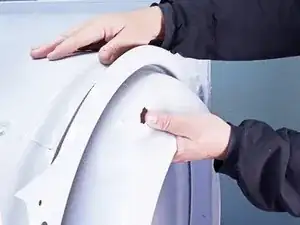
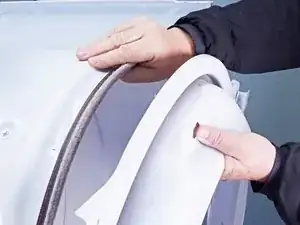
The front bulkhead is the part of the chassis which supports the drum and ties the sides of the chassis together. You need to remove it to be able to remove the drum, the belt, and to access to the blower housing and vent pipe.
This is a more difficult operation, but it can be done if you take your time. A helper to encourage you and to help with some of the lifting and guiding is a good idea. Freeing the lower front bulkhead from the dryer drum is probably the most difficult part to do alone—having someone to hold the drum helps.
Tools
-
-
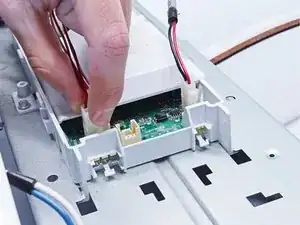
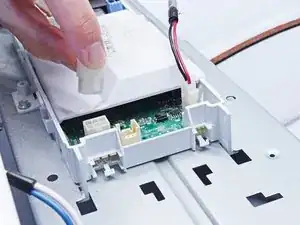
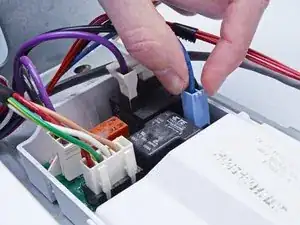
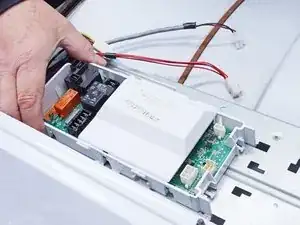
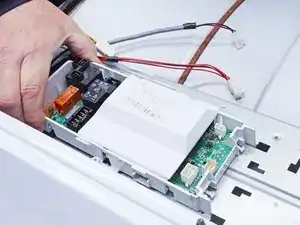
Lift the rear corner of the main board nearest to the side walls of the chassis.
-
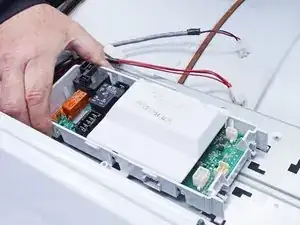
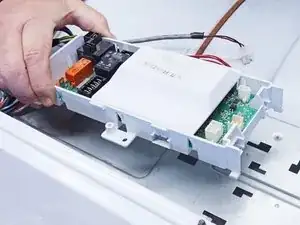
Slide the main board toward the front of the dryer to release the tabs securing it to the main board bracket.
-
-
-
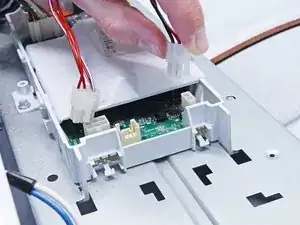
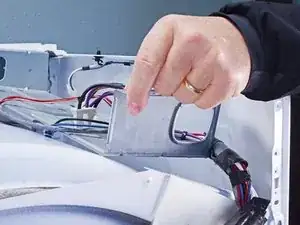
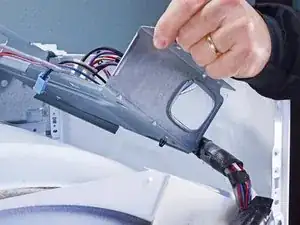
Lift off the main board bracket from the chassis and turn it so the bottom is exposed.
-
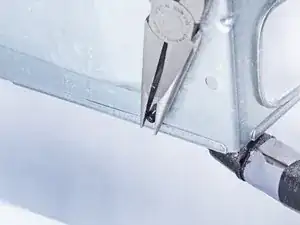
Using long nose or slip joint pliers, pinch the locking wings of the harness retainer clamp.
-
Separate the harness from the main board bracket and remove the main board bracket.
-
-
-
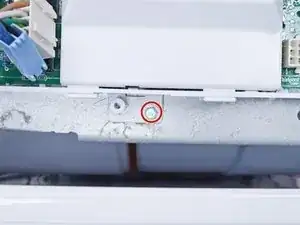
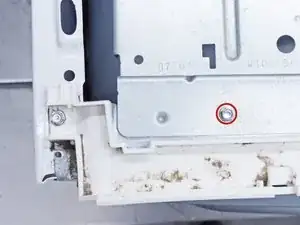
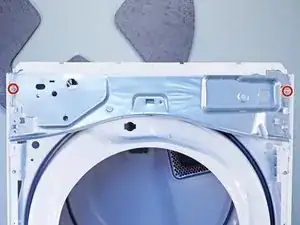
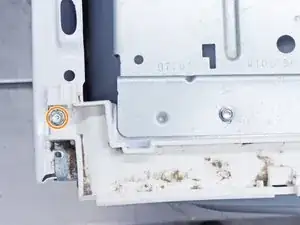
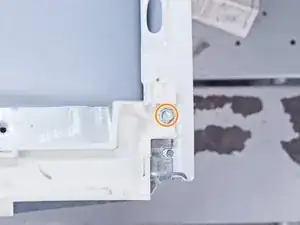
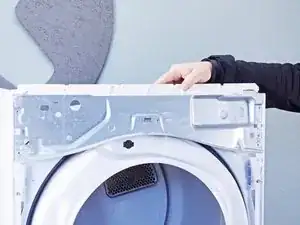
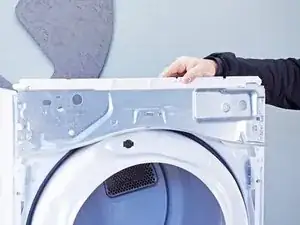
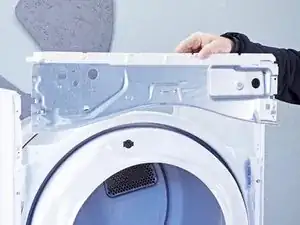
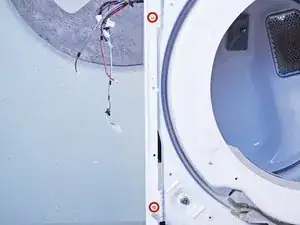
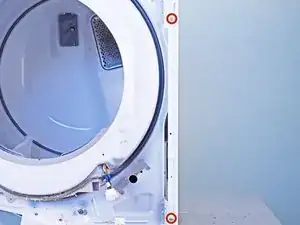
Remove the screws securing the upper front bulkhead to the front of the chassis.
-
Remove the sheet metal screws securing the top plastic portion to the upper front bulkhead.
-
-
-
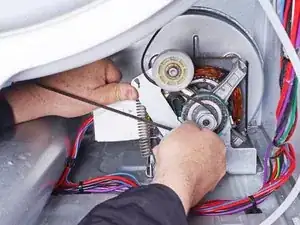
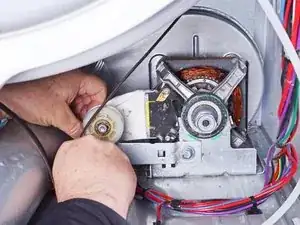
Push the idler arm (the metal upside-down "L") up to relieve the tension on the drive belt.
-
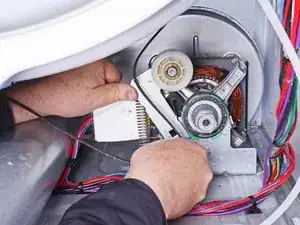
Remove the belt from the motor pulley.
-
Gently lower the idler arm until it rests parallel to the dryer floor.
-
-
-
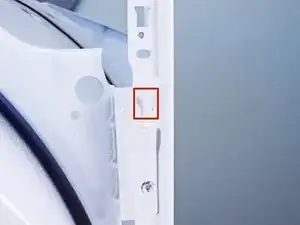
Lower the bulkhead about 2 inches to free the drum rollers tucked under the drum.
-
While supporting the drum, remove the lower front bulkhead.
-
To reassemble your device, follow these instructions in reverse order.
Repair didn’t go as planned? Ask our Answers community for help.
