Introduction
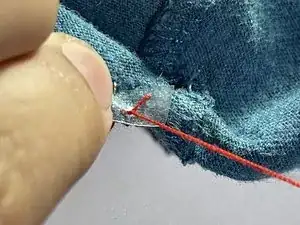
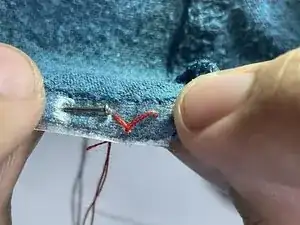
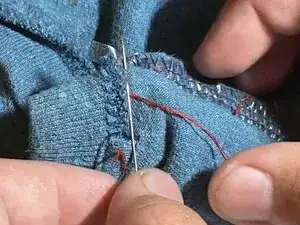
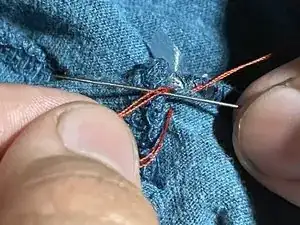
Reinforcing seams is useful when you want your clothes to last longer. All you need are some sewing materials, a chunk of time to dedicate to the process, and the cautiousness not to poke yourself. You are going to want your thread to match your clothes but for this guide, I will be using red so you can see it easily.
Tools
-
-
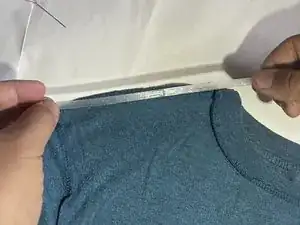
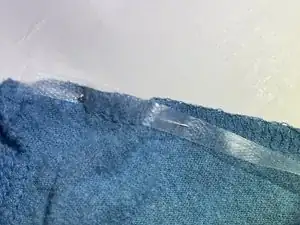
Measure the clear elastic so it is a few centimeters longer than the hem you are reinforcing.
-
-
-
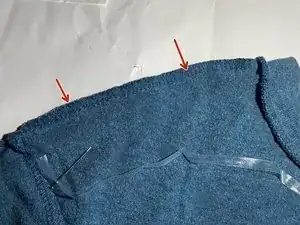
Poke a straight pin through the clear elastic and fabric at one end of the seam you are reinforcing.
-
Bend the fabric when part of your pin is through so it is visible on your side again.
-
Make the fabric level so it is not bunched up. Continue this process of putting pins in until you reach the other end of the seam.
-
-
-
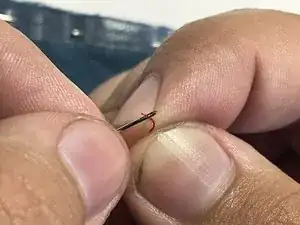
Thread a sewing needle with a thread color that matches your garment.
-
Pull the thread through so that the string is longer than an arm's length.
-
-
-
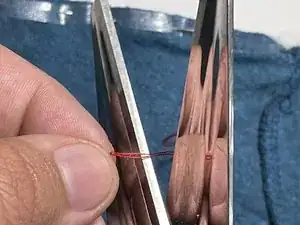
Make sure both string sides are roughly the same length and cut the string that is still connected to the spool of thread.
-
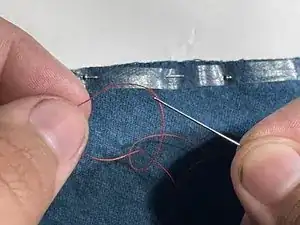
Tie a knot at the end of your string to hold your thread together. Make the knot by forming a circle and putting your sewing needle through it.
-
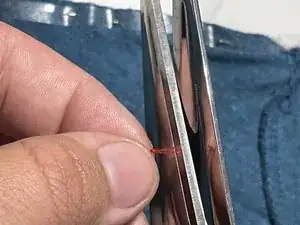
Cut off the excess thread that is past the knot.
-
-
-
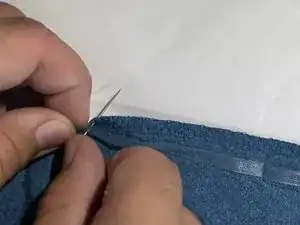
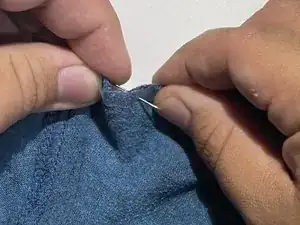
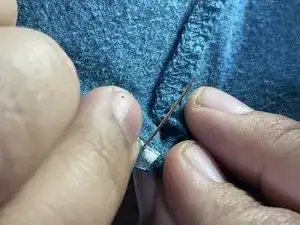
Poke the needle through the back of the fabric at the end of the seam so that it is closer to the top of the clear elastic.
-
Pull the thread through until you feel the knot hit the fabric.
-
-
-
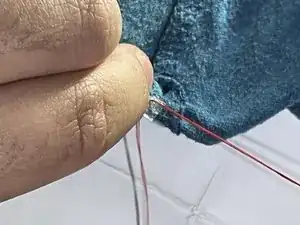
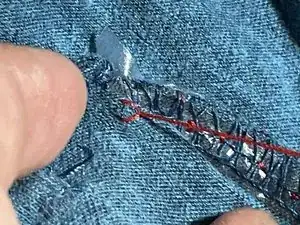
Make a zigzag stitch by poking your needle down and to the left (or right if you started on the left).
-
Pull your needle until you feel a tug and thread the needle back through around the same hole and continue doing this until you reach the end.
-
-
-
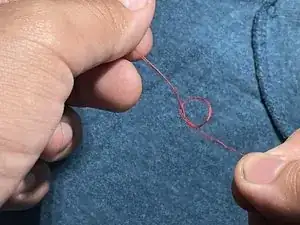
At the end of the seam, poke the needle through the fabric down then back up so that a small loop forms.
-
Take your needle and put it under the loop and pull. Do this twice to make sure the seam stays.
-
-
-
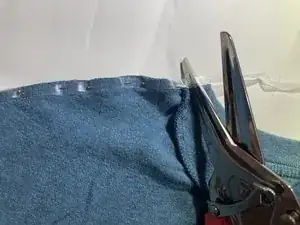
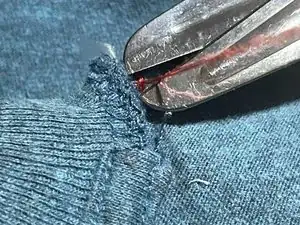
Cut off the excess thread that remains.
-
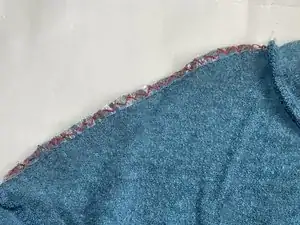
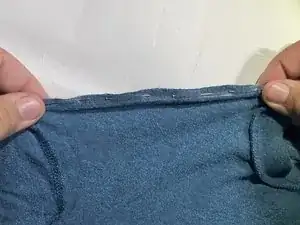
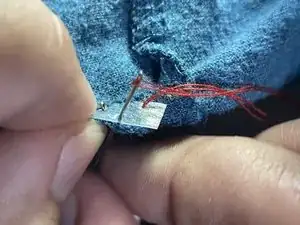
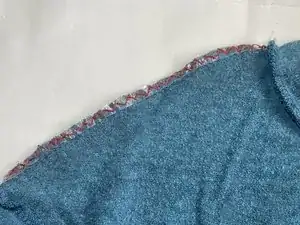
Your reinforced seam should look something like this.
-
