Introduction
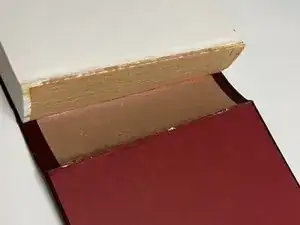
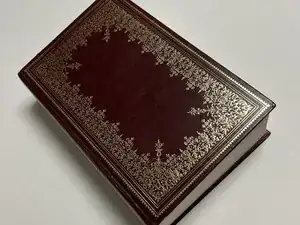
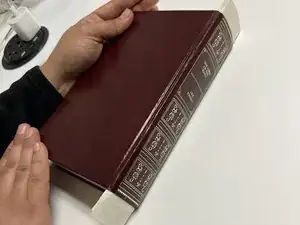
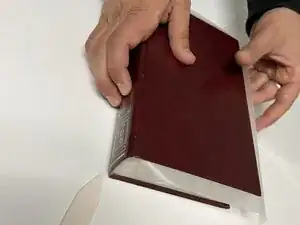
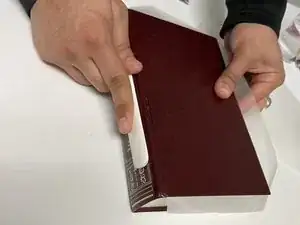
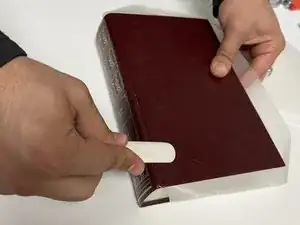
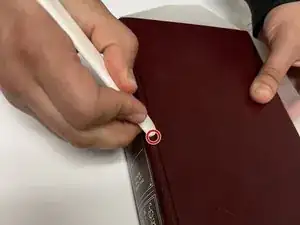
There is nothing as fascinating as transforming damaged material into something useful, just like recycling. Many of us feel reluctant to go through the processes of making the transformation happen, but in the end, the satisfaction is definitely worth it. This guide provides easy step-by-step instructions on how to reattach a damaged cover to a hardcover book.
Tools
-
-
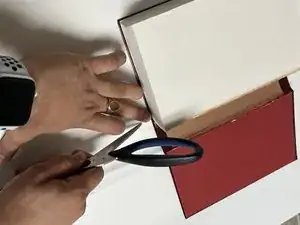
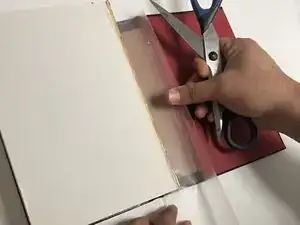
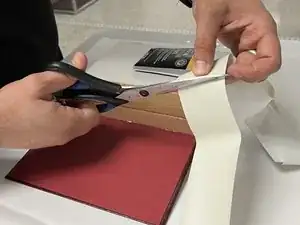
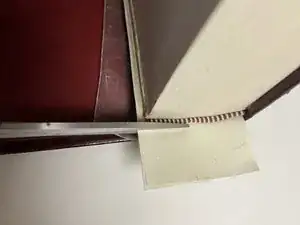
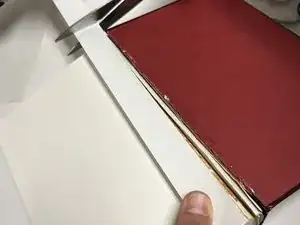
Cut a strip of wax paper a little longer than the length of the spine (about half an inch) with your scissors.
-
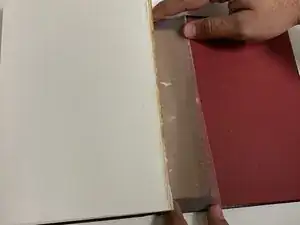
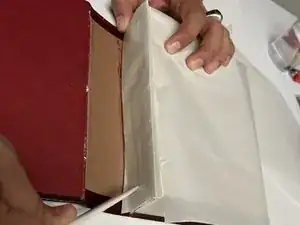
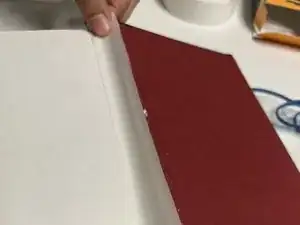
Set the wax paper into the hollow of the spine.
-
-
-
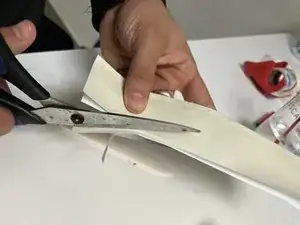
Cut a length of book repair tape a little longer than the length of the spine (about half an inch) with your scissors.
-
-
-
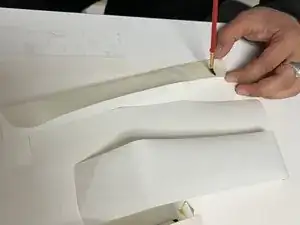
Cut two more lengths of book repair tape the same length as the first (about half an inch longer than the spine of your book).
-
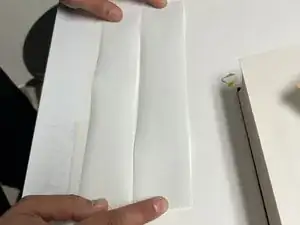
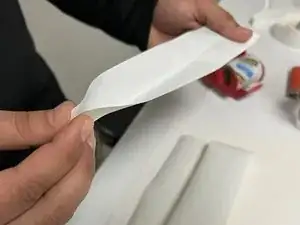
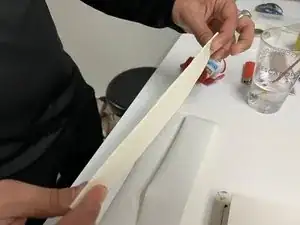
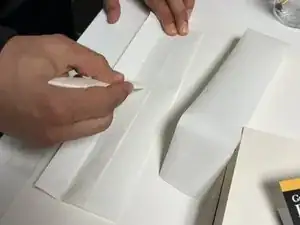
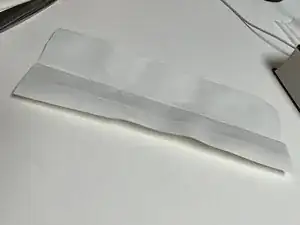
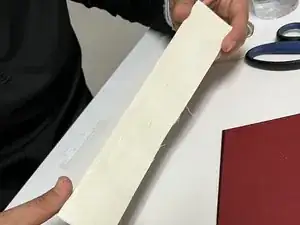
Fold one piece of book repair tape lengthwise (hot dog style). The gummed side of the tape should be on the outside of the fold.
-
-
-
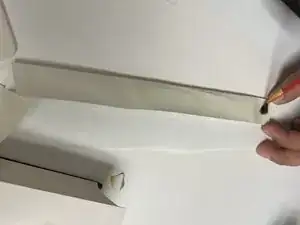
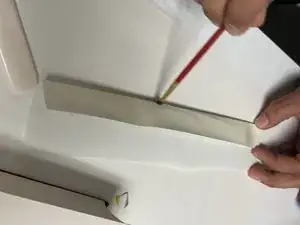
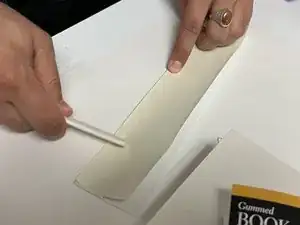
Set the folded piece of book repair tape flat onto the table.
-
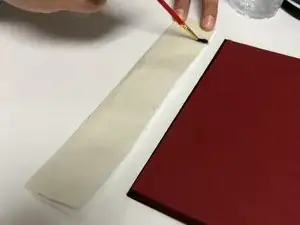
Wet your paint brush with water.
-
Gently moisten one gummed side of the folded book repair tape with your paintbrush. This activates the glue.
-
-
-
Lift the folded book repair tape up by the edges using your fingers.
-
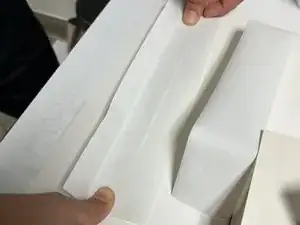
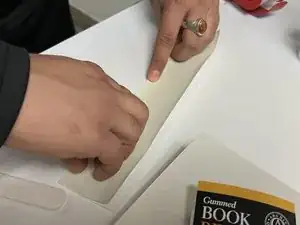
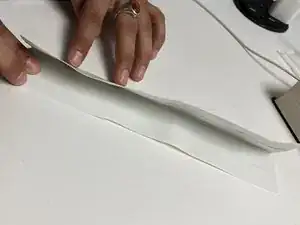
Press the moistened side of the tape down on the bottom half of the non-gummed side of your second piece of book repair tape.
-
Press and smooth the two pieces together using the bone folder.
-
Allow two to three minutes to dry.
-
-
-
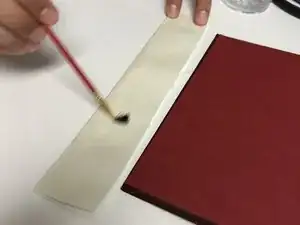
Wet your paintbrush with water.
-
Gently moisten the remaining gummed side of the folded book repair tape with your paintbrush.
-
-
-
Pick up the third (and final) piece of book repair tape.
-
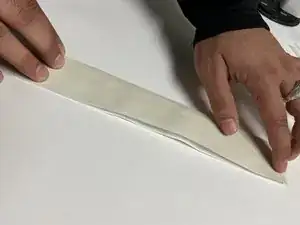
Press the bottom half of the non-gummed side to the moistened piece of folded book repair tape.
-
Press and smooth the two pieces together using the bone folder.
-
Allow two to three minutes to dry.
-
-
-
Fold your piece of book repair tape lengthwise (hot dog style). The gummed side of the tape should be on the outside of the fold.
-
Press down firmly on the fold to create a tight crease.
-
-
-
Place the folded book repair tape flat onto the table.
-
Wet your paintbrush with water.
-
Gently moisten one gummed side of the folded book repair tape with your paintbrush to activate the glue.
-
-
-
Lift up the book repair tape with the folded edge up.
-
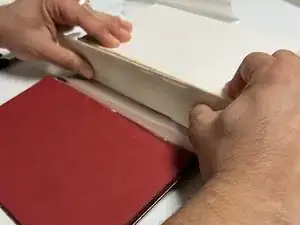
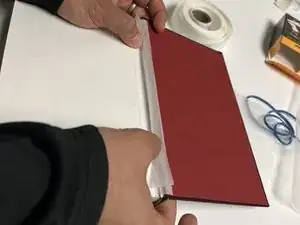
Press the moistened side to the spine of the book (the pages).
-
Press the tape down firmly against the spine with your fingers.
-
-
-
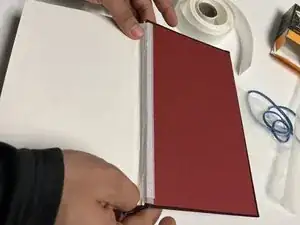
Use the bone folder to press and smooth the book repair tape to the spine so the glue adheres evenly.
-
-
-
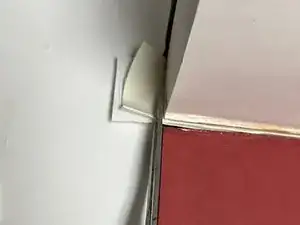
Reopen the book.
-
Remove the wax strip from the hollow of the spine.
-
Trim the excess book repair tape with your scissors.
-
-
-
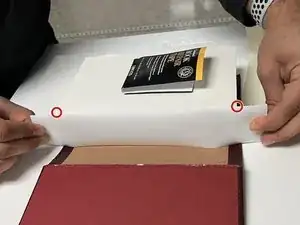
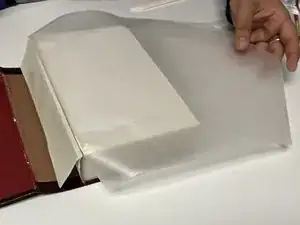
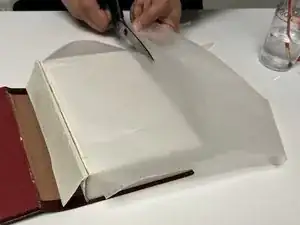
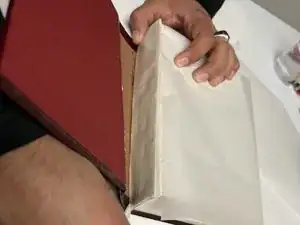
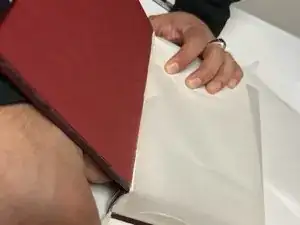
Cut a large piece of wax paper to sufficiently cover the pages of your book.
-
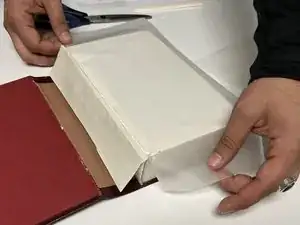
Place the wax paper over the pages of your book to protect it.
-
-
-
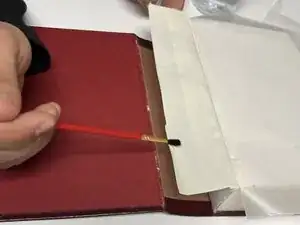
Wet your paint brush with water.
-
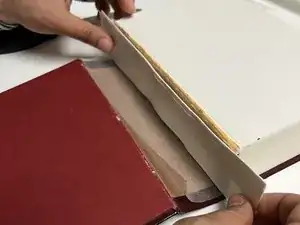
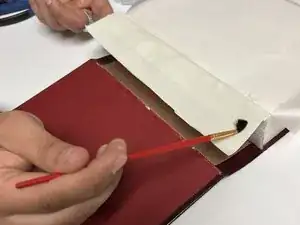
Lift the book repair tape away from the spine of the book.
-
Gently moisten the exposed gummed side of the tape evenly.
-
-
-
Hold the book repair tape down with one hand.
-
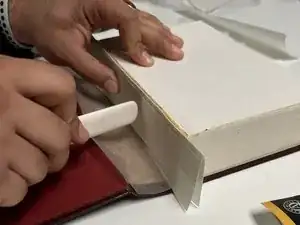
Press the other edge of the book repair tape down towards the spine with the bone folder.
-
Push the detached cover towards the spine to attach it to the book repair tape.
-
-
-
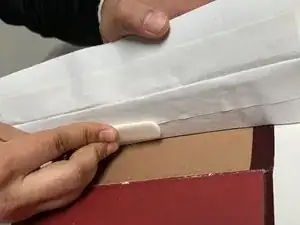
Run the bone folder firmly along the spine and crease of the book so that the glue adheres evenly.
-
-
-
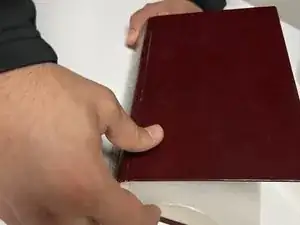
Hold the book firmly shut.
-
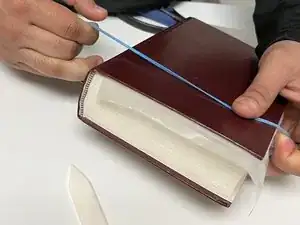
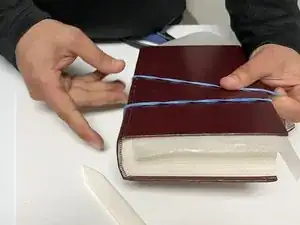
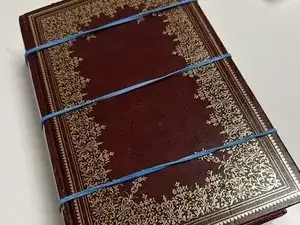
Wrap a rubber band around the top, middle, and bottom of your book to secure it.
-
Let the book settle with the rubber bands for 24 hours.
-
Remove the wax paper after the book has settled for at least 24 hours.
-
-
-
Cut a length of document repair tape to adequately cover the repair (about the same length as the spine of your book).
-
-
-
Remove the adhesive back of the document repair tape.
-
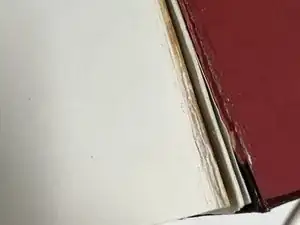
Align the tape along the crease of the spine with the exposed repair.
-
Smooth the tape down carefully with your fingers.
-
If desired, repeat this process with another piece of document repair tape.
-
To reassemble your device, follow these instructions in reverse order.
