Introduction
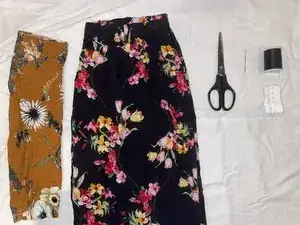
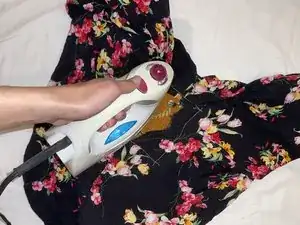
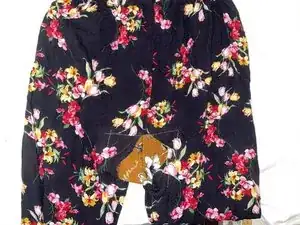
In this guide I will show you how to use cotton fabric to patch a ripped crotch in cotton pants. No prior sewing experience is required, but some basic knowledge is helpful. The cloth in this guide is a different color and pattern from the pants to provide contrast int he pictures. However, you should use a similar fabric to your pants. It does not matter what model sewing machine or iron you use because any brand of these tools can do the job. For using the sewing machine, please refer to your sewing machine guide.
Tools
-
-
Place the pants in front of you with the right side facing outwards.
-
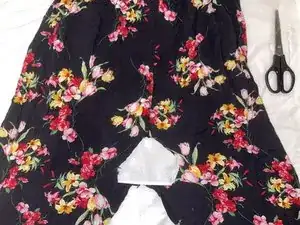
Make sure the ripped area is clean. There shouldn't be any unnecessary threads or excess fabric.
-
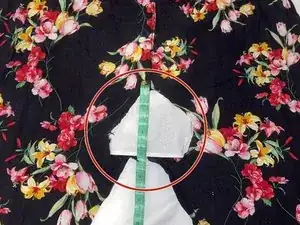
Measure the ripped area. It doesn't have to be an exact measurement.
-
-
-
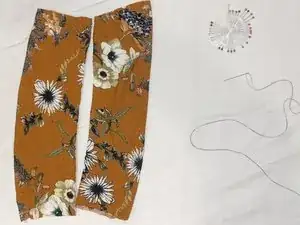
Choose two strips of fabric that match the color of your pants and that are twice the size of the tear in the pants.
-
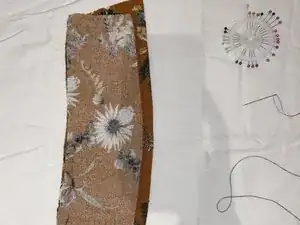
Put the two strips back to back, so the inside of the fabric is facing you.
-
Connect the two pieces of fabric by putting the pin head needles on a straight line on the raw edge of the fabric.
-
The needles shouldn't be on the edge of the fabric. Put them 1 or 2 cm away from the edge.
-
-
-
Thread a hand sewing needle with a thread color that matches the pants. Make sure that you leave a large tail, about 50 cm.
-
Push the needle up through the underside of the fabric. Pull the needle up until there is some thread on the other side. Repeat until you stitch all the way down edge of the fabric.
-
-
-
Put the fabric under the sewing machine needle. Hold both ends of the fabric with your hand, and slowly sew by pushing down the pedal.
-
Sew along the stitch line you made, about 1 cm away from the edge of the fabric.
-
After sewing all the way down, pull the hand-sewn stitches from Step 3 out of the fabric.
-
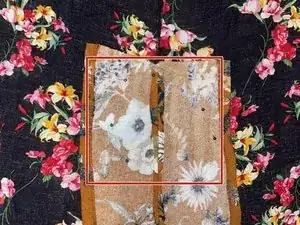
Afterwards the right side should look like the third picture.
-
-
-
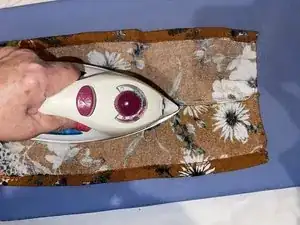
Put the piece of fabric on an ironing board, with the inside of the fabric facing you.
-
Iron the piece of fabric, including the area where the two pieces of fabric are stitched together.
-
-
-
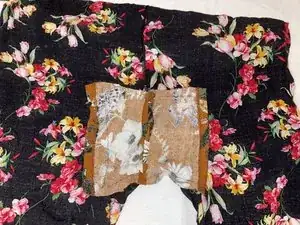
Put the piece of fabric, facing the inside, on the ripped area. The pants should be inside out.
-
Use pin head needles to connect the fabric to the ripped area of the pants.
-
Put thread in the eye of the hand sewing needle. Make sure that you leave a large tail, about 50 cm.
-
Push the needle up through the underside of the fabric. Pull the needle up until there is some thread on the other side. Repeat until you stitch all the way around the pin head needles.
-
-
-
Use the sewing machine to sew the fabric to the pants, using the stitches as your guide.
-
After sewing all around the pin head needles, pull the hand-sewn stitches from Step 6 out of the fabric.
-
