Introduction

This guide will show a thorough step-by-step process on how to patch a hole in a stuffed toy. It consists of a simple in-and-out stitch pattern that can be achieved with easy-to-find fabric repair tools. Continue onto this guide to see how simple holes can be easily repaired and toys can be saved. Holes and rips may appear, but worry not, as this guide is here to rekindle the magic and restore your treasured friend to its former glory. With a little care and creativity, your stuffed friend will continue to be a beacon of comfort, resilience, and endless friendship.

  1. TNLkHiOrmqLOxMVx
    • Start by ensuring the stuffed toy is clean and free of any loose debris.

  2. jd3eBU1ikDbEWX13
    jd3eBU1ikDbEWX13
    n5Ao2Mo5Ekrpc5qW
    F2XDsOXEbwnrMRqa
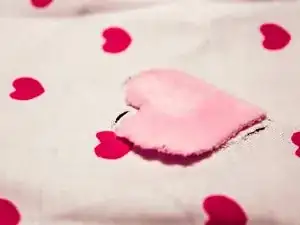
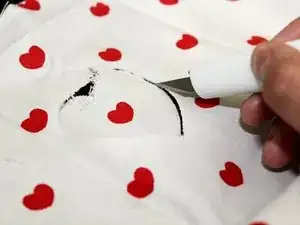
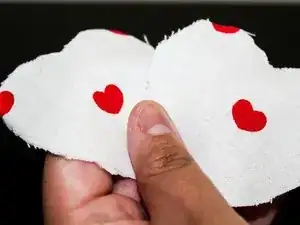
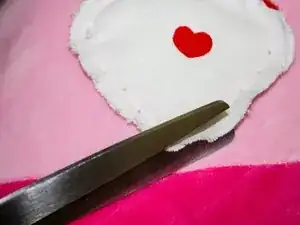
    • Cut a piece of fabric that's large enough to cover the hole with some extra space for sewing.

    • The patch should be a little bigger than the hole.

  3. V6VBEcNBQKbmqAVp
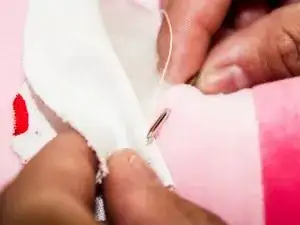
    • Place the patch over the hole on the outside of the stuffed toy, aligning it as closely as possible with the surrounding fabric.

  4. VvpQp6RcMnJqXMFh
    VvpQp6RcMnJqXMFh
    ZHenytJSVMBgfAc1
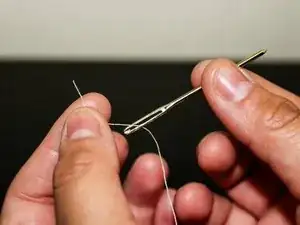
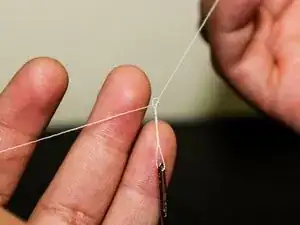
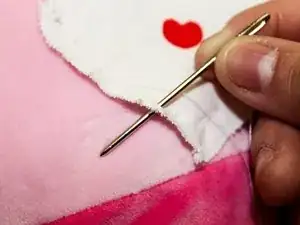
    • Thread your needle and tie a knot at the end.

    • Use a length of thread about 18 inches.

  5. RXlqVp3UpdRObU1m
    RXlqVp3UpdRObU1m
    WRgOCDKACBjFYNmV
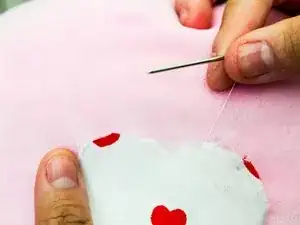
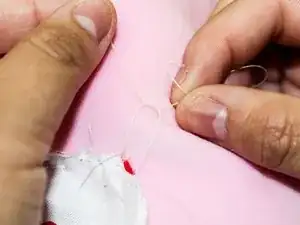
    • Starting from the inside of the stuffed toy, push the needle in the fabric of the toy and then pull through.

    • Leave a small tail of thread inside the hole.

  6. FZJCHRXcjFMCQdHp
    • Using a simple running stitch, sew around the edge of the patch, securing it to the toy.

    • Make sure your stitches are close together and evenly spaced for a secure hold.

  7. XRHMRmieHYTvPbb4
    XRHMRmieHYTvPbb4
    mWZDBM21lDspnOdJ
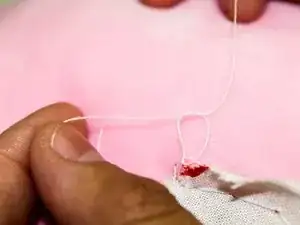
    • When you've sewn all the way around the patch, tie off your thread by making a knot close to the fabric.

    • You can do this by making a small loop with the thread and passing the needle through the loop before pulling it tight.

  8. dV2PocGytyKUqPK1
    dV2PocGytyKUqPK1
    efxuHJahjGscaNAJ
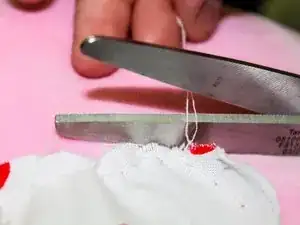
    • Carefully trim any excess fabric from the patch and snip off any loose thread ends.

  9. gXZ5QCyWWsOSmoDq
    • Give the repaired area a gentle tug to ensure the patch is securely attached.

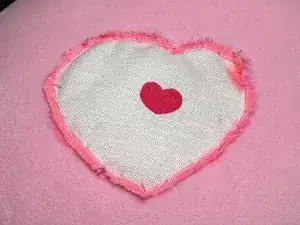
    • Feel free to add an outline over the patch for a unique look.

  10. FYoadFAYD6sJDWwY
    • Make sure there are no loose threads or fabric scraps on the toy.

    • Enjoy your repaired toy!

Conclusion

Each stitch made represents a commitment to preserving the warmth, comfort, and nostalgia it brings into your life. Your mended toy is a symbol of your dedication to renewing connections and finding joy in simple yet profound ways. So, hold your restored friend close, and let it inspire you to navigate life with a heart full of warmth and an unwavering spirit of resilience.

Brittney Renteria

Member since: 11/09/23

181 Reputation

0 comments