Introduction
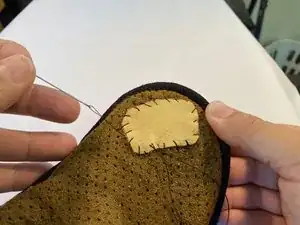
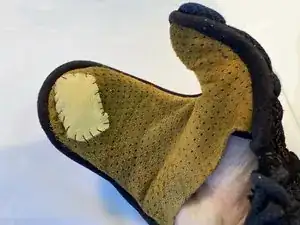
With regular use, kote, the gauntlets worn by practitioners of kendo, or Japanese fencing, will wear down where the fingertips grip the sword. Suppliers of this specialized athletic equipment will repair these holes, sometimes for approximately $24.00 + shipping and handling both ways. This will leave the martial artist without equipment and unable to practice, and can also be a drain on the wallet. These holes can be quickly and affordably fixed with a leather patch made from an inexpensive polishing sham found at most auto supply stores, leaving the martial artist with no excuse to miss out on practice or risk painful splinters or bruises to their fingers.
Tools
Parts
-
-
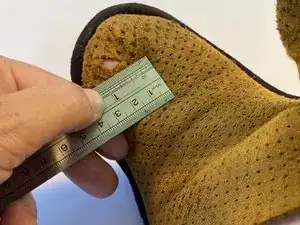
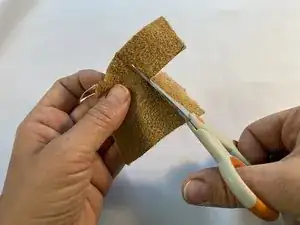
Use the ruler and pen to create guiding lines for these measurements directly on the backside of the leather patch.
-
-
-
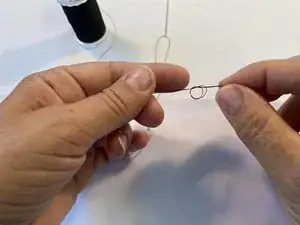
Cut approximately 30 inches of thread and thread 15 inches through the needle.
-
Tie the two ends of the thread into a square knot by creating a loop, drawing the ends through the loop, and pulling it tight.
-
-
-
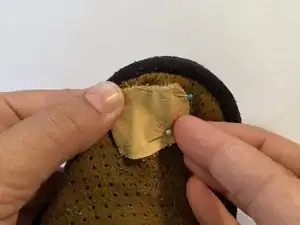
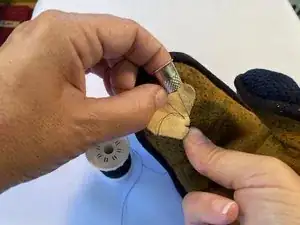
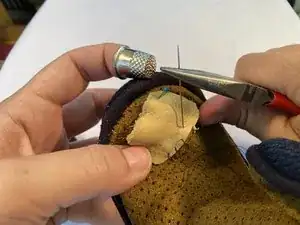
After drawing the thread through the patch from below, about 1/4 inch from the edge, use the thimble to push the needle through the kote, just outside the patch.
-
Use the pliers to pull the needle through the kote and leather.
-
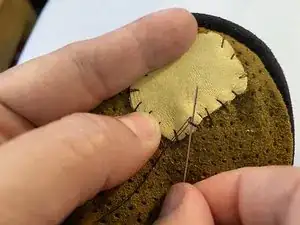
Repeat the process all around the patch until you return to the first stitch.
-
-
-
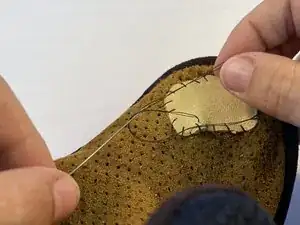
Knot the final stitch in place by running the needle under the first stitch.
-
Pull the thread to create a loop, and run the needle through the loop towards you.
-
To hide the knot, run the needle beneath the patch and pull the thread through, cutting it close to the patch.
-
To patch your kote, follow these steps in chronological order.
