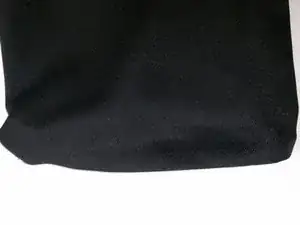
Introduction

This fix can be done without a sewing machine and instead be hand-sewn, however a sewing machine is recommended. The estimated time for this project is half an hour to 45 minutes. Allow extra time for seam ripping.

  1. GXnGw1GOnGQGuman
    • Start by carefully ripping the seam of the pants with a seam ripper. Make sure not to leave holes in the fabric or it will show in the finished product.

  2. tqaX5paaYCMikhvj
    • Next, iron the crease left previously by the seam.

    • Some fabrics cannot take high heat. Consult the tag of the garment for ironing instructions. Consider placing layers of fabric between the iron and garment to reduce heat.

  3. UcAGHesOev6FIbFK
    • Try on the pants. Have a partner pin the pants to the desired length.

    • If you do not have someone to help, measure the inseam of the pants and pin to the desired length.

  4. 5Ev2CQfOGZKRiL5U
    • Measure the width of the pant leg, double that measurement, and add 1.5 inches for seam allowance. Cut the bias tape to match this width.

  5. ePNsXJvIxjKSqITv
    • Sew the bottom of the pant to the edge of the bias tape.

    • Make sure to remove pins while sewing as you move the work closer to the needle to avoid damaging the machine.

  6. tgkgocVwuHEQLSIT
    • Fold the bias tape underneath (about 3/4" -1") and iron flat. Make sure that the bias tape is not visible. Pin the two layers together.

  7. WyEcKI3dvybCcRIa
    • Sew the new seam of the pants.

    • If sewing with a machine, consult the machine's manual on how to do a blind stitch. If sewing by hand, use a tacking stitch. Make sure to only sew the two layers of fabric and not the entire pant-- this will cause the leg of your pants to not have an opening.

  8. m6FZhOdhcZIhPq1V
    • Repeat steps 1-7 for the other pant leg and iron flat.

Conclusion

To reassemble your device, follow these instructions in reverse order.
CASSANDRA ROBBINS

Member since: 30/09/16

157 Reputation

0 comments