Introduction

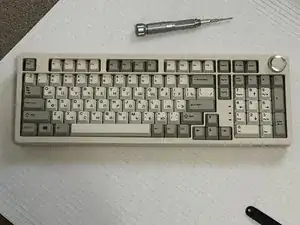
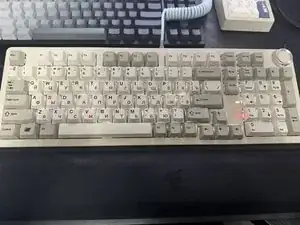
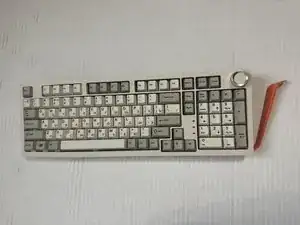
This is the guide of how to repair the James Donkey RS2, and let it work as the new one.

  1. eaqpNTtoqMoCEE4e
    eaqpNTtoqMoCEE4e
    MvLWH1TQbdjQHiSE
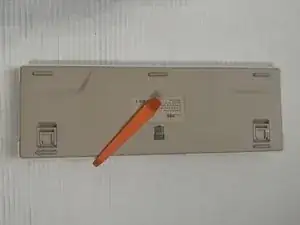
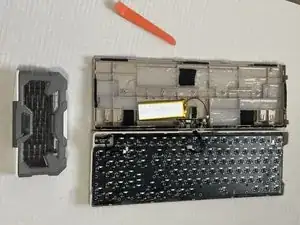
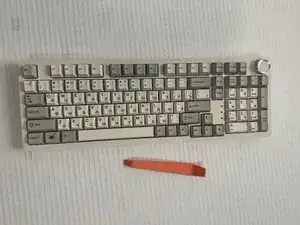
    • The first step is to disassemble all the pieces to make sure all the parts are separated.

  2. peVgVamGMVMTLJ44
    peVgVamGMVMTLJ44
    ddHf4emLERmVkMFV
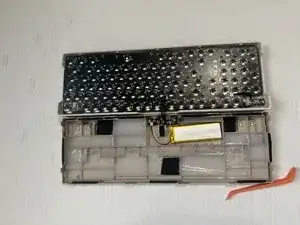
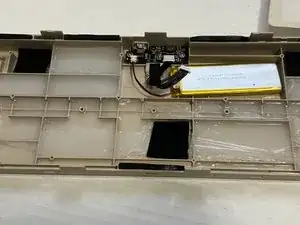
    • Make sure all the cable is unplugged to prevent an accident from happening.

  3. DuQUfDPRjuqdnJDJ
    DuQUfDPRjuqdnJDJ
    qWWEkPLLDREqD4Rk
    gRQeJVLKTwiiYl5D
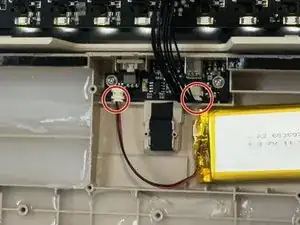
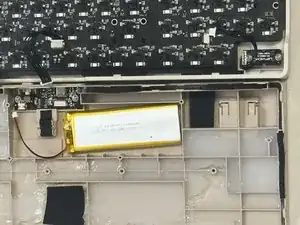
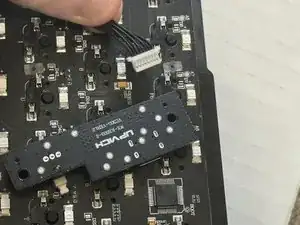
    • Unplug all the cables before removing any other parts of the keyboard.

  4. oUDHQEiLQyOlSBJP
    oUDHQEiLQyOlSBJP
    kPPIB3owOckUIoFC
    iQWLgLuprGQdCQjC
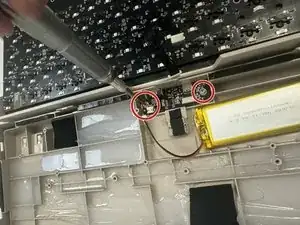
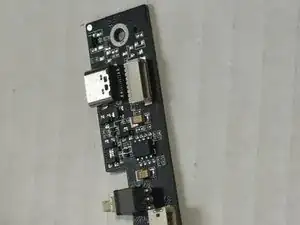
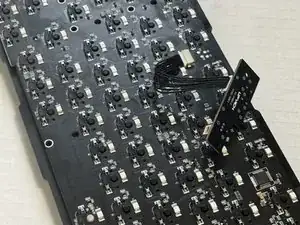
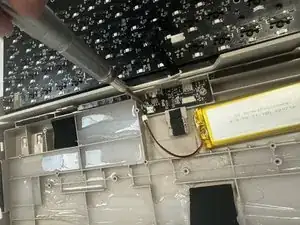
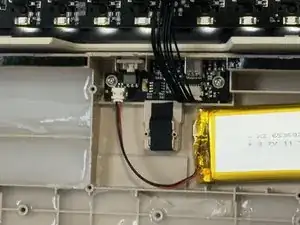
    • Unscrew the small board (including 2 m 2 4 mm screws) to make it easier to figure out where the trouble is.

  5. MhGZQ6EFQNEGtyaH
    MhGZQ6EFQNEGtyaH
    gLqbUVBGIwLleRou
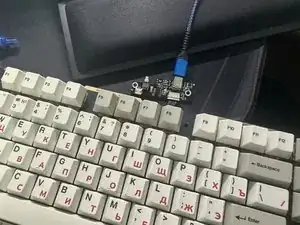
    • Then plug it back into the PCB. What we get will be a small board connected to the big board.

  6. CiFstGNvNfqmKUhB
    • Connect the board to the computer, and turn the circuit on to test to see where the problem is.

  7. 5ljEuHROgrhCXali
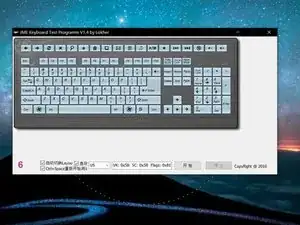
    • To figure out if is it connected or not, first open the key tester on a computer that has been connected to the keyboard.

  8. lbKoAJXjPaWEKcj6
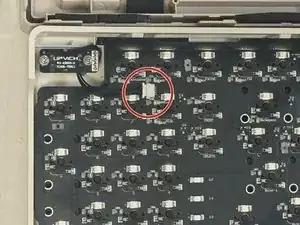
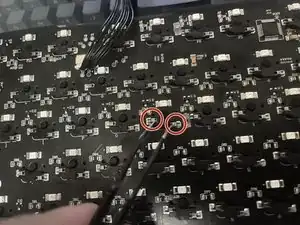
    • Use the metal tweezer to connect the silver part under the PCB.

  9. KjbPmTxZCIsDbkgA
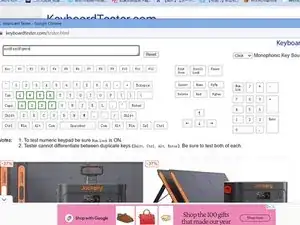
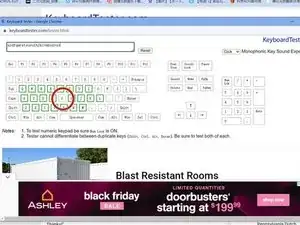
    • If everything works fine, it should light in green, which means the key has been sensed.

  10. KlfoMtPreuVrvN6I
    • If there is just one single key that is unable to react, then switch it.

  11. ZsvRNPlPMNTQFV33
    • If there is a line that has no reaction, which means PCB is malfunctioning, send it back for repair.

  12. bRbANx3VLGFmXCJQ
    bRbANx3VLGFmXCJQ
    AhQWFlNNqpHXqqia
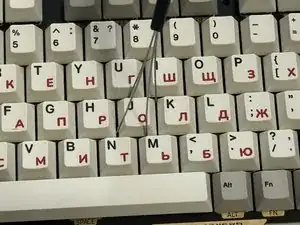
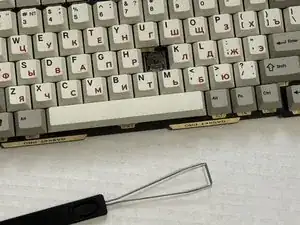
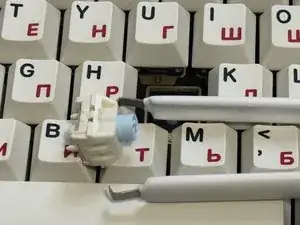
    • Here is how to switch the switches. First, unplug the keycap.

  13. 4wGHaMTpaZRcLG2I
    4wGHaMTpaZRcLG2I
    IpYKPusIeTQEN2ET
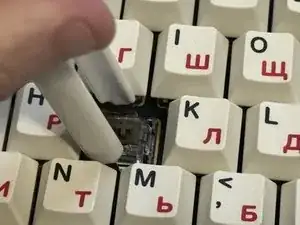
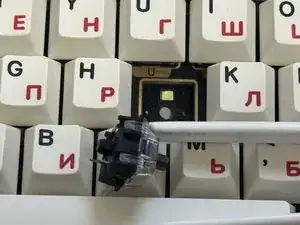
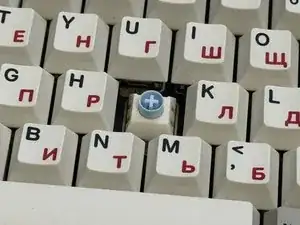
    • Then unplug the switch.

  14. oPQIoxoVPEZYOVEL
    oPQIoxoVPEZYOVEL
    FDeHs4k6RB4CPE3W
    KGqFLNJgVjhCaleM
    • After that, plug in a new switch.

  15. ANyWUNWLXHkYIWqD
    ANyWUNWLXHkYIWqD
    wJj3g5cXwZOyNsSr
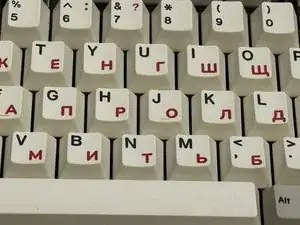
    • Finally, put back the keycap.

  16. uJbFYneBYnAVeciC
    uJbFYneBYnAVeciC
    NYiviDdXW1H5e1Nd
    • Congratulations! You are done with the replacement. Now put the board back, screw it with 2 4 mm M2 screws, and connect all the cables.

  17. vDaYr3113wbToYUU
    vDaYr3113wbToYUU
    G6RZ2DVV1FUDUPf2
    XJpSE5woooZtixRF
    • When everything is done, put back the top layer.

Conclusion

To reassemble your device, follow these instructions in reverse order.
Yichen Gu

Member since: 30/10/23

265 Reputation

0 comments