Introduction
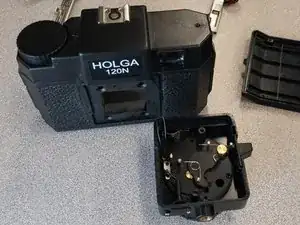
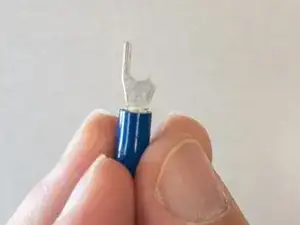
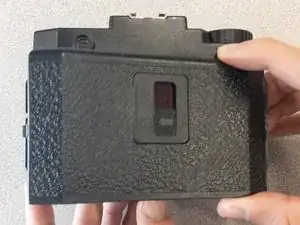
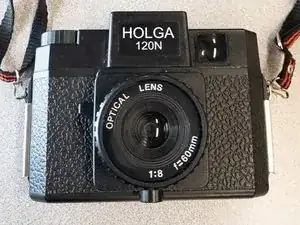
The Holga 120N camera (model number 144120) was made in the 1980s, making it prone to natural wear and tear. When the shutter overextends, it can prevent the camera from taking a picture. An easy solution is adding a spade terminal as a block to the overextended shutter, allowing the camera to take pictures again. This is a job that doesn’t require expertise on the Holga film camera’s body, and the only tools required are hot glue, a Phillips screwdriver, scissors, and a boxcutter/exacto-knife.
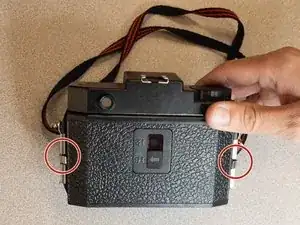
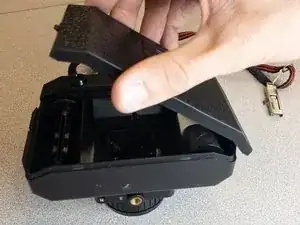
This guide will teach you how to take the camera apart, insert the spade terminal, and seal the camera back up again.
Tools
Parts
-
-
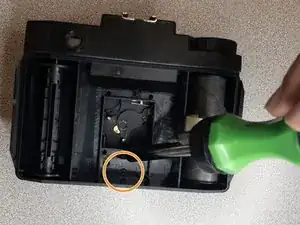
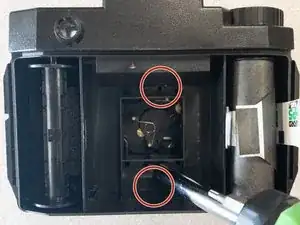
Remove the screw above the opening to the shutter piece using a Phillips #00 screwdriver.
-
Remove the screw below the opening to the shutter piece using a Phillips #00 screwdriver.
-
-
-
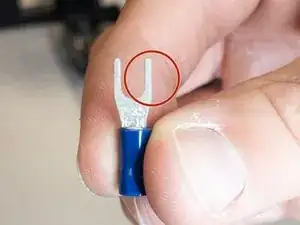
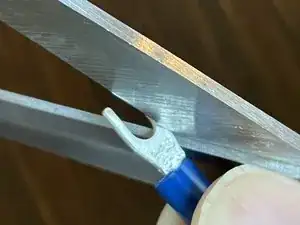
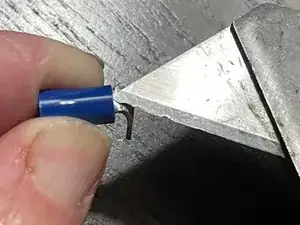
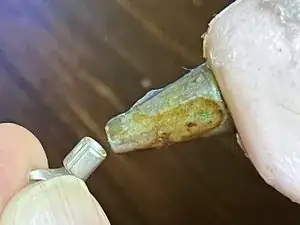
Slice the blue plastic off of the spade terminal with the boxcutter/Exacto-knife.
-
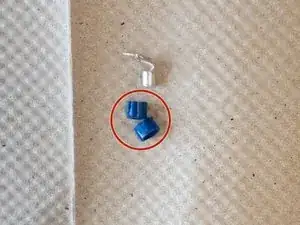
Remove the plastic from the spade terminal.
-
-
-
Place hot glue at the bottom of the spade terminal.
-
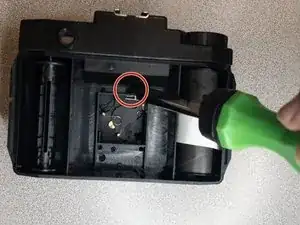
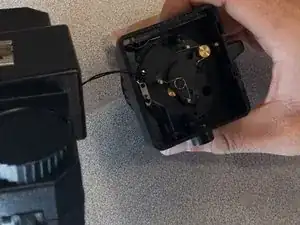
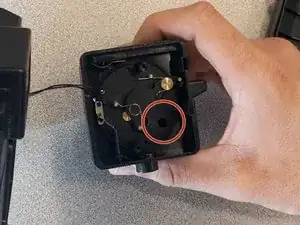
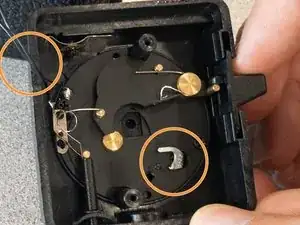
Place the spade terminal in the small hole underneath the shutter.
-
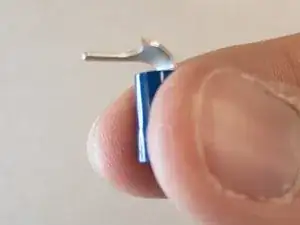
Point the spade terminal horizontally, facing the wire that leads back to the camera.
-
You’ve now learned the following:
- How to disassemble and reassemble a Holga 120N camera
- How to add a spade terminal as a blocker
The spade terminal will stop the overextended shutter. Enjoy taking pictures!
One comment
That's a PZ1 bit which gets the screws out easily. If you got the screws out with a PH00 bit, either they changed the way the camera is made before mine was made or you are quite tenacious in your screwdriving.
s l -
