Introduction
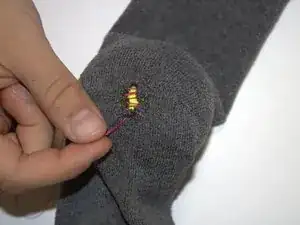
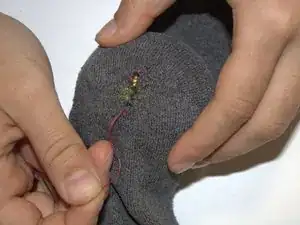
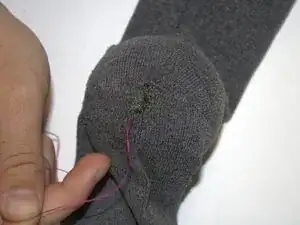
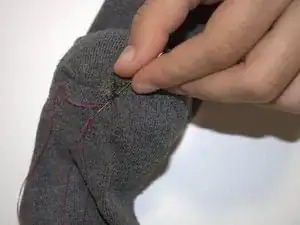
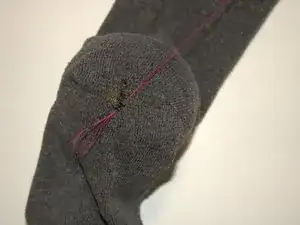
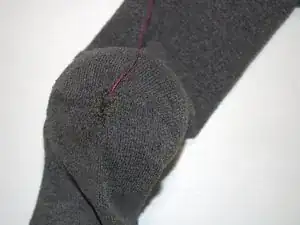
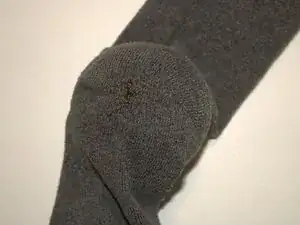
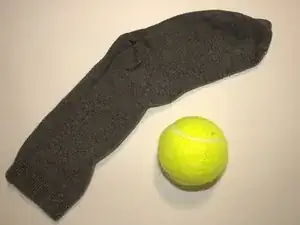
If you have small holes in the toe or heel sections of your sock and want to repair them, this is your guide. For this guide, sewing experience is not necessary.
The material of the sock does not affect the repair, but the thicker the fabric is, the more time it may take to complete the repair, though the instructions will remain the same.
Note, this repair works best for small holes (up to one inch in diameter). You may use this technique for larger holes (over one inch in diameter), but this technique can affect the sock's fit the larger the hole is.
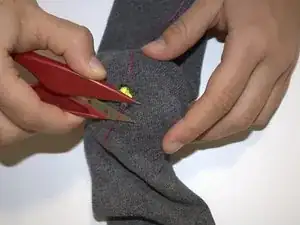
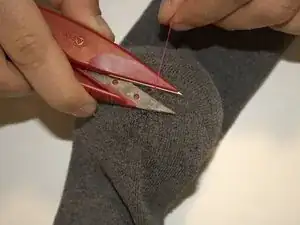
Also, thread trimmers are shown in this tutorial, but you can replace them with regular scissors.
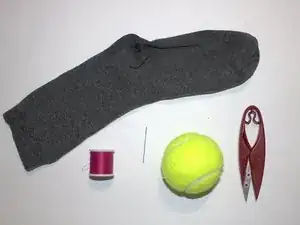
Tools
-
-
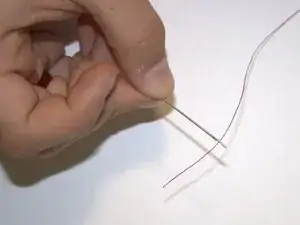
Place one end of your thread through the hole of the needle.
-
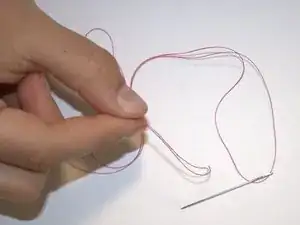
Pull your thread all the way through and match the ends of the thread together.
-
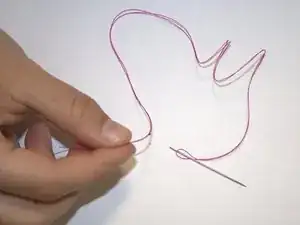
Tie a knot with the ends of your thread.
-
-
-
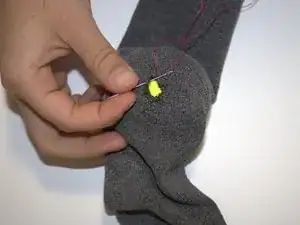
Insert your needle into the inside of the sock at the edge of the hole no more than half a centimeter away from the edge.
-
Pull the needle all the way through.
-
-
-
Insert your needle next to and below where the first insert was.
-
Pull your needle all the way through to create your first stitch.
-
-
-
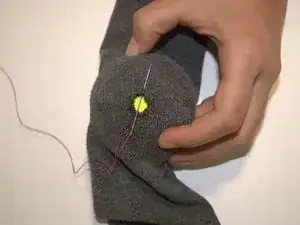
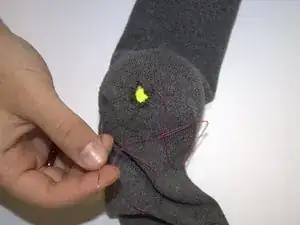
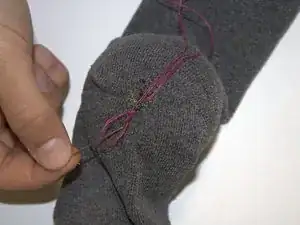
Insert your needle in the opposite side of the hole and pull to create another stitch.
-
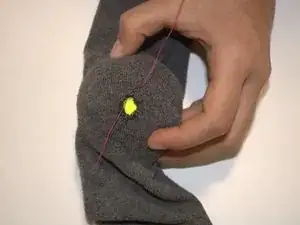
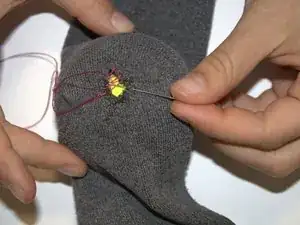
Repeat this step, crisscrossing your stitches until you reach the end of the hole.
-
-
-
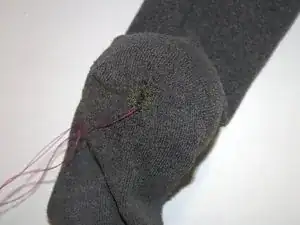
Once you reach the end of the hole, carefully pull on your thread to tighten the stitches together.
-
-
-
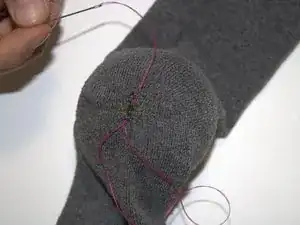
To close off the stitch, insert your needle back under all of your stitches and pull out your needle at the top of the repair.
-
Pull your needle through, but not all the way, to create a small loop.
-
-
-
To create a final stitch, insert your needle back under all of your stitches.
-
Pull the thread all the way through.
-
