Introduction
Before you begin:
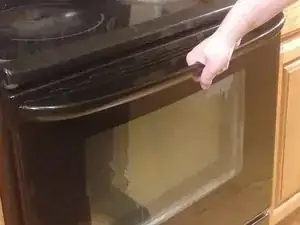
For this fix, you would need to find a specialized screwdriver that would fit into you oven door handle screws. Have a damp cloth at hand if the screws are needed to be cleaned. If during your observation you notice that the screws are damaged you may need to buy new ones.
Tools
-
-
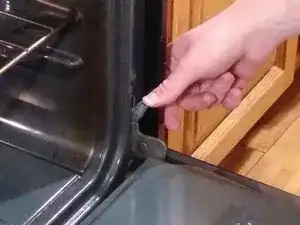
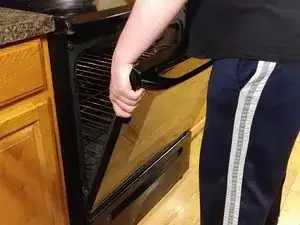
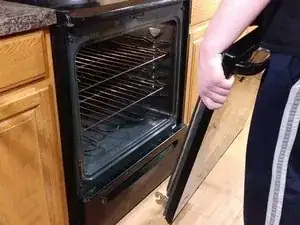
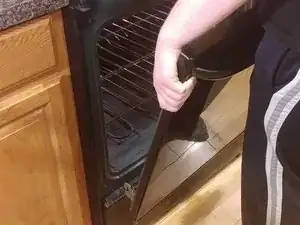
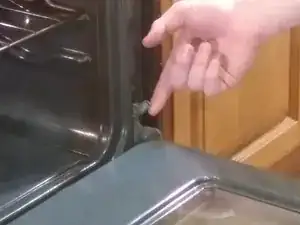
Lift the door up and detach from the oven.
-
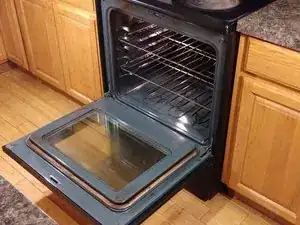
Place the door on the floor or any other flat surface.
-
Conclusion
To reassemble your device, follow these instructions in reverse order.
One comment
I'm glad to hear that you found the article informative! My goal is to provide accurate and helpful information to anyone who asks. If you have any more questions or topics you'd like to learn about, feel free to ask!
Ava Dave -
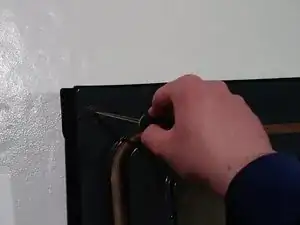
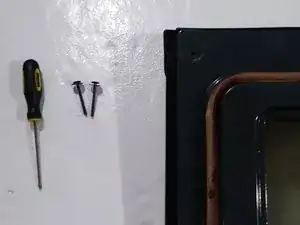
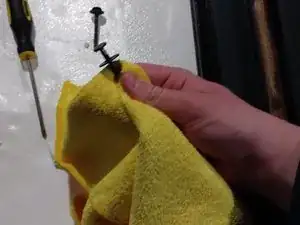
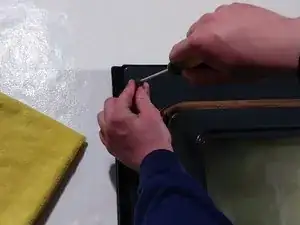

Very Easy - 5 minutes.
If the handle still works, it's not necessary to remove the oven door.
The screws are Phillips #2 aka P2 machine type. They loosen because of thermal cycling. The tip is threaded into a machine nut molded the handle and unlikely to be damaged by corrosion. P2 fasteners are used in combination with hex head screws in concealed areas on most major appliances for all metal cabinetry connections sold in the US. Phillips #0 fasteners are used only for low strength connections of small, light things like cameras, plastic cases and circuit boards.
1. While pulling the handle gently outward, try to slide a paper towel between the handle base and the cabinet door on each end. If it fits and comes out without sticking or residue, then tighten the screws.
2. If not, with the towels in place, spray a grease-cutting all purpose cleaner like 409 around the bases of the handle and work the towels back and forth to remove the debris. Repeat on the other end. Then tighten the screws.
P Schmied -