Introduction
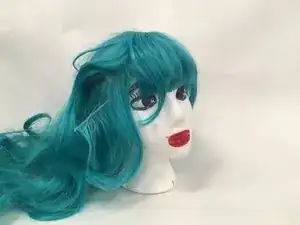
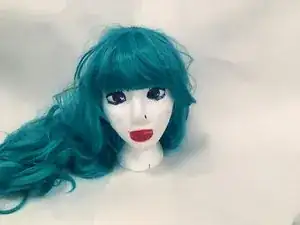
Ever used a wig for your theater performances or Halloween costumes? Do you know someone who constantly need wigs because they have cancer or other medical conditions? This guide is for those who believe that wigs with fallen out pieces should be trashed. We want to show that fixing a wig is simple. With a rise in popularity of cosplay, anyone can fix their wigs with a needle and thread after lots of wear and tear. Our hope is that the guide will also help reduce waste and save money. This guide utilizes sewing needles and pins, so users need to be careful not to prick themselves.
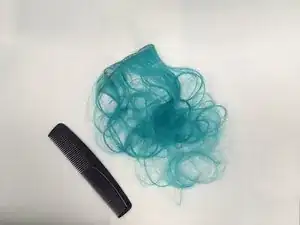
Tools
-
-
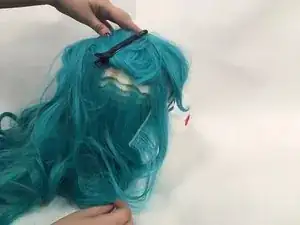
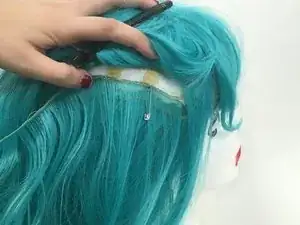
Mount the wig on somewhere secure.
-
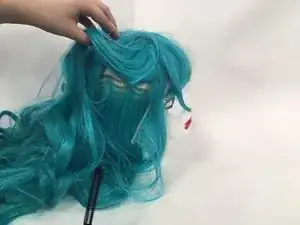
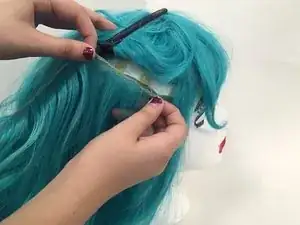
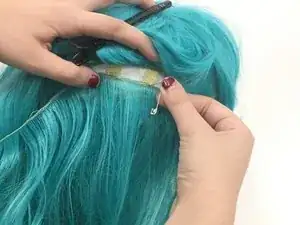
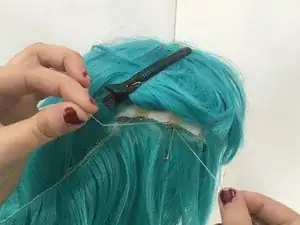
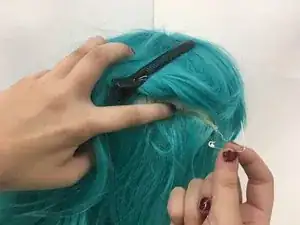
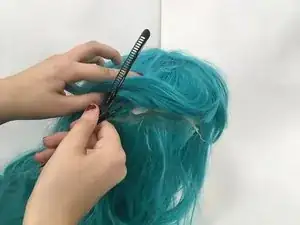
Clip up the hair out of the way of the damaged spot with hair clips.
-
-
-
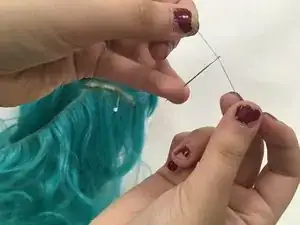
Thread a needle with a long strand of thread.
-
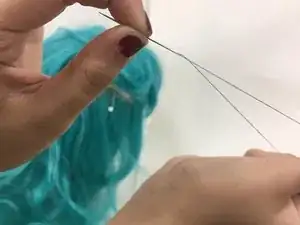
Double it over by pulling the needle to the middle of the thread, then bring both ends together to knot them.
-
-
-
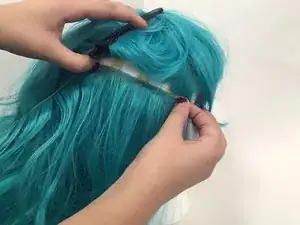
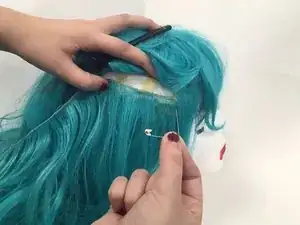
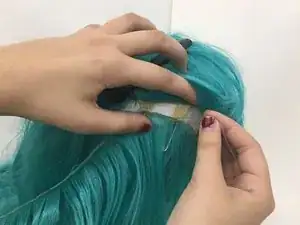
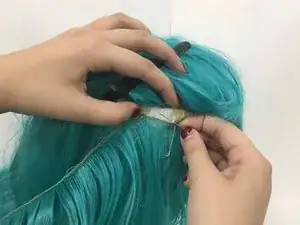
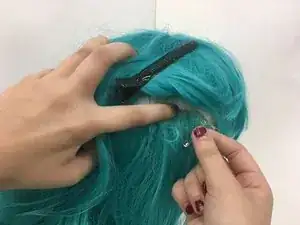
Sew the weft in at each of the non-elastic bands of the wig in the damaged area.
-
An overhand stitch (also called a whip stitch) is easy and works well for this fix.
-
Be sure to tie off any loose ends after you are done stitching.
-
-
-
Take out the pins and check to see if there is still damage and another weft is needed.
-
If the damage is still noticeable, repeat steps 1-8 with another weft. If not, you are ready to use your wig again!
-
To reassemble your device, follow these instructions in reverse order.
