Introduction
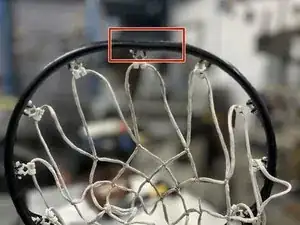
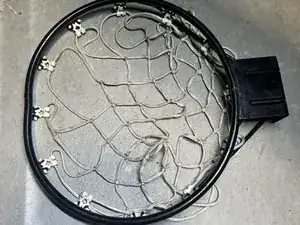
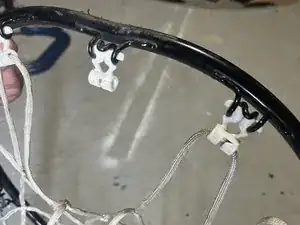
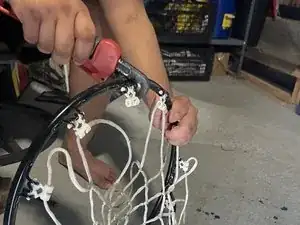
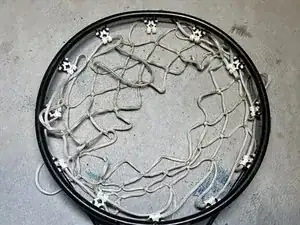
This guide will explain how to fix and restore a bent basketball rim back to working condition. Basketball rims often bend due to aggressive dunking, hanging on the rim, or other misuse. By following these steps, you'll save money on replacement costs and extend the life of your basketball hoop. The process typically takes around 5-10 minutes, if you have the rim already separated from the backboard, and is suitable for those with basic DIY skills. Throughout the repair, prioritize safety by wearing protective gear such as gloves and safety glasses. Keep in mind that while many bent rims can be improved, some severe damage may not be fully reversible. Consider seeking help for severely damaged rims or if you lack the necessary tools and experience.
Tools
-
-
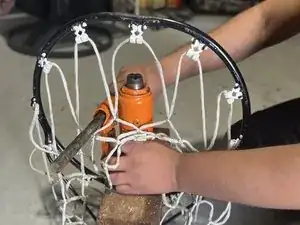
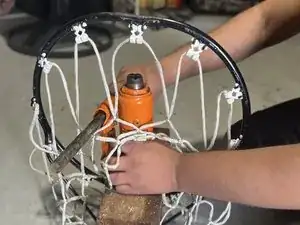
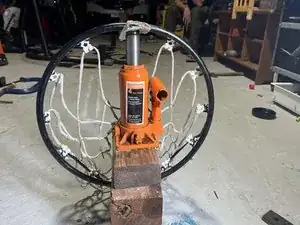
Set the hydraulic jack on top of the wooden surface inside the rim. Adjust its position so that when extended, it will make contact with the bent area.
-
-
-
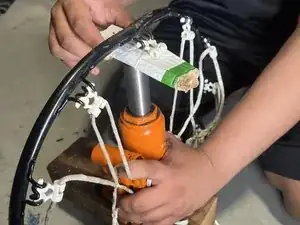
Before the jack touches the bent area, place a piece of cardboard or cloth between the jack and the rim.
-
-
-
Slowly extend the hydraulic jack until it makes contact with the protected bent area. Continue to apply pressure gradually, watching closely as the rim begins to straighten.
-
-
-
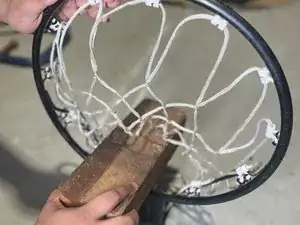
If needed, use a pipe wrench to make minor adjustments. Wrap the wrench's jaws with cloth to protect the rim's finish. Apply gentle pressure to tweak any small bends or irregularities.
-
-
-
Carefully examine the rim from all angles to ensure it's properly straightened. If necessary, repeat steps 6-8 for any remaining bent areas.
-
With patience and the right tools, fixing a bent basketball rim is a manageable and easy DIY project. After straightening the rim, conduct a final inspection from all angles to ensure it's properly aligned. If you removed the net earlier, don't forget to reattach it to complete the repair. This method can restore your rim to its proper shape, saving you the cost of a replacement. Remember to work carefully and prioritize safety throughout the process. Once fixed, your rim should be ready for many more games and practice sessions. Regular inspections can help catch and address any future bends early, prolonging the life of your basketball hoop.
