Introduction
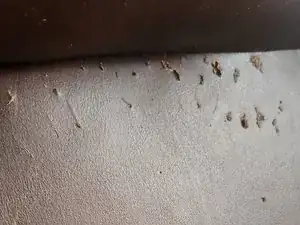
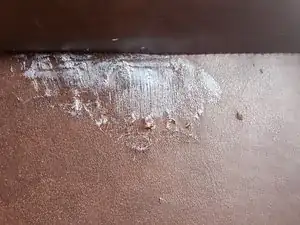
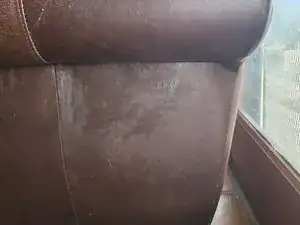
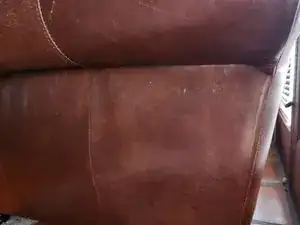
Cats are very cute creatures, however, devastating to some furniture. In this guide, the repair of minor cat scratches made on a leather couch will be documented in a detailed process with visuals and explanations.
The repair process is fairly simple, however, be sure to allow ample time for the products to dry. Not doing so could prolong the repair and/or damage items that come in contact with the repair area.
This guide is intended for minor damage to a leather couch and does not cover repairing major holes and/or restuffing the furniture.
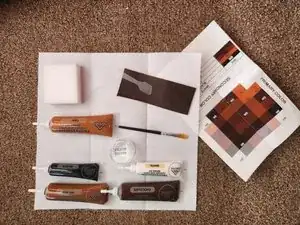
Tools
-
-
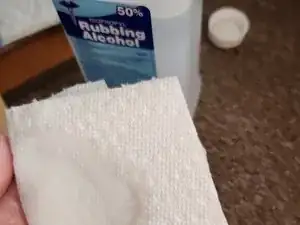
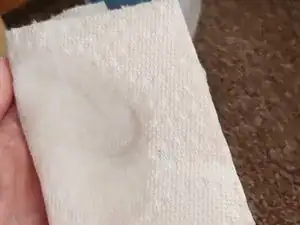
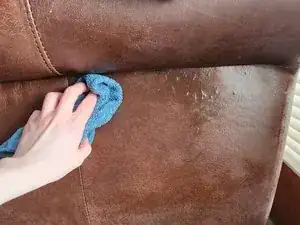
Apply a small amount of the 50% isopropyl rubbing alcohol to a paper towel or cloth.
-
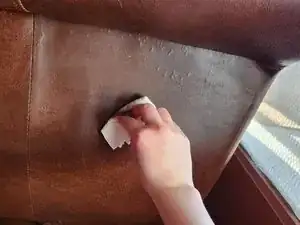
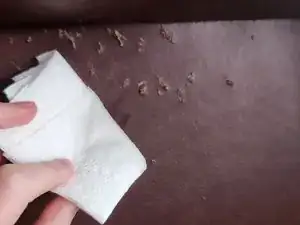
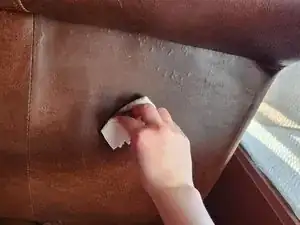
Wipe down the damaged area of the leather with the rubbing alcohol.
-
-
-
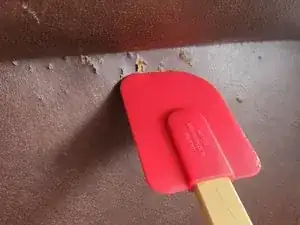
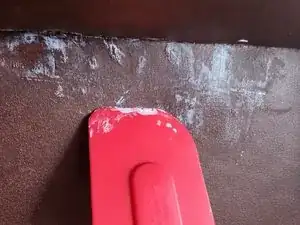
Move a spatula/scraper up and down over the scratches to determine the gradient (the way they open).
-
-
-
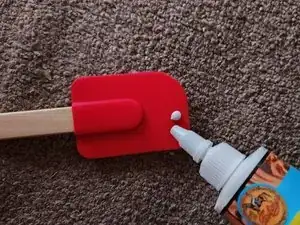
Apply glue to the spatula/scraper and spread it over the damaged area on the couch.
-
Ensure the scratches are fully saturated in this step.
-
-
-
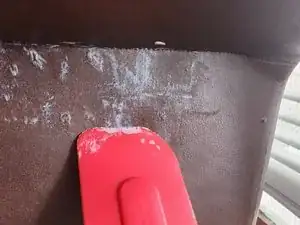
Push the spatula/scraper toward the gradient of the scratches, closing them, and removing excess glue.
-
Wait for the glue to fully dry before moving to the next step.
-
-
-
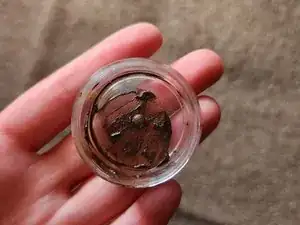
Use the available colors in the dye kit with the paintbrush to spot-treat the repaired area.
-
Use light coats with this process for a clean and thorough application.
-
Let the product fully dry before moving to the next step.
-
-
-
Before proceeding, you may use an 800-grit section of sandpaper to gently remove stiff or spiked remnants of color.
-
Apply 50% isopropyl alcohol to a paper towel or cloth.
-
Gently move over mistakes or areas with excess color.
-
-
-
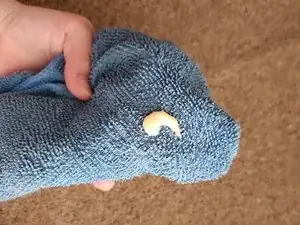
Apply a small amount of leather conditioner to a microfiber towel.
-
Work into the couch using circular motions, ensuring the product is massaged into the leather.
-
Depending on the location of the damage, allow 2-4 hours for the product to be absorbed into the leather before using the couch.
-
-
-
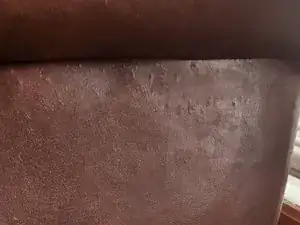
Observe the finished product. Determine whether the leather surface is adequately scratch-free.
-
If the area needs more attention, repeat steps 1-7 accordingly.
-
Once the dye has dried and the leather conditioner applied, the couch will be repaired to its former glory.
