Introduction
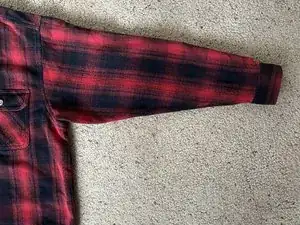
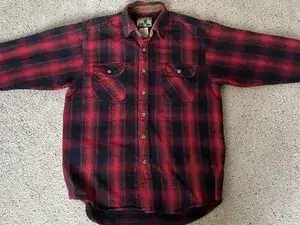
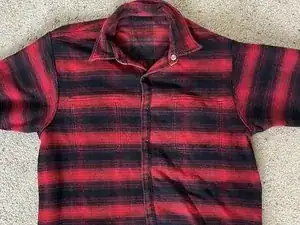
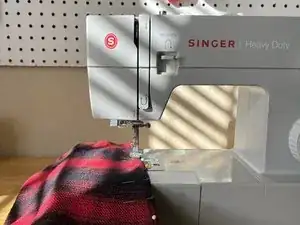
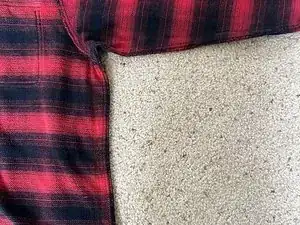
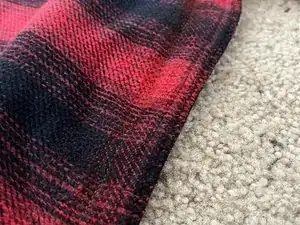
If the fit of your shirt sleeve is not to your liking, follow this guide, which provides step-by-step instructions for reducing the circumference of the upper arm or bicep area of a sleeve. Basic sewing skills are required, but by following these instructions, you'll be one step closer to achieving that perfect-fitting shirt!
Tools
-
-
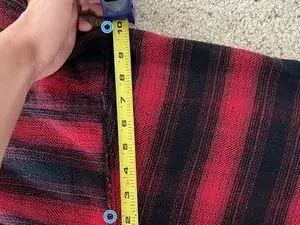
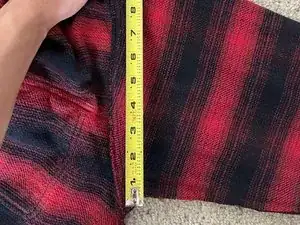
Use a measuring tape to measure your desired width from the top point of the shoulder down to the seam of the shoulder.
-
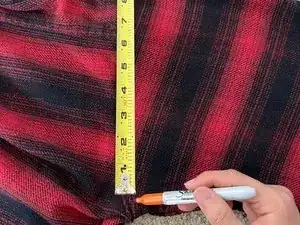
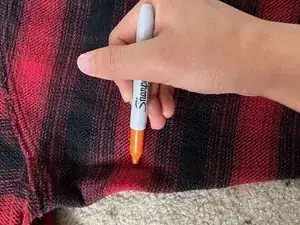
Mark the bottom point of your measurement with a fabric pen or tailor's chalk.
-
-
-
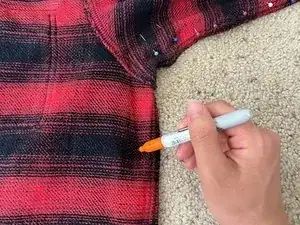
Use a fabric marker or tailor's chalk to draw a line from the marking, ensuring it aligns with the rest of the sleeve.
-
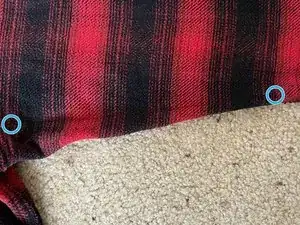
Draw another line from the marking, extending down to align with the side of the body of the shirt.
-
-
-
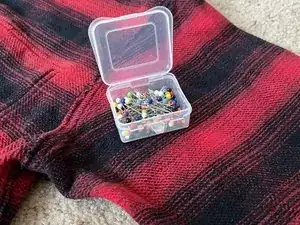
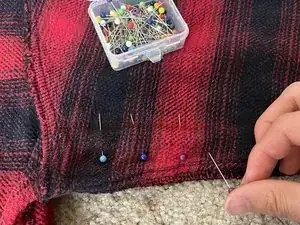
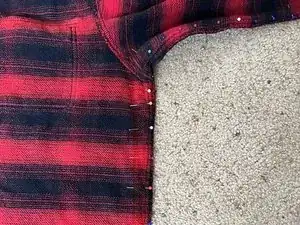
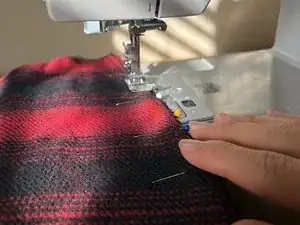
Use straight pins to pin the sleeve across the lines you drew.
-
Push the pin through the top and push it back through the bottom of the sleeve.
-
Place a pin every inch across the lines.
-
Now that you have finished your fix, go ahead and try on that perfect-fitting shirt. Thank you for picking this fast fix guide!
