Introduction

Coffee makers are a household appliance high in popularity, but oftentimes, people experience a multitude of issues that lead to them throwing out their model in order to upgrade; then, inevitably, the cycle continues. Companies that make coffee makers are counting on this to happen, especially with cheaper models like this one, because it means more profit for them – but it also means more plastic in landfills, which can release toxic chemicals over time. In order to stop this cycle, try to address your coffee maker's issue yourself.

If your machine is producing coffee that tastes off, or lukewarm/cold coffee, your machine's water tube may be compromised. If you live in a region with hard water, not using filtered water can cause mineral buildup in the tube that may affect water taste. Depending on the location of your coffee maker, small particles can easily get inside the tube that takes water to the heating component, potentially blocking the water from making it there.

These issues can be addressed by disassembling the coffee maker, removing the water tube, cleaning it out, and reassembling. By trying to fix your coffee maker yourself, regardless of whether or not you are successful, you are doing your part to keep plastic out of landfills and chemicals out of our atmosphere.

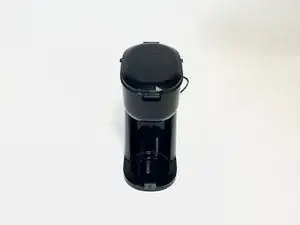
This specific guide is for the Mainstays (Walmart) Single Serve Dual Brew Coffee Maker (201963).

  1. TUpPgjoCQUOWgBHE
    TUpPgjoCQUOWgBHE
    tYNF5pcWMLDo1AfQ
    fvLVAFOHNTYQ3bh4
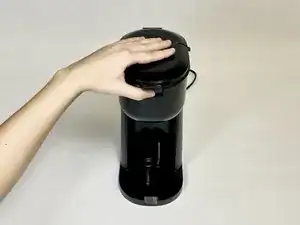
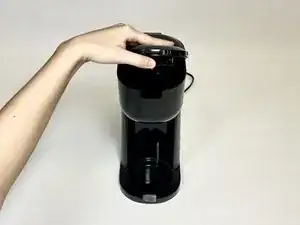
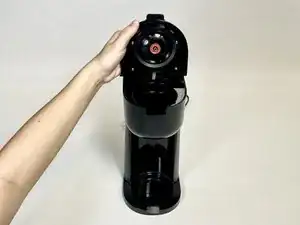
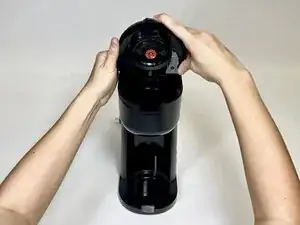
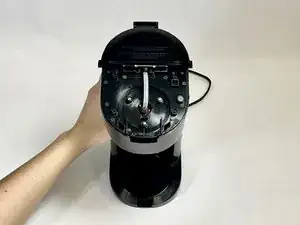
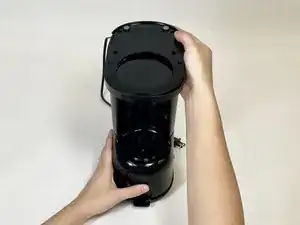
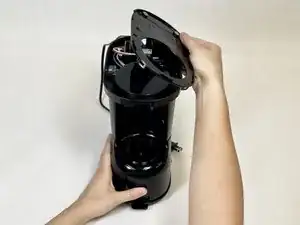
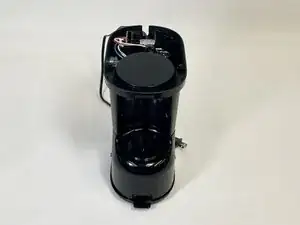
    • Open the top of the coffee maker.

  2. jFGkXGw6UMIxiX6e
    jFGkXGw6UMIxiX6e
    WQnHvGb54qQpb4Zo
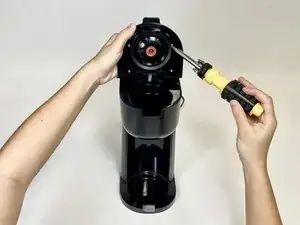
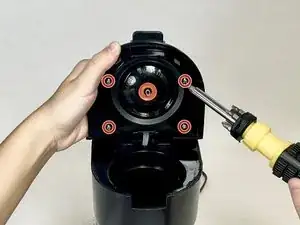
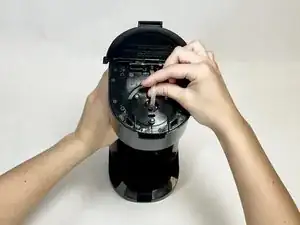
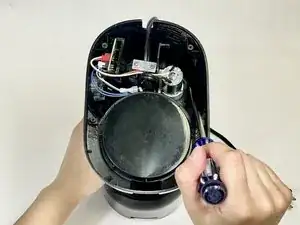
    • Use a Phillips screwdriver to remove the four 6 mm screws surrounding the puncturing needle.

  3. NoyPywCUZBwBSM2I
    NoyPywCUZBwBSM2I
    xbsBl4CTJ14FIheB
    ceRmTVrYujCASYdv
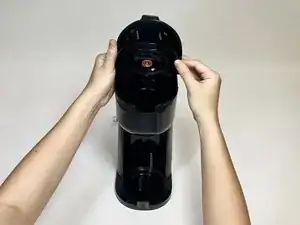
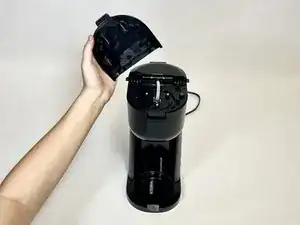
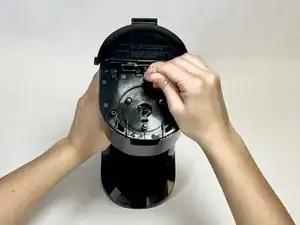
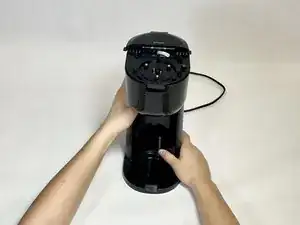
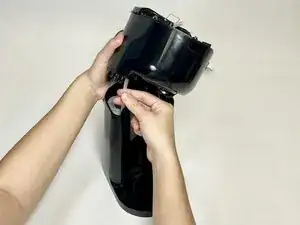
    • Press down on the brew chamber release button and remove the backing piece.

  4. kAPU2BNClgimbrAH
    kAPU2BNClgimbrAH
    e2bL3MAO4vKREVCA
    wieGcF3M1uaN1DYr
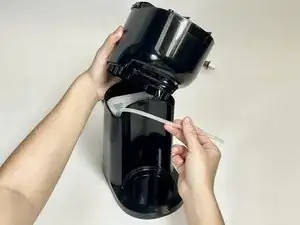
    • Disconnect the water tube from where it is connected to the needle.

  5. LVnWiSRpDJfbKkgD
    LVnWiSRpDJfbKkgD
    TJTXNoYukYTPTKuE
    jgviRuQwpFOamTIm
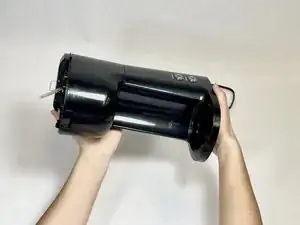
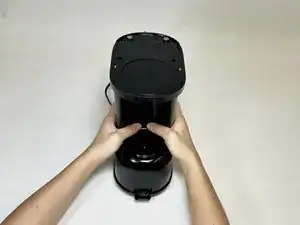
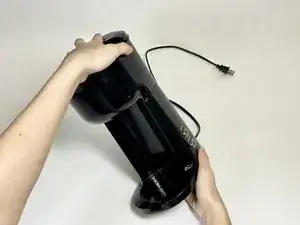
    • Flip the coffee maker upside down.

  6. Fy5RqVQqvvkhDsAZ
    Fy5RqVQqvvkhDsAZ
    qtL1FLVRPqt2Kxv2
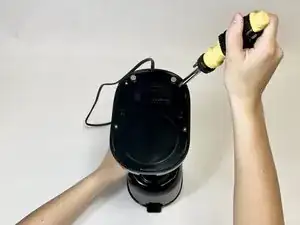
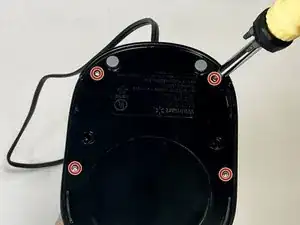
    • Use a Phillips screwdriver to remove the four 7 mm screws on the base of the coffee maker.

  7. JZDKOAYEEMYpJdxu
    JZDKOAYEEMYpJdxu
    rGEbhSp3wXxWFWPN
    YkIvCstrIIR6UDWU
    • Remove the base.

  8. jbiE5fWyWnrU3YN1
    jbiE5fWyWnrU3YN1
    atQh1OLyHbYRs3Kp
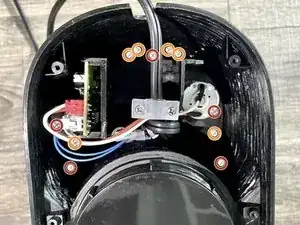
    • Use an 8" Phillips screwdriver to remove the five internal 14 mm screws from within the coffee maker.

    • Use an 8" Phillips screwdriver to remove the six internal 7 mm screws from within the coffee maker.

    • The second image shows the approximate placement of the screws; you may have to reach inside and move wires to locate and access all eleven screws.

  9. yKEBdJouVtW4EEDX
    yKEBdJouVtW4EEDX
    SPAtqDLwcfeFgpZw
    htJueY1wyUVUYBjW
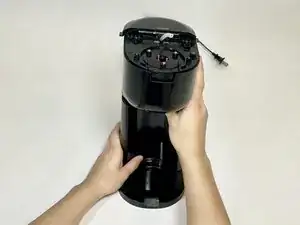
    • Flip the coffee maker right-side up.

  10. 4TsVVKWNsXTk6H1f
    4TsVVKWNsXTk6H1f
    2vojUBvVLYMmCeq5
    dn12SdZMxwSIqUbV
    • Pull the disconnected end of the water tube out of the top of the coffee maker.

  11. KAYSn2tGZZ1UgdUJ
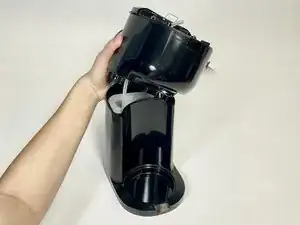
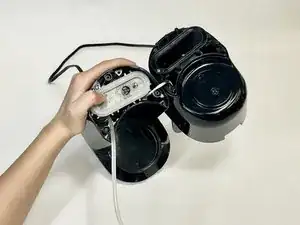
    • Move the top of the coffee maker out of the way so that you can reach into the base.

    • You may wish to put something under the top to support it.

  12. JHGEPvv5SsYEI13U
    JHGEPvv5SsYEI13U
    4TuN5NFE6LE6gRQ3
    OALLXfN1xa6Aw3RO
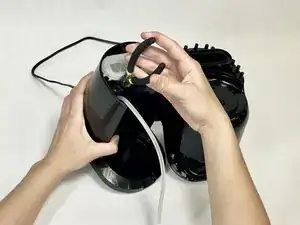
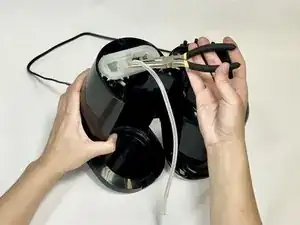
    • Identify where the water tube is connected at the other end.

    • Use pliers or your hand to disconnect it.

    • If you choose to use pliers, take caution not to puncture the tube.

  13. M5IsVoHMP2ORWh1Q
    M5IsVoHMP2ORWh1Q
    sPj2nITd23kqhTWw
    T6i4bwRigIst4brT
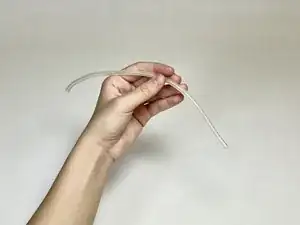
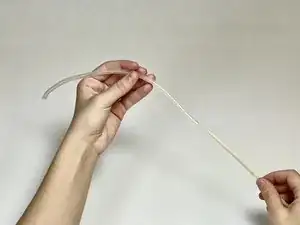
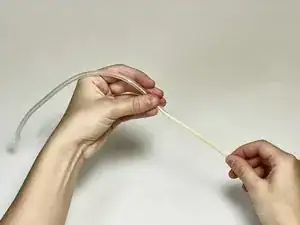
    • Locate any blockages in the water tube and use your chosen tool (chenille stick, wooden dowel, toothpick, etc.) to push them out.

    • If the tube looks cloudy, use a chenille stick to break up the buildup.

  14. ReCPdMVNQPJ4OgiP
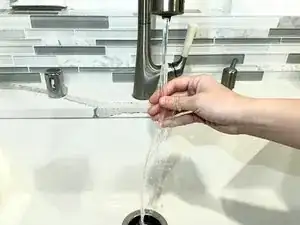
    • Rinse any remaining debris out of the tube.

    • Depending on what tool you chose to use in the previous step, particles from said tool may need to be rinsed out as well.

Conclusion

To reassemble your device, follow these instructions in reverse order.
Lorelei Kriss

Member since: 30/01/24

229 Reputation

0 comments