Introduction
Your car's battery is a vital component of its electrical system, responsible for powering everything from the engine's starter motor to the lights and accessories. Ensuring your battery is in good condition is essential for reliable performance.
We'll cover the essential steps for removing, cleaning, and reassembling a car battery. A well-maintained battery is crucial for a vehicle's performance.
This step-by-step overview will help you keep your car's electrical system in optimal working order, ensuring a smooth and trouble-free driving experience.
Why Clean Your Battery?
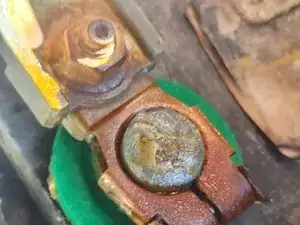
When exposed to the elements of nature or neglect, battery terminals will develop corrosion buildup. For example, terminal heads may have a white, blue, or greenish substance with a powdery, granular texture.
The corrosion color depends on what kinds of chemical reactions have occurred. While small amounts of corrosion buildup are harmless, it can cause increasingly severe issues if left untreated. Issues include ignition start-up issues, dead batteries, and in extreme cases battery malfunctions or damage.
Why This Guide is Needed:
Replacement batteries are expensive and you may be able to extend the life of your car battery if you perform maintenance such as this.
Most automobiles' failure to start is from battery issues due to corrosion or improper/loose battery cables.
Lastly, understanding the proper tools, procedures, and dangers of proper battery maintenance will allow you to safely operate your vehicle and possibly save a life.
Tools
Parts
-
-
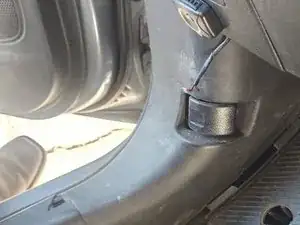
Pull the hood release in the bottom left of the driver's side of your car.
-
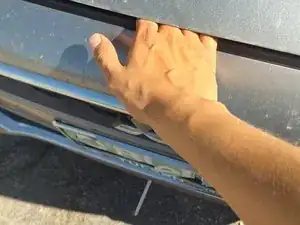
Release the hood safety catch inside the hood.
-
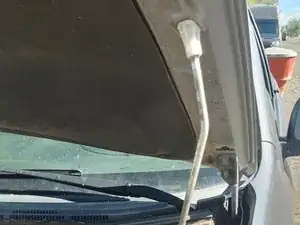
Lift and secure the hood with the hood prop.
-
-
-
Put on personal protective equipment, including gloves and safety goggles, to shield yourself from battery acid and debris.
-
Carefully inspect the battery for any signs of damage, leaks, or cracks. If the battery is damaged, it should be replaced instead of repaired or cleaned.
-
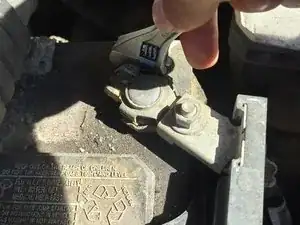
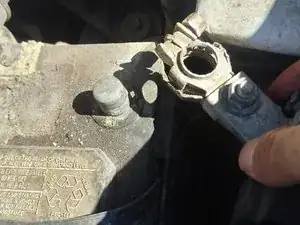
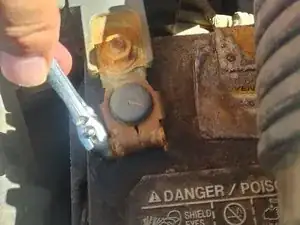
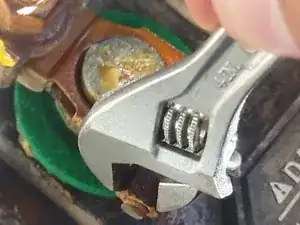
Use a small adjustable wrench to loosen and remove the negative (-) battery cable first.
-
Remove the positive (+) cable. Set the cables aside, ensuring they don't accidentally touch the battery terminals or any metal surfaces of the vehicle.
-
-
-
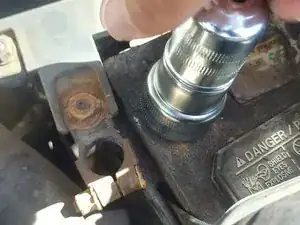
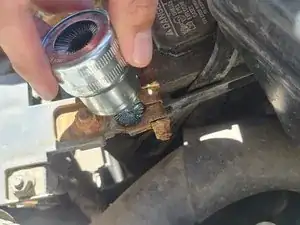
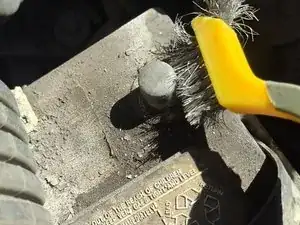
Spray the battery cleaner on the terminals and wait a few minutes. Use the wire brush or battery terminal brush to thoroughly scrub corrosion and debris from the metal until the terminals are clean and shiny.
-
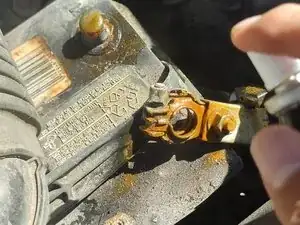
Clean inside the battery cable heads which connect to the battery terminals as well.
-
-
-
Spray CPC on the battery terminals and battery cable heads.
-
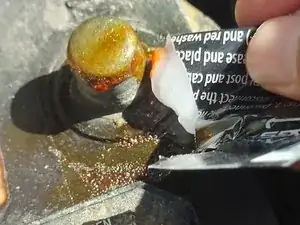
Apply dielectric grease to battery terminals generously.
-
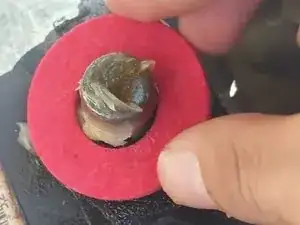
Slip washers onto the battery terminals.
-
-
-
Use an adjustable wrench to reconnect the positive (+) cable to the positive (+) battery terminal and tighten it securely.
-
Use an adjustable wrench to reconnect the negative (-) cable to the negative (-) battery terminal and tighten it securely.
-
Double-check that all connections are secure.
-
Account for all of the tools you used and put them away.
-
Start your car to ensure it starts without any issues. Check that all electrical components, such as lights and radio, are functioning correctly.
-
- Reattach the Battery Hold-Down: If your car has a battery hold-down bracket or strap, secure the battery in place. Tighten the bracket or strap to prevent any movement or vibration during driving. If you did not have a battery hold-down skip this step.
- Apply Terminal Protection (OPTIONAL):
- Apply a thin layer of battery terminal grease or petroleum jelly to both the positive and negative terminals. This helps prevent corrosion on the terminals and ensures good electrical contact.
- After application of grease, slide on anti corrosion washers over battery terminals.
- Reconnect the Battery Terminals:
- Positive Terminal (+): Reconnect the positive (+) battery terminal first. Slide the cable connector over the positive terminal post and tighten the nut securely. Use a wrench to ensure a snug fit, but avoid over-tightening, which could damage the terminal.
- Negative Terminal (-): Next, reconnect the negative (-) battery terminal. Attach the cable connector to the negative terminal post and tighten the nut securely. Again, use a wrench to ensure a snug fit without over-tightening.
- Attach Battery Terminal Covers (OPTIONAL): If applicable, any ordered battery covers may be attached if ordered.
- Double-Check Connections:
- Verify that all connections are secure. Ensure the battery is firmly held in place, and the terminals are tightly connected.
- Turn On the Vehicle:
- Start the car to ensure it starts without any issues. Check all electrical components, such as lights, radio, and air conditioning, to make sure they are functioning correctly. This will confirm that the battery is properly reassembled and connected
