Introduction
Use this guide to calibrate a Kobo eReader E ink display. This is done by changing the VCOM number, or "common voltage" number in your Kobo eReader to match a new motherboard or new E ink screen.
This guide works with the Kobo Libra Colour and the Kobo Clara BW and Colour models.
The VCOM number is the reference voltage associated with the device's screen. In order for your screen to work properly, the stored value needs to closely match the VCOM number printed on the screen. You'll need to change the VCOM number if you replace the screen or the motherboard.
Changing the VCOM number is only recommended during display or motherboard repairs. If the motherboard's stored VCOM number doesn't closely match the VCOM number associated with the connected E-ink display, you might see ghosting or a fuzzy / unclear picture. If the VCOM numbers stay mismatched for long periods of time, this may result in permanent damage to the E-ink display.
Note: The VCOM value displayed in Settings may not match the inputted VCOM value to the exact digit.
-
-
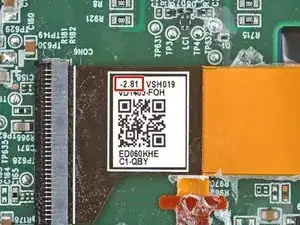
Check the display cable for the three digit VCOM number.
-
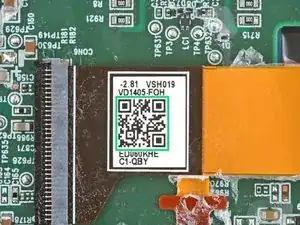
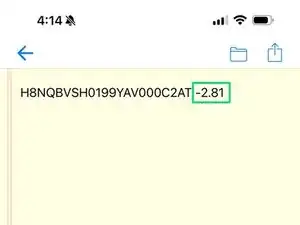
If your screen doesn't have a printed VCOM number, scan the QR code with a dedicated QR scanner app to generate the number. Your phone's built-in camera app won't work.
-
The VCOM number registered on your tablet will be this three digit number multiplied by 1000.
-
-
-
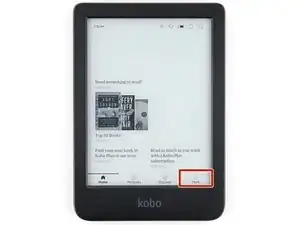
From the home screen, select More at the bottom right corner.
-
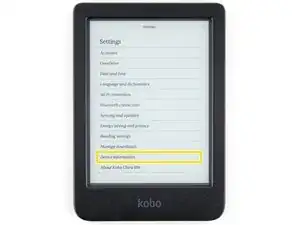
Select Settings.
-
Select Device information.
-
-
-
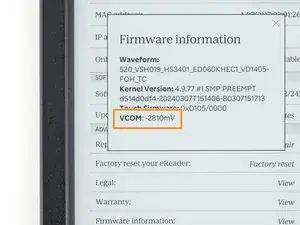
Find the row titled Firmware information and select View.
-
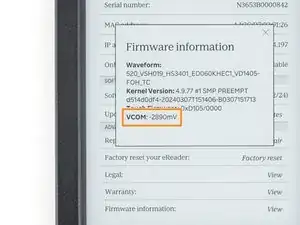
The VCOM number will be listed on the popup. Compare it to the VCOM number for your screen.
-
If your VCOM numbers match, your screen is already calibrated—you're done! If the numbers don't match, follow the next three steps to change the VCOM number.
-
-
-
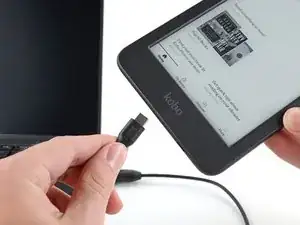
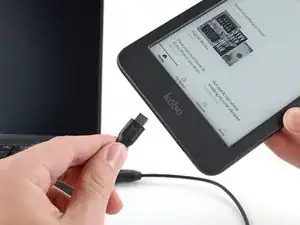
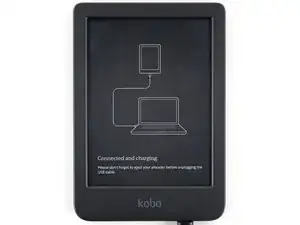
Plug your eReader into a computer.
-
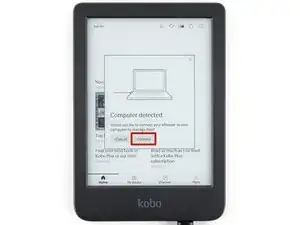
You'll be prompted on the tablet that a computer is detected. Select Connect.
-
If you're having trouble connecting to your computer, click here for troubleshooting information.
-
-
-
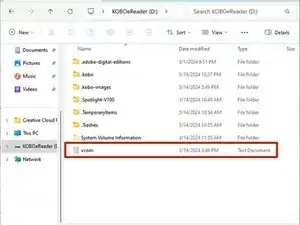
On your computer, use a text editor to create a .txt file named vcom with only the desired VCOM number (including the negative symbol and the x1000 multiplication).
-
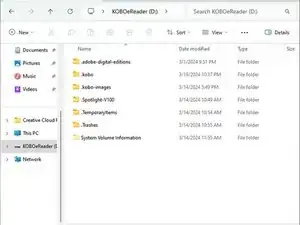
Find the drive called KOBOeReader and open it.
-
Move the vcom file into the drive.
-
-
-
On your computer, eject the eReader.
-
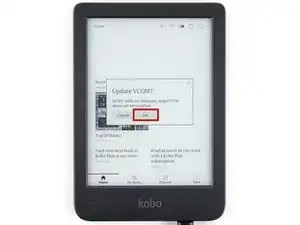
Once the device successfully ejects, you'll be prompted to update the VCOM number. Select OK to update the number and restart the eReader.
-
Navigate back to the Firmware information page and check if your VCOM number has updated.
-
Calibration didn’t go as planned? Try some basic troubleshooting, or ask our Answers Community for help.
6 comments
Any way of doing this on a kobo nia? I just changed my cracked screen and I don't have the vcom heading, nor do the steps work for my model.
Cheers
Mark B -
I saw some posts on forums commenting that some users opened their Kobo and noticed that the VCOM indicated on the board was different from the VCOM configured in the system. My question is whether I should open my Kobo to check if my model also has a mismatched configuration. It seems that several devices are coming with them misconfigured, and here on iFixit, there is the following information: If the VCOM numbers stay mismatched for long periods of time, this may result in permanent damage to the E-ink display.
So, should I open it to check or ignore it, even though there is a possibility that my Kobo is misconfigured? Any suggestions from Kobo or iFixit regarding this?
V M -
Hi, my reader's VCOM value is -1352mV and I've tried to open the back cover to check my VCOM number and found -1.36, I changed to the new value and "upload" to my reader like your procedure, but every time I reboot my device and found the value changed nothing, remains -1352mV.
I'm making sure that each step is correct. Does anyone know what's the problem?
r6b444 -
The VCOM values won't match to the exact digit. In your case, they're super close together and won't pose a problem.
