Introduction
-
-
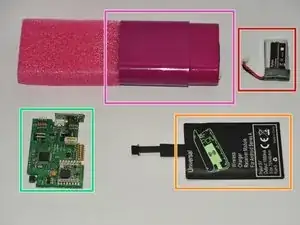
Make sure you have all the necessary parts to assemble the Soil Pro Mini.
-
Soil sensor
-
Battery
-
PCB
-
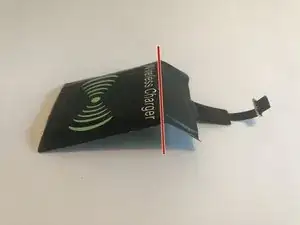
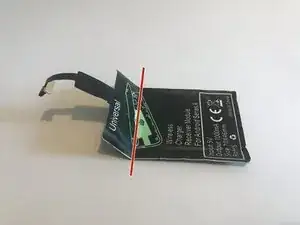
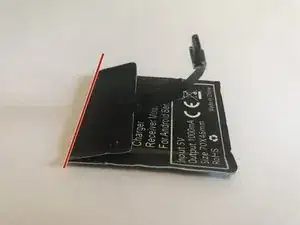
Wireless charger
-
-
-
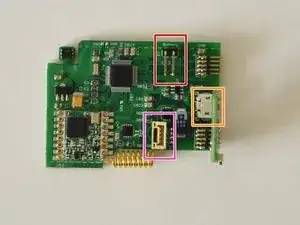
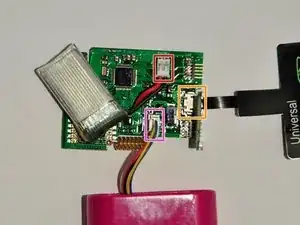
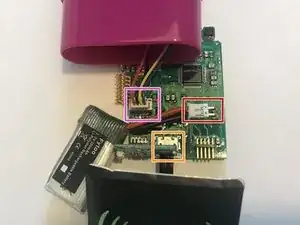
The soil sensor, battery and wireless charger all need to be connected to the PCB.
-
Battery
-
Wireless charger
-
Soil sensor
-
-
-
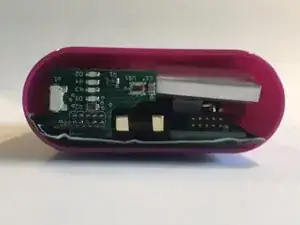
The PCB and the wireless charger are inserted into the deep pocket of the soil sensor.
-
Assembly is easiest when the PCB is inserted at a slight angle.
-
Push the wireless charged in behind the PCB.
-
The PCB and wireless charger should be at the same height, but not inserted all the way.
-
-
-
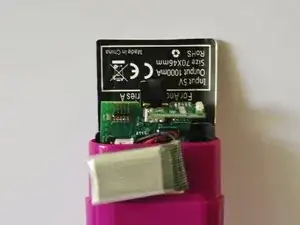
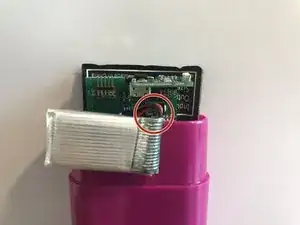
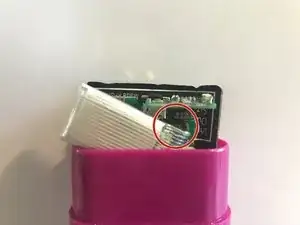
The battery should be placed in front of the PCB. This is easiest when diagonally inserted.
-
The battery wires are in the upper righthand corner.
-
-
-
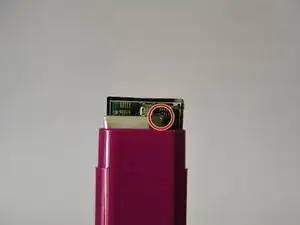
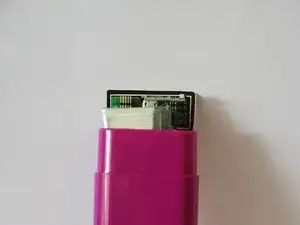
The components can now be pressed in all the way.
-
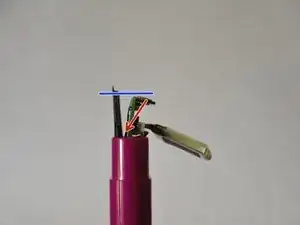
The PCB must be below the edge of the soil sensor. The wireless charger is allowed to stick out a little bit.
-
-
-
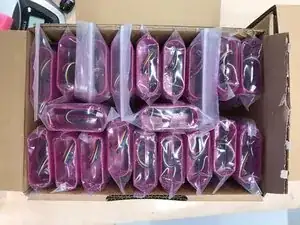
Put the assembled Soil Pro Mini back in the bag.
-
Place 20 assembled Soil Pro Minis back in the box.
-
