Introduction
Have you ever had a belt that was just right a couple years ago, and now find yourself struggling to make it work? Do you wish that your belt just had a few extra holes so it can be a perfect fit once more? With this guide, we will teach you how to add those extra holes to make it just as good as it was before.
In this guide, we will be using a simple method to make new holes in the leather belt using a pin punch, a hammer, and a razor to clean up around it afterwards. While the steps are simple, we suggest making sure you handle the tools properly and with caution to prevent any injuries, regardless of how simple and easy some steps look, safety always comes first,
Now then, let’s begin!
Tools
-
-
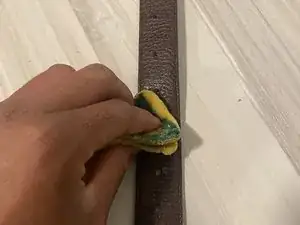
Make sure the leather belt is clean by wiping it down with water and drying it before working on it beforehand to get rid of any excess dirt or grime.
-
-
-
Find a flat and durable surface to work on, preferably a wooden work table. If that’s not available, then use a good sized wooden block to work on.
-
-
-
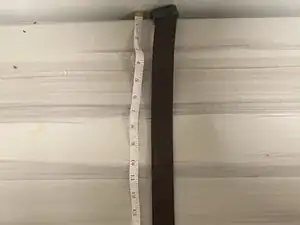
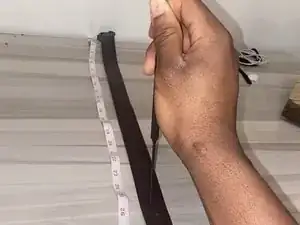
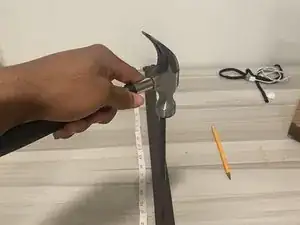
Using a measuring tape, measure the distance between each of the existing holes to figure out the distance to place your new hole.
-
-
-
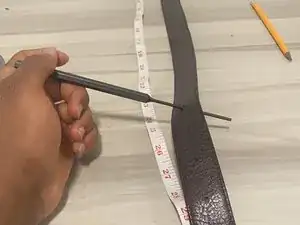
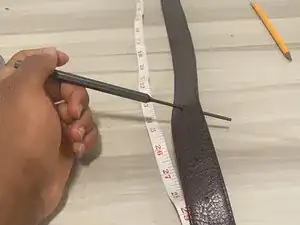
Mark where you want the hole with either a pen or indent using the pin punch. Mark as many as you see fit before continuing onto the next step.
-
-
-
Align the pin punch where you marked the hole.
-
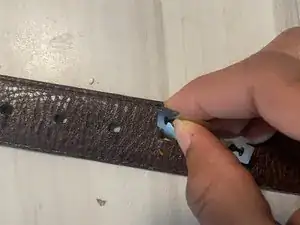
Make sure to tighten the grip on the pin before hammering onto the marked area. Continue this for all the other hole marks.
-
Once you complete all your steps, make sure to congratulate yourself on your new belt! Now you can hold up anything you need without any issues.
