Introduction
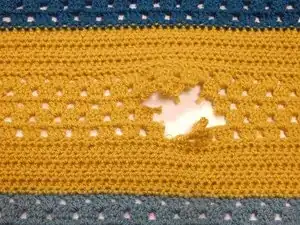
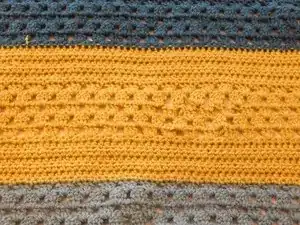
Even the most well-made crochet blanket can start to look a little shabby after years of love and use. It's not uncommon for the yarn loops on a crochet project to unravel over time and a hole starts to form. Unless your blanket is literally hanging on by a thread, don’t throw it away yet! This guide will walk you through how to repair a hole in a crochet blanket so that it looks good as new.
Note: The exact repair method will depend on the construction of the blanket and the stitch pattern used. This guide works best for projects worked in three double-crochet clusters, also known as a granny stitch.
Tools
-
-
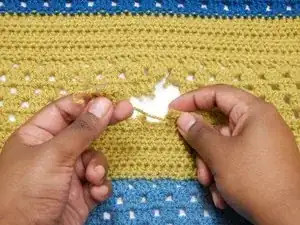
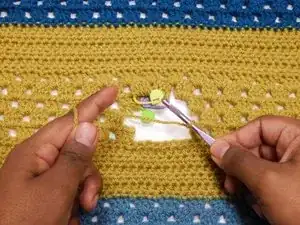
Carefully unpick any torn or damaged stitches that have become separated from the main body of the blanket.
-
-
-
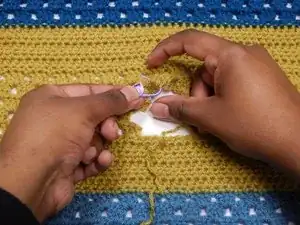
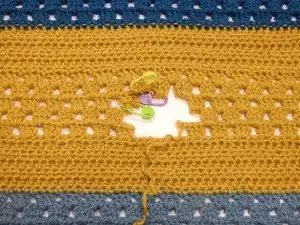
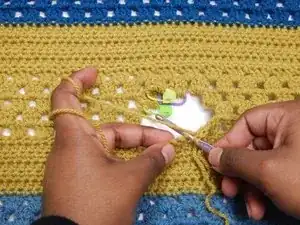
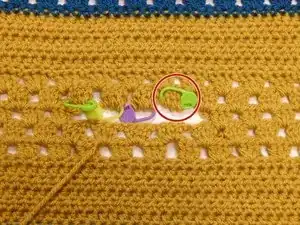
Secure any loose or dangling stitches by threading the bottom loops with stitch markers and clasping them closed.
-
-
-
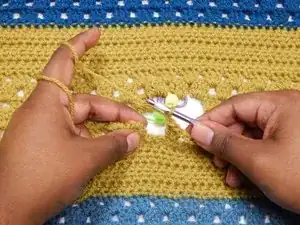
After you’ve secured all of the loose stitches, it's time to fill in the hole. Join your new yarn to the first stitch on the bottom row.
-
-
-
Follow the original stitch pattern, starting at the bottom row and working from right to left.
-
When you're finished with a row, join with a slip knot and fasten off. Start the next row and repeat Steps 3 and 4.
-
-
-
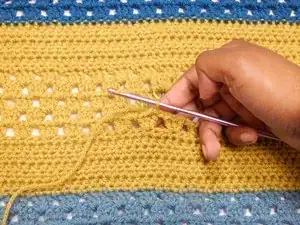
When you reach the last row, take out the stitch markers in the top row of stitches.
-
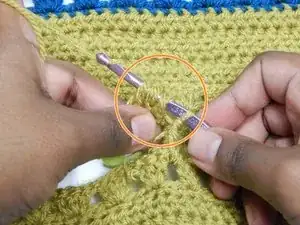
Insert your hook through the bottom loops of the stitch. Yarn over and pull through all of the loops on your hook.
-
Repeat for the rest of the row.
-
