Introduction
This guide will show you how to replace the concrete foundation if your fence post has started to sway.
Before you use this guide, be sure that your fence post is not warped or damaged. This would mean you would need a replacement post before following the steps to this guide. If the post is not damaged the problem you are facing is likely that the foundation of the post needs to be restored.
Steps 4 and 5 will need the use of concrete mix to create a new foundation for your fence post. I recommend opening the bag partially to pour only desired amounts at a time. Depending on the size of the hole you dug in steps 2 and 3, you may only use some of the concrete mix.
Good luck on repairing your fence post. This guide aims to show all required actions and stop swaying from happening again in the future.
Tools
-
-
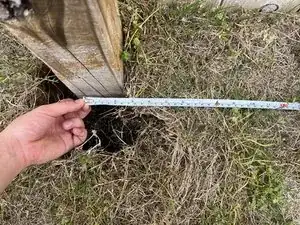
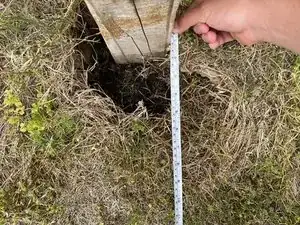
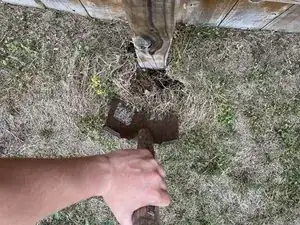
Use the shovel to make an outline around post within the measurement made in Step 1.
-
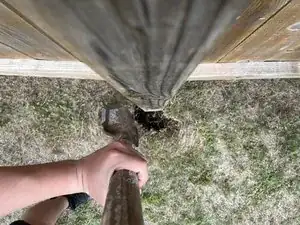
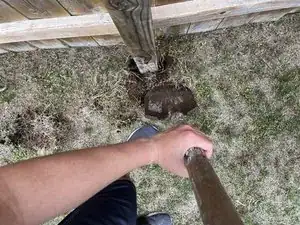
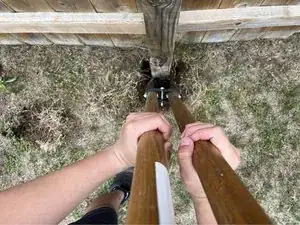
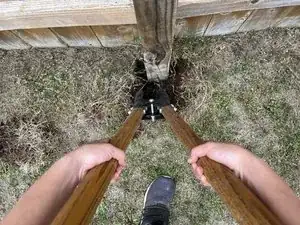
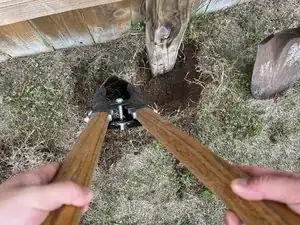
Dig the hole about 1.5 to 2 feet down within the outlined area.
-
-
-
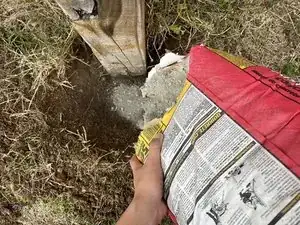
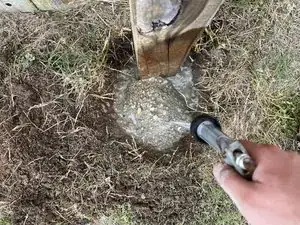
Open the bag of concrete and pour enough concrete to cover the bottom of the hole.
-
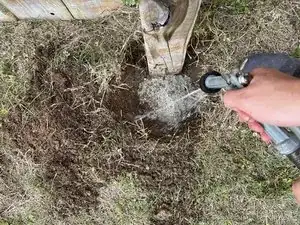
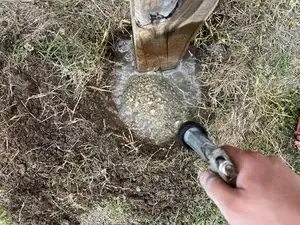
Add some water using the water hose to allow the concrete to become easier to mix
-
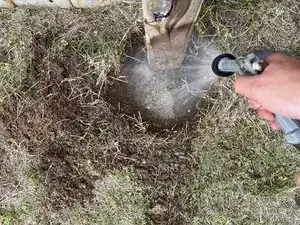
Add more water to create a balance between the amount of water and concrete inside the hole.
-
-
-
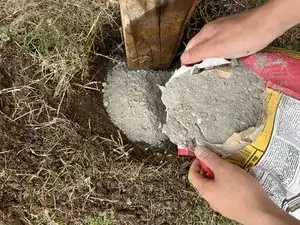
Add more concrete until the amount reaches just below the top of the hole.
-
Add more water to the mixture to allow the concrete to have a smooth consistency.
-
Again, balance the amount of water and concrete in the hole so there is not an excess of either in the hole.
-
-
-
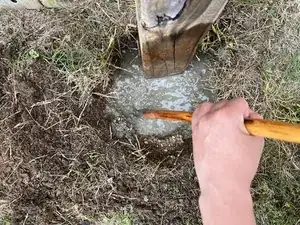
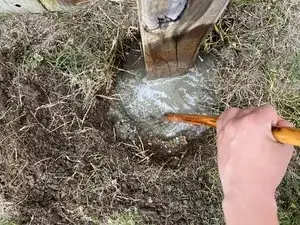
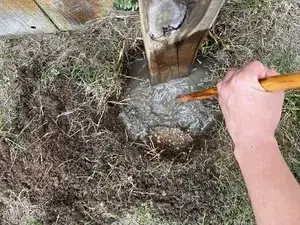
Use a mixing stick and begin stirring the mixture of concrete and water.
-
Keep stirring until you can feel a smooth consistency in the mixture. This will ensure that there are fewer pockets of air in the mixture.
-
-
-
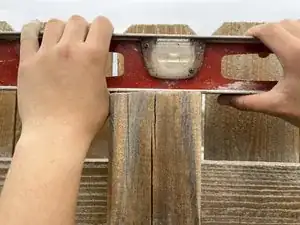
While the concrete is setting, use the leveler to ensure that the post lies horizontally. To determine this, adjust the poles angle until the air bubble in the level floats in between the two line markings.
-
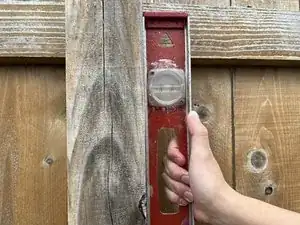
Apply this same procedure to ensure the post stands vertically straight.
-
-
-
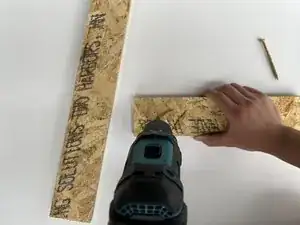
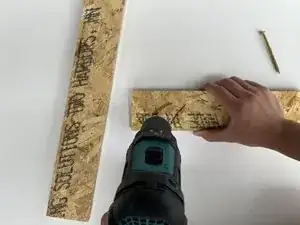
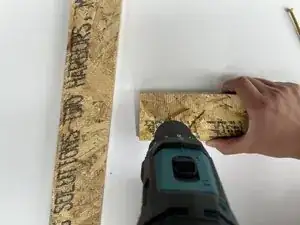
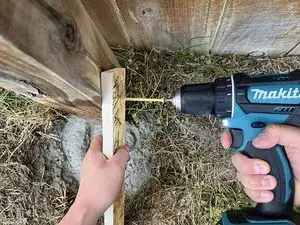
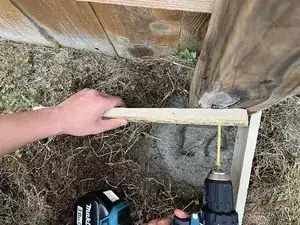
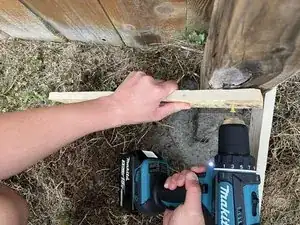
Use the drill and 2 inch Torx #8 wood screws to drill the bracing wood into the post.
-
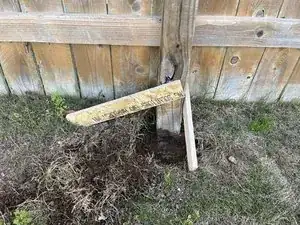
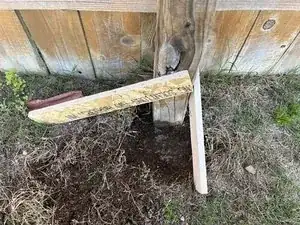
Align one of the pieces of brace wood to be perpendicular to the post and the other to be parallel to the post to prevent swaying while the concrete settles.
-
Congratulations, you now have a strong and sturdy fence post! Feel free to take off bracing wood once concrete fully settles.
