Introduction
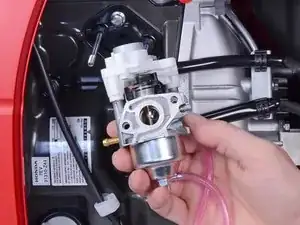
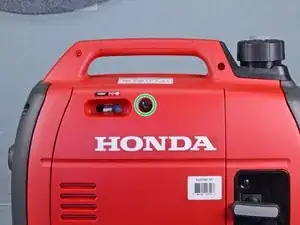
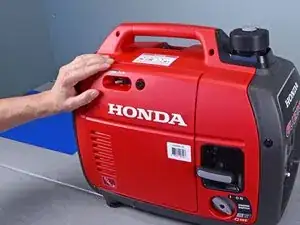
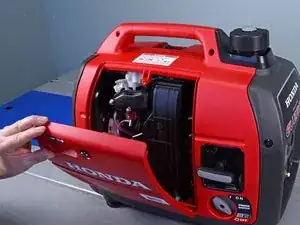
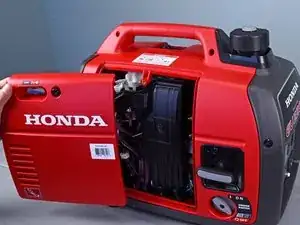
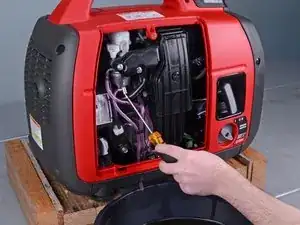
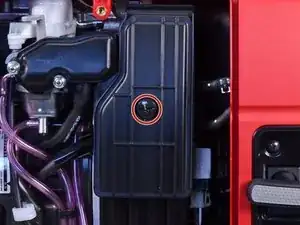
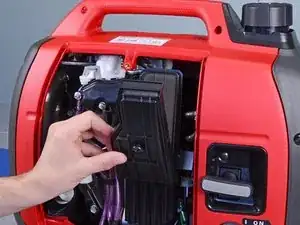
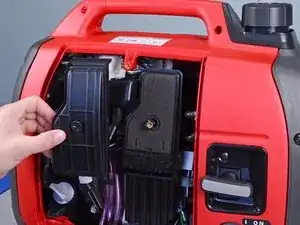
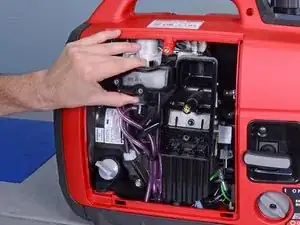
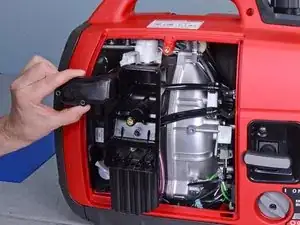
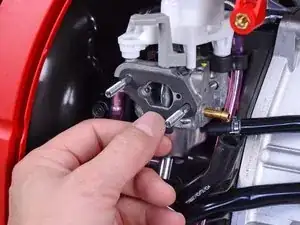
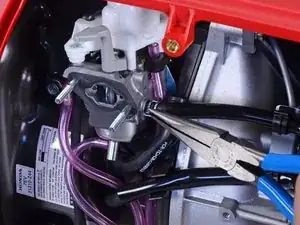
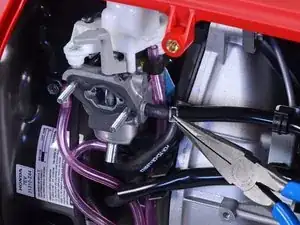
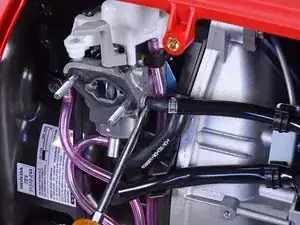
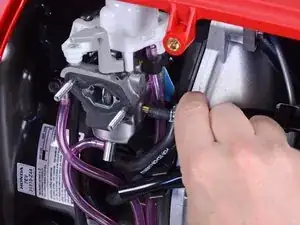
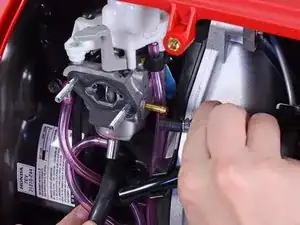
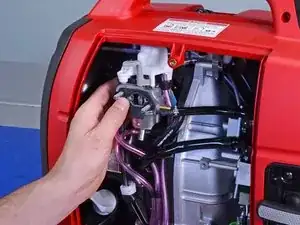
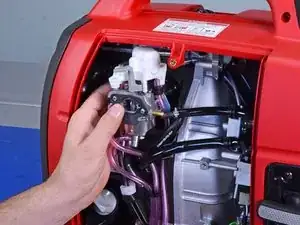
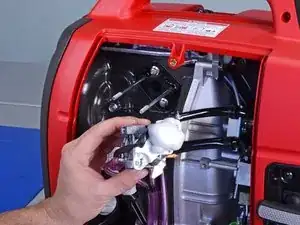
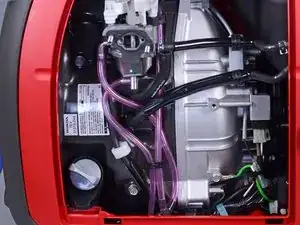
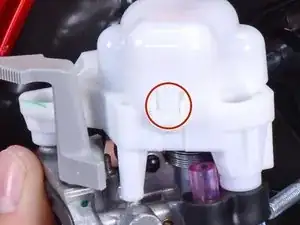
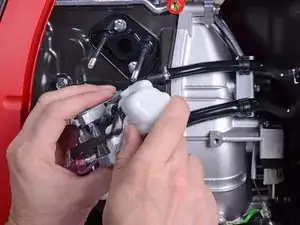
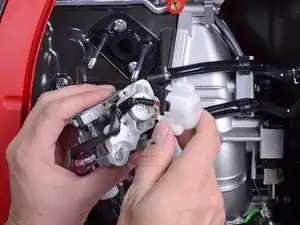
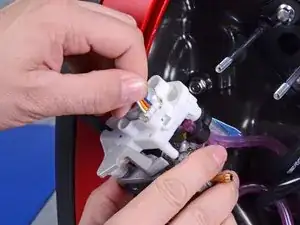
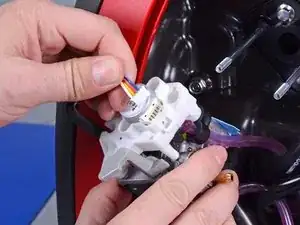
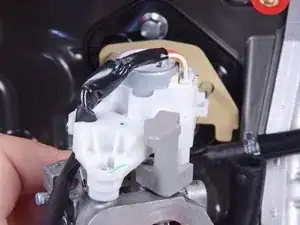
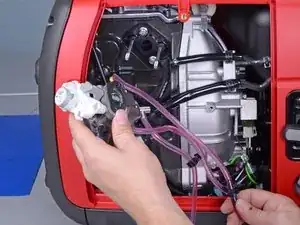
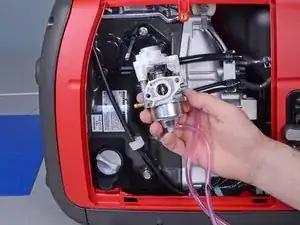
This guide shows how to remove and replace the carburetor for the Honda EU2200IT generator.
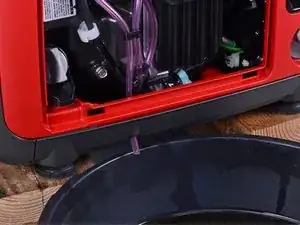
Fuel may leak out of the carburetor during this procedure. Be sure to have tools at hand to contain any spillage.
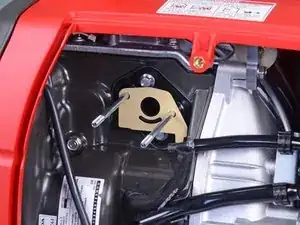
You should replace the air intake and carburetor gaskets during this procedure.
Tools
Parts
-
-
Grab the plastic housing at the end of the spark plug wire.
-
Pull firmly to disconnect the wire from the spark plug.
-
-
-
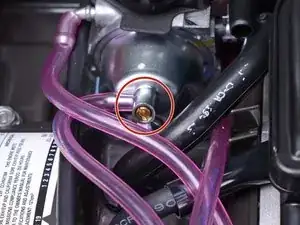
The carburetor drain screw is located at the bottom of the carburetor.
-
Use a flathead screwdriver to loosen the fuel drain screw until fuel begins to drain out of the carburetor.
-
Once you drain the fuel bowl, re-tighten the fuel drain screw.
-
-
-
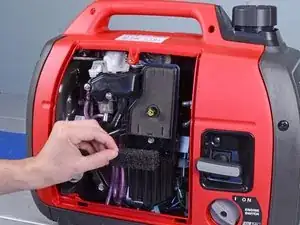
Remove the air filters from the filter box.
-
Clean the filters in warm soapy water.
-
Allow the filters to dry thoroughly.
-
Dip the filters in clean engine oil, and squeeze out any excess oil.
-
-
-
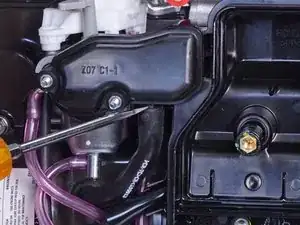
Use a flathead screwdriver to loosen the breather tube from the air cleaner housing.
-
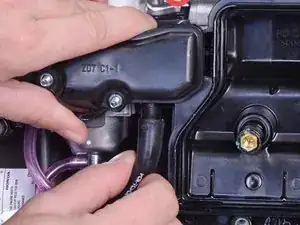
Disconnect the breather tube from the air cleaner housing.
-
-
-
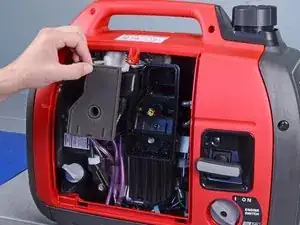
The throttle control cover is held in place with three clips.
-
Unclip and remove the throttle control cover.
-
-
-
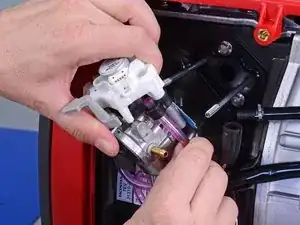
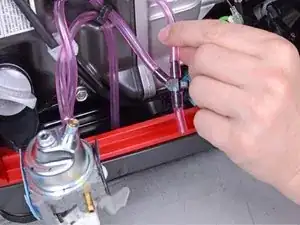
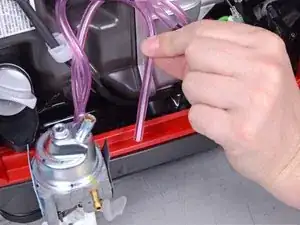
Slide the air vent tube out of the tube clip on the side of the carburetor.
-
Remove the tube clip from the side of the carburetor and transfer it to your replacement part.
-
-
-
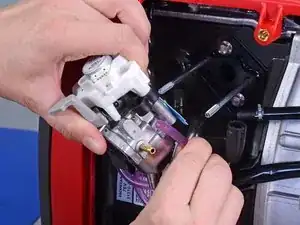
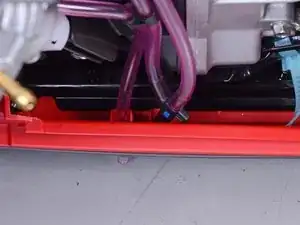
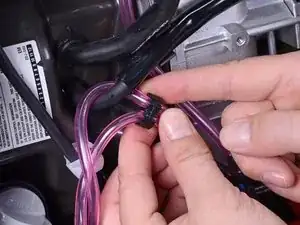
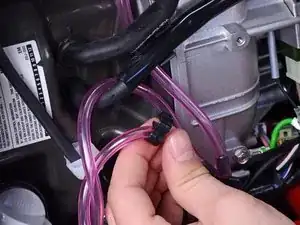
Remove the tube clip bridging the vent tubes.
-
Transfer the tube clip to your replacement carburetor.
-
-
-
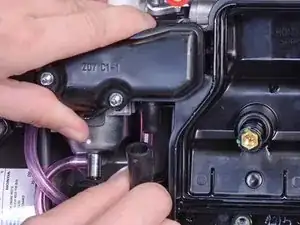
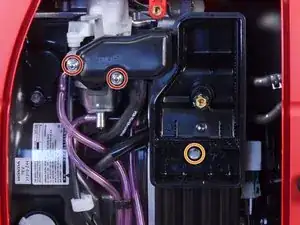
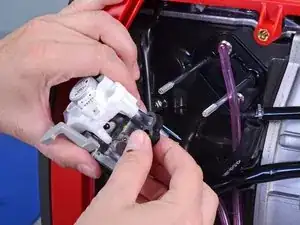
Remove the carburetor along with any attached tubing.
-
Compare your replacement part with the original, and transfer over any missing components.
-
To reassemble your device, follow these instructions in reverse order.
