Introduction
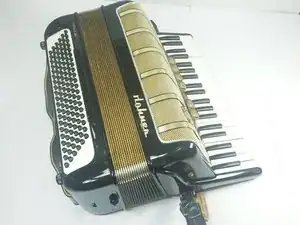
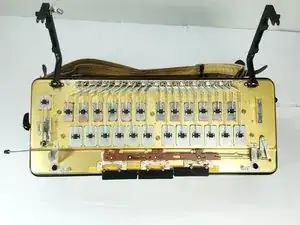
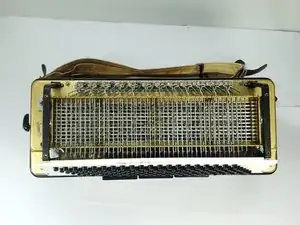
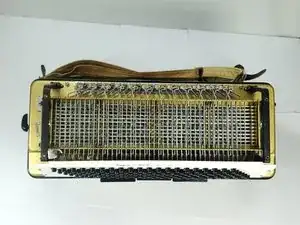
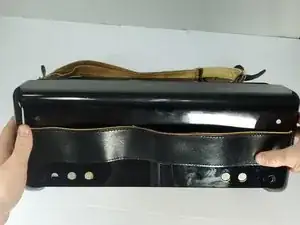
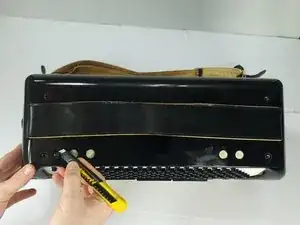
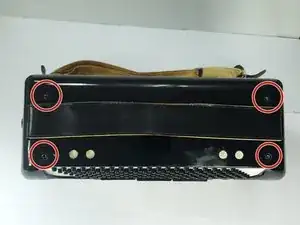
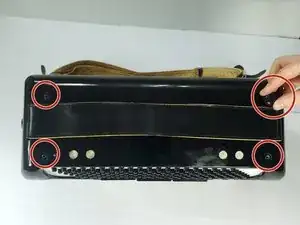
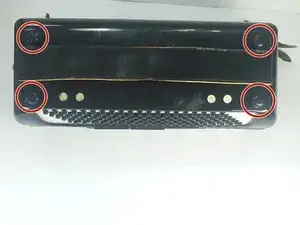
If your Hohner Pirola IIIP accordion is playing bass notes without you pressing any bass buttons, this guide may offer you a simple solution.
Over time, accordion valve pads made of felt or leather can degrade such that they no longer block the flow of air, thereby creating notes even when the key is not pressed (commonly called “leaking” since the valves are leaking air). At such a point, the accordion is no longer a functional musical instrument. This guide will walk through how to repair such an accordion and restore its vitality quickly and simply.
While this guide is useful for other accordion models, readers must decide for themselves if their accordion is designed similarly enough for these instructions to be applicable to their situation.
Tools
Parts
-
-
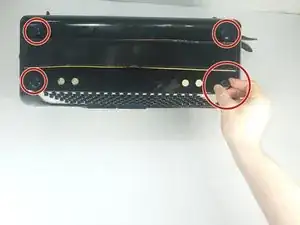
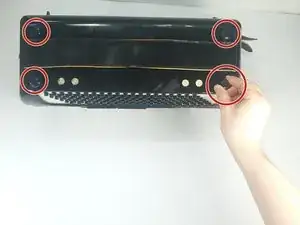
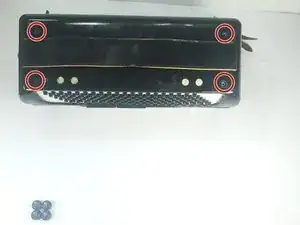
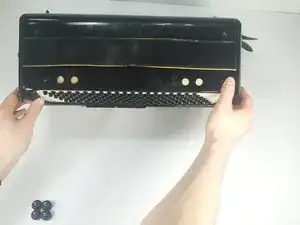
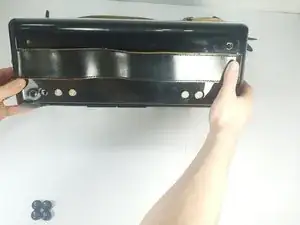
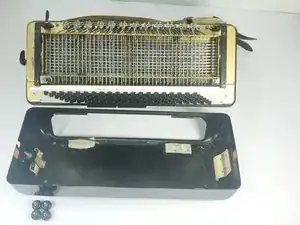
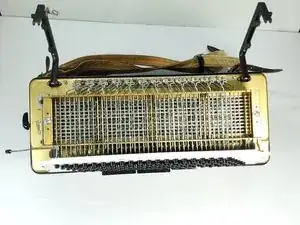
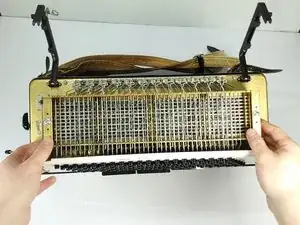
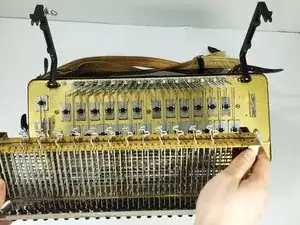
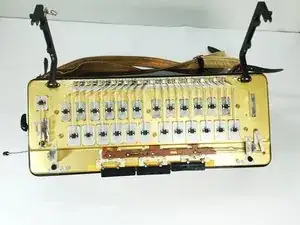
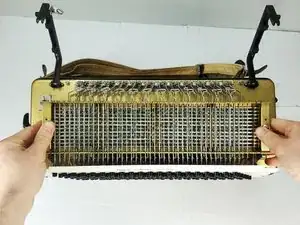
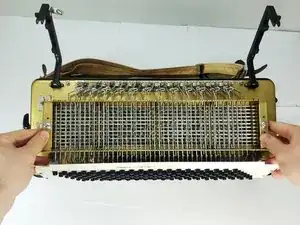
Remove the bass plate by first lifting the portion of it farthest from the bass buttons and then rotating that part of the plate towards you.
-
-
-
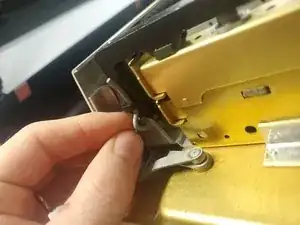
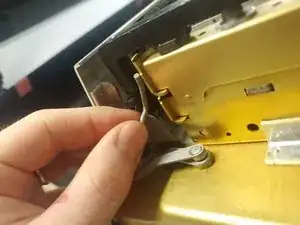
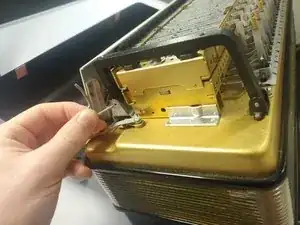
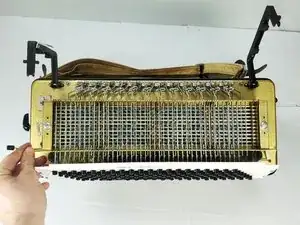
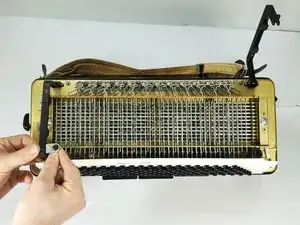
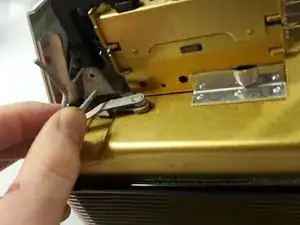
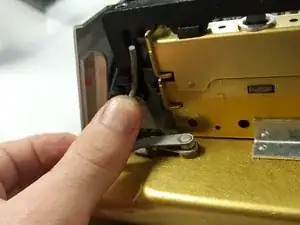
Remove the arm pins (one on each side) by first rotating them clockwise out from underneath the black metal clip and then sliding them out.
-
-
-
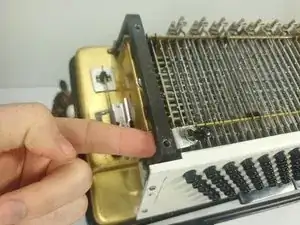
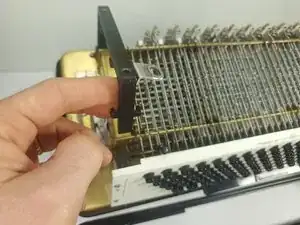
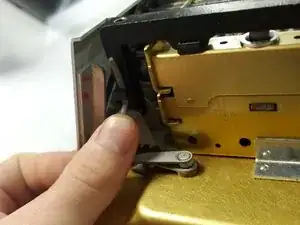
Raise the black, metal arms. For one of them, you will need to ensure that the air button fits through the metal hole which is attached to the arm.
-
-
-
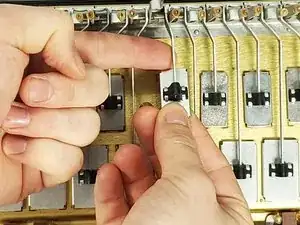
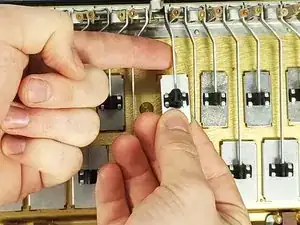
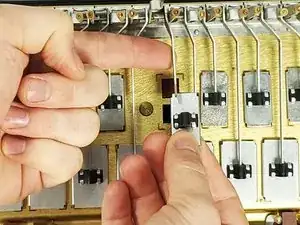
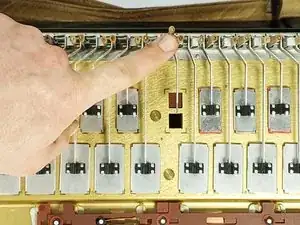
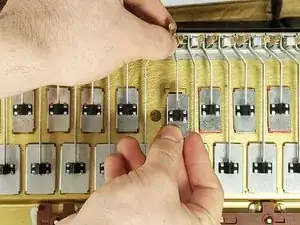
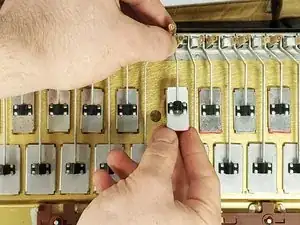
Remove the valve cover by first lifting the valve cover arm and then sliding the valve cover off the arm.
-
-
-
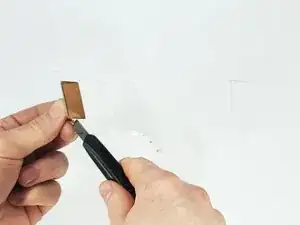
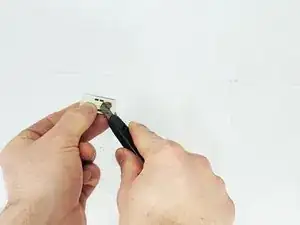
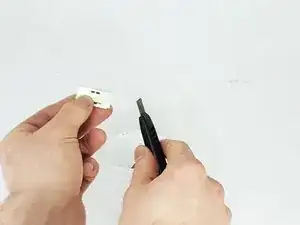
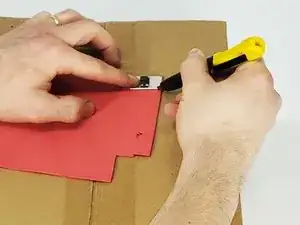
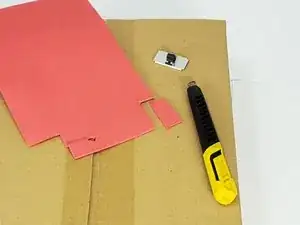
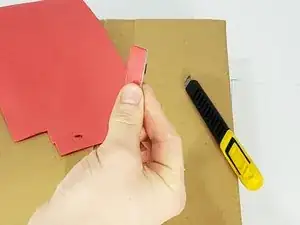
Size and cut your replacement pad by placing the valve cover down on the foam sheet and using the box-cutter to cut as closely to the valve cover as possible.
-
-
-
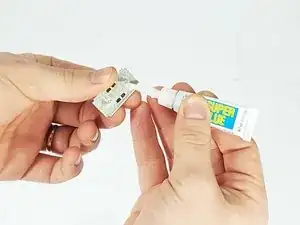
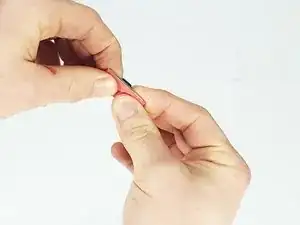
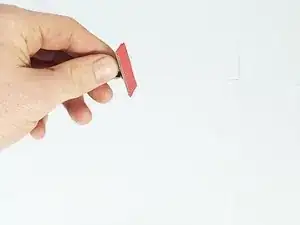
Use superglue to glue on the replacement pad, press down firmly on the pad, and then allow the glue to dry for a minute or two.
-
-
-
Reattach the valve cover by sliding it onto the valve cover arm. Move the bellows to ensure that the air leak has been fixed.
-
-
-
Re-attach the bass plate and use the box-cutter or another tool to fit the air button through its slot in the bass plate.
-
