Introduction
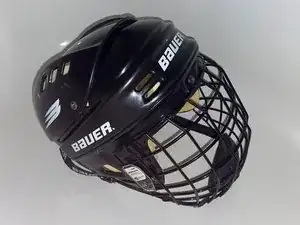
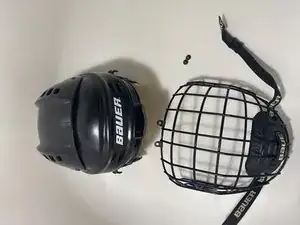
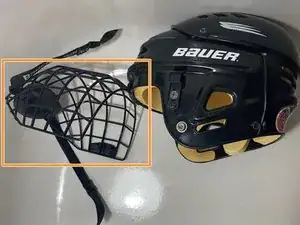
If the cage on your hockey helmet has broken, use this guide to replace it.
The hockey cage provides head and face safety when playing hockey. It must conform to certain league rules if it is to be worn in a competitive game. Therefore, it is imperative that the cage is replaced properly if it happens to break.
It does not matter if you have the same helmet as in this guide, as all hockey helmets and hardware are universal across almost every brand.
Tools
-
-
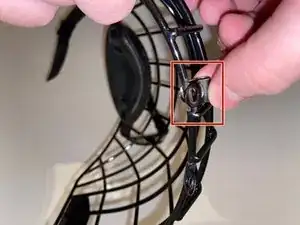
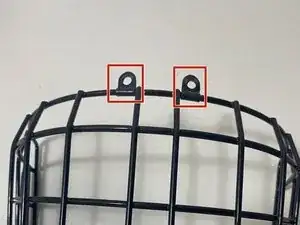
Clip the new hinge clips onto the top center of the new cage.
-
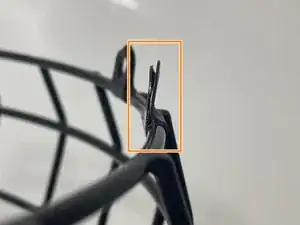
Make sure the flat side of the hinge is facing towards the inside of the cage, and that it is pointed upward.
-
-
-
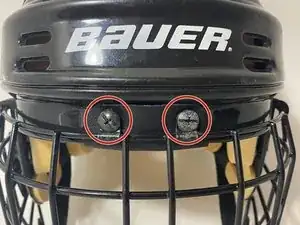
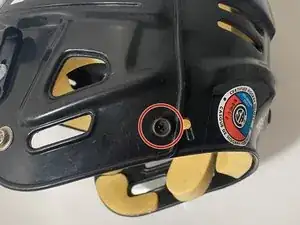
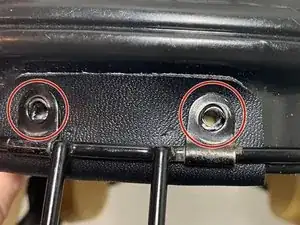
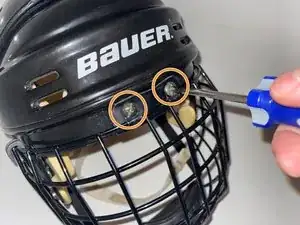
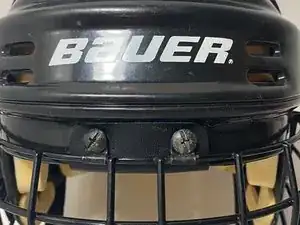
Align the hinge holes with the screw holes in the center of the helmet.
-
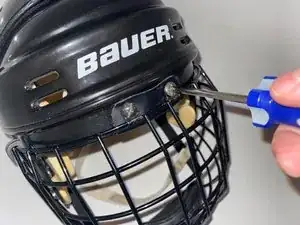
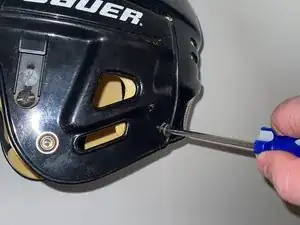
Once everything is lined up, screw the hinges into the holes in the helmet to attach the cage to the helmet.
-
-
-
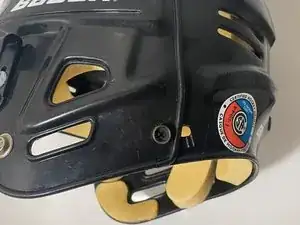
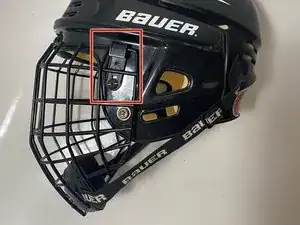
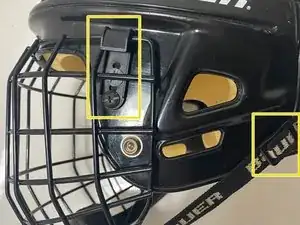
It should fit under the J clips on the sides of the helmet when pushed up.
-
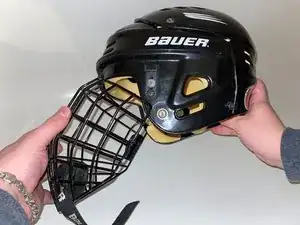
It should be able to extend 90 degrees outward.
-
-
-
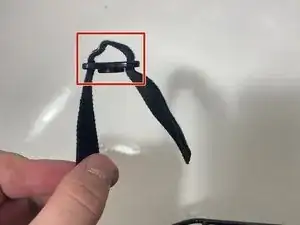
Now tighten the straps on either side of the cage.
-
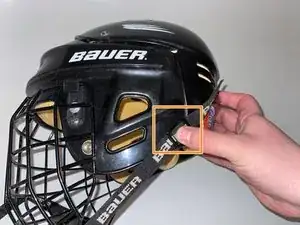
Clip the straps into the screws on either side of the helmet to check how tight it is.
-
The straps should be tight to the screw clip, and the cage should be touching the j-clip.
-
Make sure all of the screws are tight, and you have just completed the replacement of the hockey helmet cage!
