Introduction
Does your Heyday Wireless Speaker 8125 refuse to start up? It might be time to replace the battery. Following the steps in this guide will help you replace the battery on your Heyday Wireless Speaker 8125 (model number BTSP47).
Before following this guide, please refer to this device's troubleshooting page where battery related symptoms are present. The Heyday Wireless Speaker 8125 is fitted with a Non-Universal Lithium Ion Battery.
Prior to starting this repair, be sure to power off the device and disconnect from the charger.
Tools
-
-
Orient the speaker so that it is sitting upright.
-
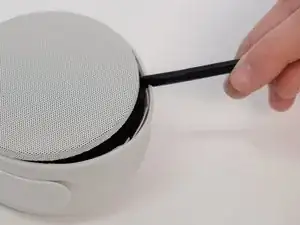
Use your nondominant hand to hold the speaker in place while you firmly push the plastic spudger into the seam between the device wall and the grille.
-
Push down with the plastic spudger and lift the grill until you feel it separate from the speaker.
-
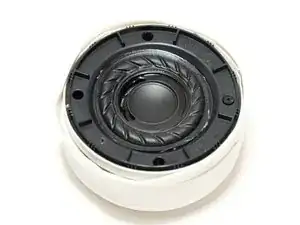
Gently remove it from the top of the device.
-
-
-
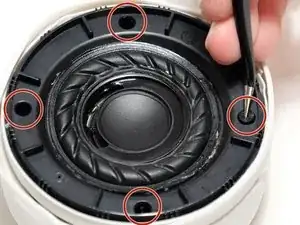
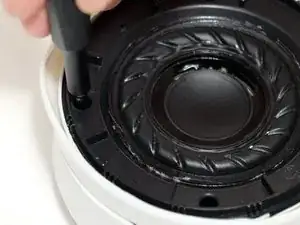
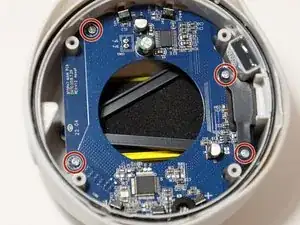
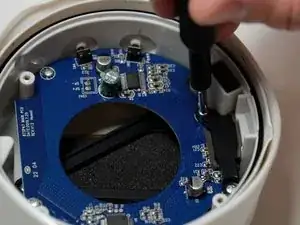
Use a Phillips screwdriver to remove four 6.6 mm screws from the motherboard.
-
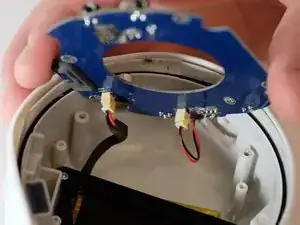
Lift the motherboard out of the speaker gently.
-
-
-
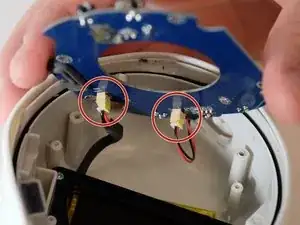
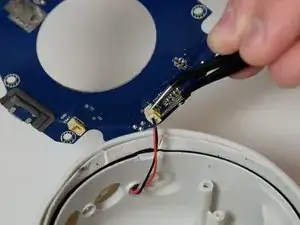
Pull each cable away from the connector in the same direction that the individual wires are running.
-
Remove the motherboard from the device.
-
-
-
Use a Phillips screwdriver to remove three 6.6 mm screws from the triangular plastic support.
-
Lift the plastic support to reveal the battery underneath.
-
-
-
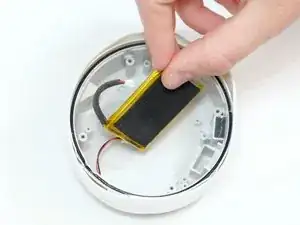
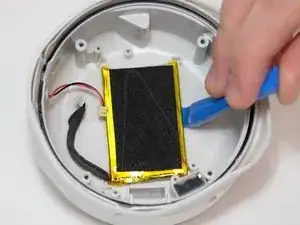
Use an opening tool or plastic spudger to gently pry the battery from the bottom of the device.
-
Remove the battery.
-
To reassemble your device, follow these instructions in reverse order.
