Introduction
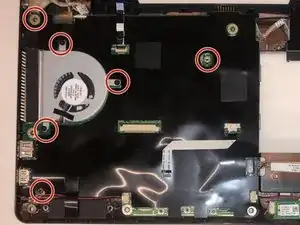
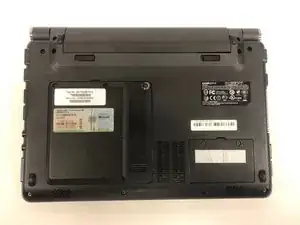
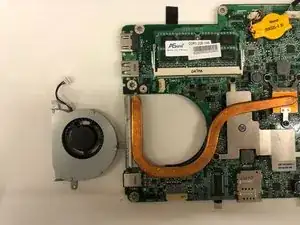
This guide will show you how to remove and replace the Fan/MotherBoard in the Hannspree SN12E2 laptop. The Fan is used to cool your CPU and stop your device from overheating. If your device is running hot or crashing all together this may be the solution. In the Hannspree SN12E2 the Fan is attached to the motherboard so you would need to replace both in this guide.
Tools
-
-
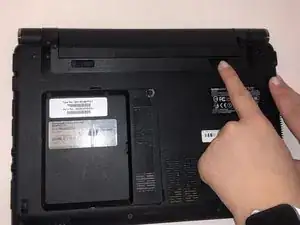
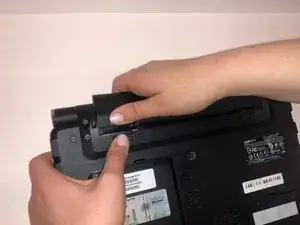
Unlatch the lock on the top right of your laptop first.
-
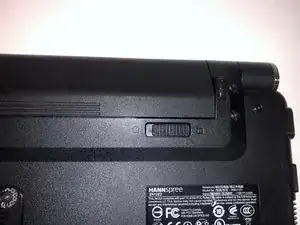
You will need to pull on the lock on the left side and remove the battery at the same time
-
The left lock is a spring lock and needs constant pressure applied in order to stay open.
-
-
-
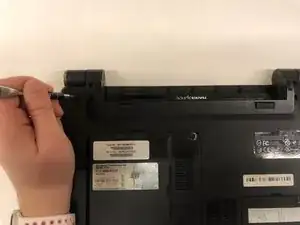
Gently pry the case apart starting at the lower right corner using the small spudger
-
Move around the case gently prying until the touchpad plane is free from the rest of the case
-
-
-
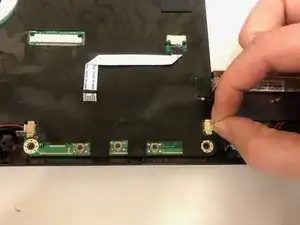
Gently lift up on the touchpad portion of the touchpad plane
-
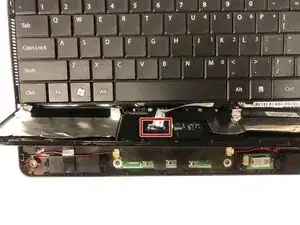
Unplug the ZIFF connector by pulling gently on the black retaining blade and removing the white flat flex cable
-
Pull the touchpad away from the rest of the case
-
-
-
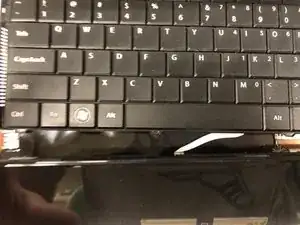
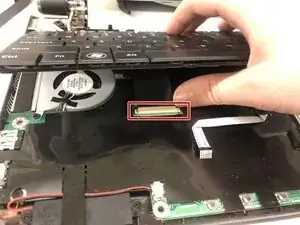
Gently lift up on the loose keyboard to expose the ZIFF connector.
-
Unplug the keyboard ZIFF following the same instructions as the touchpad ZIFF
-
-
-
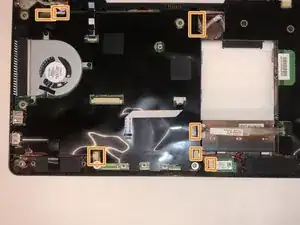
Remove the motherboard from the housing place it on a flat surface.
-
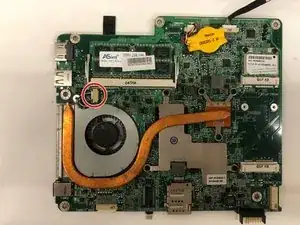
Flip over the motherboard so that the heat pipes ae face up.and disconnect fan JST Connector, pictured in red
-
To reassemble your device, follow these instructions in reverse order.
