Introduction

Welcome to the Handspring Visor Edge Battery Replacement Guide, where we prioritize not only efficiency but also your safety. Within this manual, you'll discover meticulously outlined steps to seamlessly replace the battery of your device. Whether you're a seasoned tech enthusiast or just beginning your journey, adhere to these straightforward instructions, accompanied by essential safety tips, to rejuvenate your Visor Edge without any hiccups. Lets Get Started!

  1. PJYjTFpMIcaE1hmk
    PJYjTFpMIcaE1hmk
    REDJDZkY2BjIjDlp
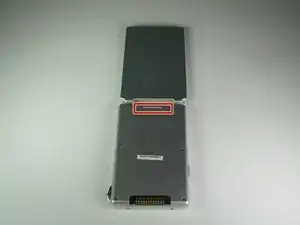
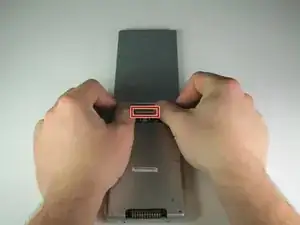
    • Open the Visor Edge and place it on a table facing down.

    • Gently push the tab that connects the flip cover (top half) to the PDA (bottom half) upward, and lift the pieces apart to detach them.

    • Do not pull on the flip cover in an attempt to remove it from the PDA.

  2. tEKoGQZsFrcuCTwE
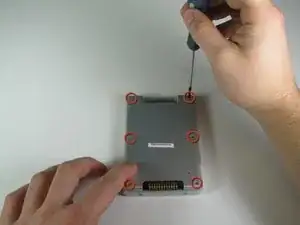
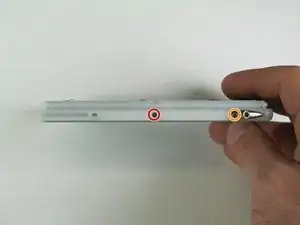
    • Remove the six 4.1 mm Phillips screws from the back plate using the #00 Phillips Scewdriver.

  3. nyfOtUGYbEddVfjC
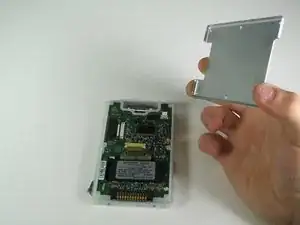
    • Remove the gray back plate from the PDA.

  4. tKD1NBSQmbcEgDmO
    tKD1NBSQmbcEgDmO
    bQkWKp1RSmP2cVkK
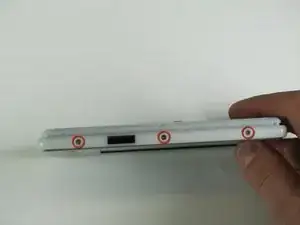
    • Remove the four 2.6 mm Philips screws that are on the sides of the frame.

    • Remove the 3.9 mm Philips screw holding the stylus holster to the frame.

  5. eVBHWGZ1GcntvSyw
    eVBHWGZ1GcntvSyw
    aElQdqUNMHMa2VVe
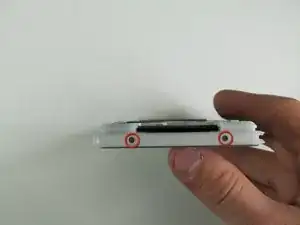
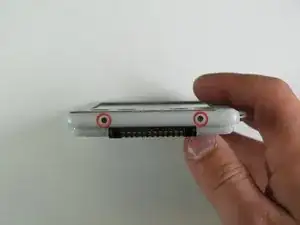
    • Remove the four 2.6 mm Philips screws on the top and bottom of the frame.

  6. BjNOalaltV2Ra1fy
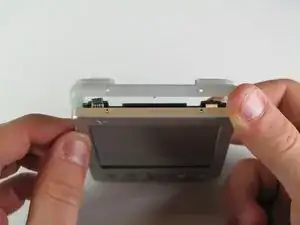
    • Gently remove the white frame from the back of the PDA.

  7. 5fhVkcwgDhOBYWFW
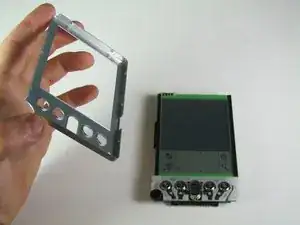
    • Gently pull off the front cover.

  8. gMUjAcWTPcUB2rrl
    gMUjAcWTPcUB2rrl
    EyRpKwF2IFRPbJPm
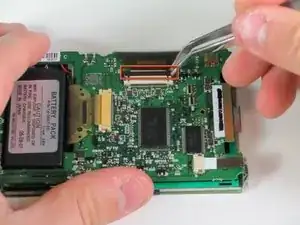
    • Gently use your finger or tweezers to push the brown lock away from the side of the circuit board that is holding the ribbon cable.

    • Remove the ribbon cable with tweezers.

  9. H1EMa15ZPVrXUwAb
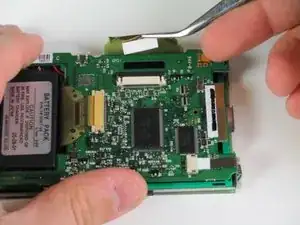
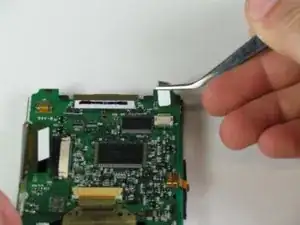
    • Using the tweezers, pull back the ribbon cable on the top of the device.

    • Pull at the white part of the ribbon to avoid tearing.

  10. tjmIbkXQDsPwSG6g
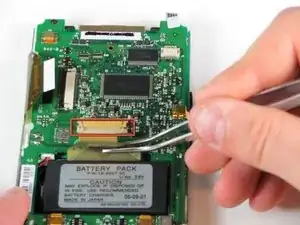
    • Using the same technique as with the other ribbons, locate and disconnect the ribbon cable above the battery pack.

  11. PMWWnOhAYDNGsdx6
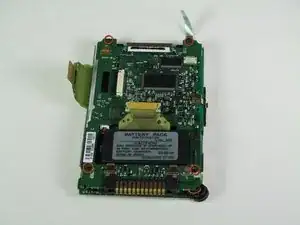
    • All the ribbon cables should be disconnected from the mother board.

    • Remove the four 3.6 mm Phillips #00 screws located at each corner of the device.

  12. r2kaCBPbAiSMUutj
    r2kaCBPbAiSMUutj
    MBYpvI5HPSTSWomU
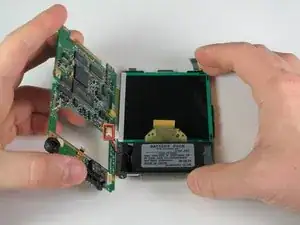
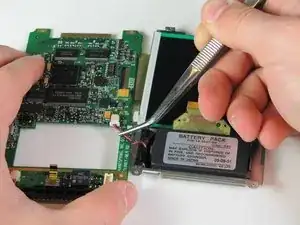
    • Carefully separate the circuit board and the screen. (Be careful of soldered wires when separating)

    • Be careful not to break the soldered wires that connects the circuit board to the battery pack.

    • Disconnect the wire that connects the battery pack to the motherboard using tweezers.

  13. INB1abtbjMVEs5Zs
    INB1abtbjMVEs5Zs
    ELBi2yOEyEkA6CZS
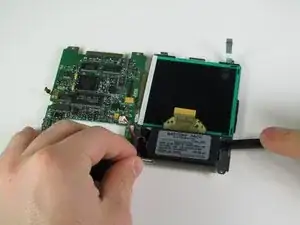
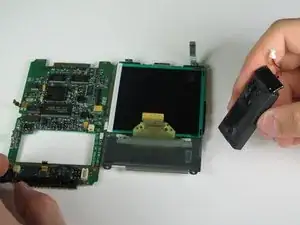
    • Wedge the spudger under the battery to pry it apart from the adhesive.

Conclusion

To reassemble your device, follow these instructions in reverse order.
Christian Valoria

Member since: 24/01/11

201 Reputation

0 comments