Introduction
GALILEO’s LCD is used to show the numerics and waveforms from the patient being ventilated, operating modes and settings selected by the user, and the test software tests used by service engineers. The display is a 10.4 inch, TFT (Thin Film Transistor) color display. For more information on replacing the LCD, please refer to page 11-127 in the full service manual.
Tools
Parts
-
-
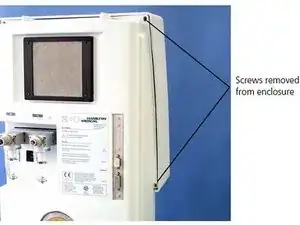
First open the main enclosure by removing the four hexagonal-drive (Allen) screws at the rear of the enclosure.
-
-
-
Unscrew the four hexagonal-drive (Allen) screws securing the two brackets on which the LCD is mounted.
-
-
-
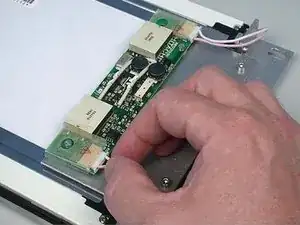
Remove the LCD from the two brackets, by removing the black hexagonal-drive (Allen) screws on the LCD. NOTE: Do not remove the silver hexagonal-drive (Allen) screws on the SIDE of the LCD.
-
-
-
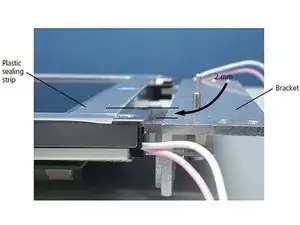
When fitting a new display, there must be an offset of approximately 2 mm between the plastic sealing strips on the LCD, and the brackets.
-
-
-
The surface of the LCD must be clean. Wipe it free of finger marks and dust with an antistatic paper towel.
-
-
-
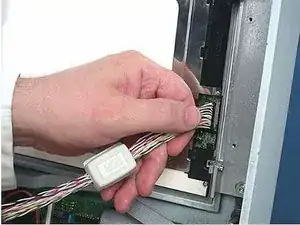
The cable from the GMP to the LCD must be in the cable grip on the control board mounting plate.
-
-
-
When screwing the LCD assembly into GALILEO, you must align it with the glass screen in GALILEO. Check this by looking at the front of GALILEO.
-
Turn on GALILEO, and make sure that the LCD lights up, and is properly aligned.
-
To reassemble your device, follow these instructions in reverse order.


