Introduction

This procedure requires a moderate level of electrical wiring experience, and a few listed tools.

  1. YAnhca5bBAWq5NV1
    YAnhca5bBAWq5NV1
    UncBOHgPUXj2eB65
    NUBc4fSZALhggjOs
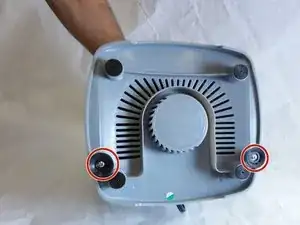
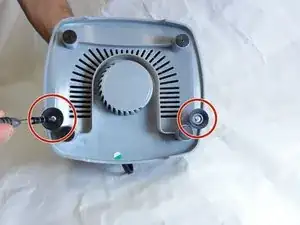
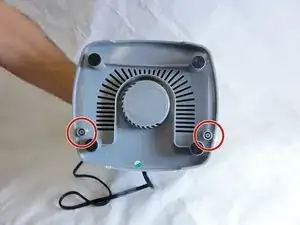
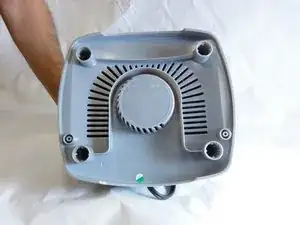
    • Hold the food processor upside down and remove the two screws indicated with a screwdriver. Once unscrewed, remove the two rubber suction pads.

  2. XJHL4QUa6pVJVfDM
    XJHL4QUa6pVJVfDM
    sMWW2IjQwIuF6xQW
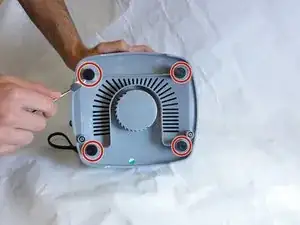
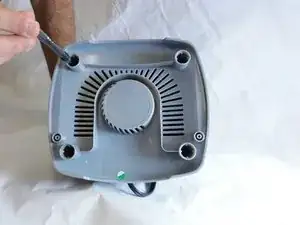
    • Use a spudger to remove the 4 rubber base pads located at the corners of the device.

  3. wcSBhgBfwBVyZSWp
    • Unscrew all 4 screws that are located beneath the pads with a screwdriver and remove the plastic grey base.

  4. vTyFU61H5AtH5tN3
    • Remove the screws indicated with a screw driver.

  5. AKRFgTIf6pxhHNUY
    • Remove the two screws behind the knob with a screwdriver.

  6. 3YEGatt2wYUap1T6
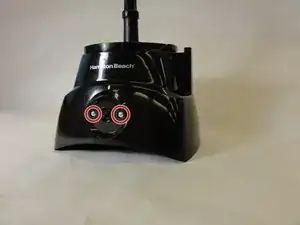
    • Use a regular nylon spudger to remove the plastic caps at these locations with moderate pressure.

    • When working with electronics, it's important to choose a tool that's ESD-safe to avoid accidental damage to the device. The regular black nylon spudger or a plastic opening tool should be used whenever possible.

    • Apply pressure at the edge of the plastic cap circles. Apply stress elsewhere may damage the device.

    • Note that the plastic caps are glued

  7. taHFmMFiJfTTyxDH
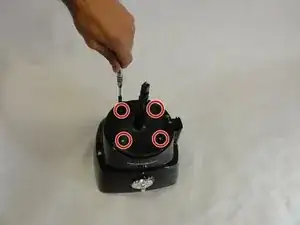
    • Remove the 4 screws located under the plastic caps with a screw driver.

  8. FFwQnCX61vf5FjFV
    FFwQnCX61vf5FjFV
    qG3sOAMZAHHDMjfe
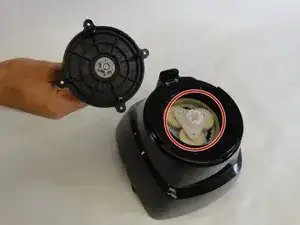
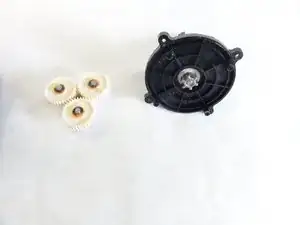
    • Lift and remove the plastic gears at the center of the device.

    • Remove any grease residue underneath the plastic gears.

  9. OlAWAUYnjkLFLpIt
    OlAWAUYnjkLFLpIt
    hld1QFrWRCXtwSnP
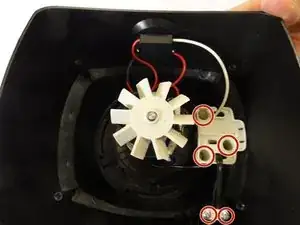
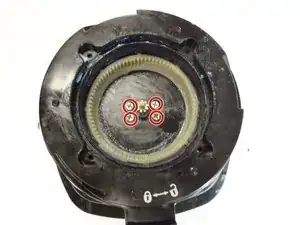
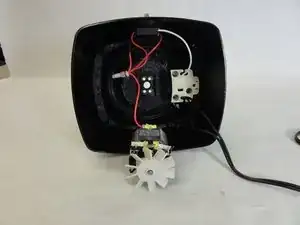
    • Remove the remaining screws to unhinge the motor located at the center of the device using a screw driver.

Conclusion

To reassemble your device, follow these instructions in reverse order.

David Gedeon

Member since: 17/09/15

806 Reputation

0 comments