Introduction

Do you need to access the inner components of your device? Consider using this guide to remove the back cover of your device.

  1. W5Qjc4ww3xIQyXw6
    W5Qjc4ww3xIQyXw6
    Vj2DbLLFUMAVDKfZ
    GmGeWYy2cZ1Q11U4
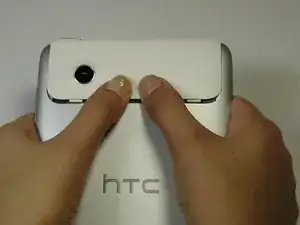
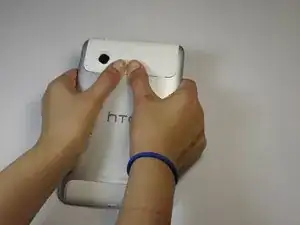
    • Apply pressure along the bottom of the white panel containing the camera and push upwards.

    • It may take some effort, but it will smoothly slide off.

  2. FcVxhTidqpxwtNiW
    FcVxhTidqpxwtNiW
    DHYXB33QXl5NOvFR
    IfbooLdQd6K1YauU
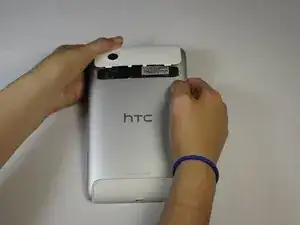
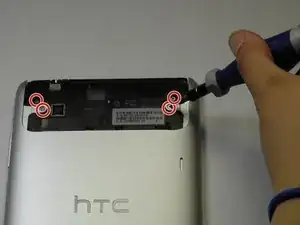
    • Unscrew the four of 3.5mm Torx T5 screws that run along the sides of the exposed innards.

    • All screws in the device will use the Torx T5 screwdriver, so keep it handy.

  3. JnSLvv2Q6E3OoRfb
    JnSLvv2Q6E3OoRfb
    3GUCIJKkvTcX1hTD
    senNKoBaY5mrbUXB
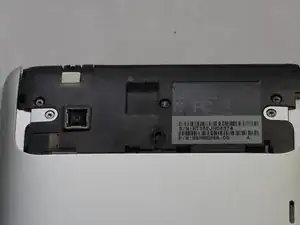
    • Remove the black protective piece of plastic by sliding it upwards.

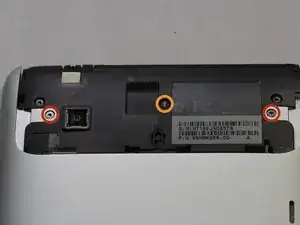
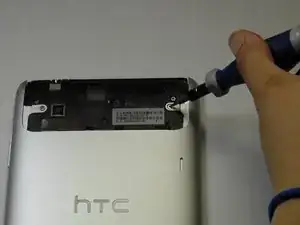
    • Remove the two 3.5mm Torx #5 screws holding the protective plastic down on along the sides.

    • A center 3.5mm Torx screw will be covered by "VOID" sticker.

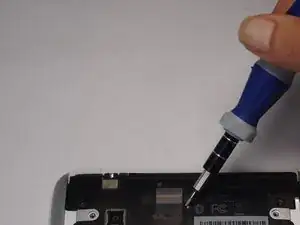
    • Either remove the sticker or jam the screwdriver into the screw, and remove the screw.

    • Remove the protective panel by sliding it upwards.

  4. V6YkELdKMjtYKUAB
    V6YkELdKMjtYKUAB
    OAmefsMtKhmayvKW
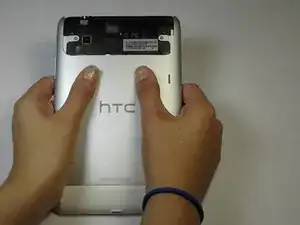
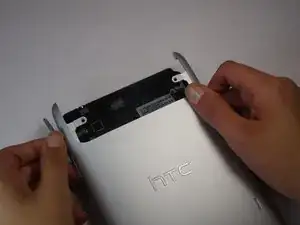
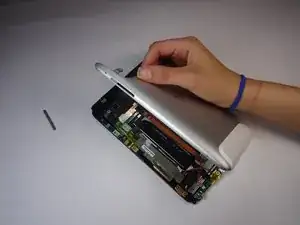
    • Before removing the back cover, apply some scotch tape to the volume buttons to prevent them from falling out of the back panel.

    • Use a plastic opening tool to lever up the top half of the cover.

    • Lift the back panel up and remove it from the device.

Conclusion

To reassemble your device, follow these instructions in reverse order.
Justin Funk

Member since: 07/10/14

473 Reputation

0 comments