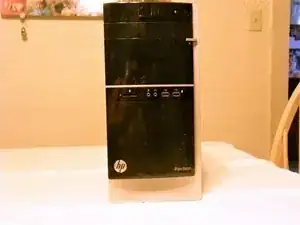
Introduction
If the CPU fan becomes to filled with dust or stops spinning, it must be replaced immediately. If it is not replaced then the CPU or motherboard can become damaged and cause the computer to be unbootable
Tools
Parts
-
-
Use the flat head #6 screwdriver bit to unscrew the tower casing.
-
Very gently slide the case towards you.
-
Lift the casing up and gently place it off to the side.
-
-
-
Unplug the fan from the motherboard by gently grasping the connector and slowing pulling up.
-
Remove each screw from the fan using the Phillips head screwdriver bit.
-
Remove the old fan from the CPU.
-
Conclusion
To reassemble your device, follow these instructions in reverse order. Now you should feel confident replacing the CPU fan in your HP desktop without any difficulties.


