Introduction
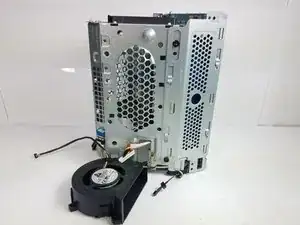
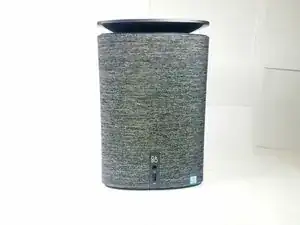
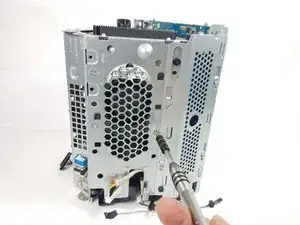
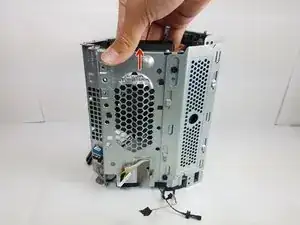
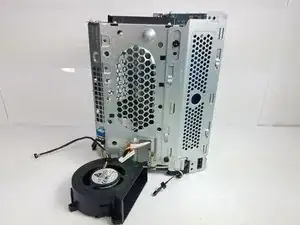
Is your HP Pavilion Wave fan malfunction or humming too loud? If that's the case, it can be fix by simply replacing the one and only system fan.
Tools
Parts
-
-
Turn the computer over and remove the rubber feet.
-
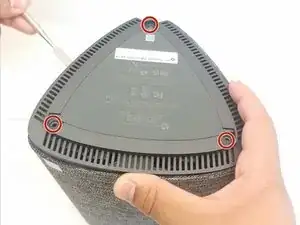
Remove the three 8mm Philips screws with a Philips #0 Screwdriver.
-
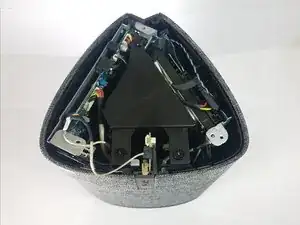
Use a pry tool and lift up on the lid.
-
-
-
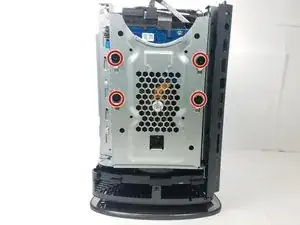
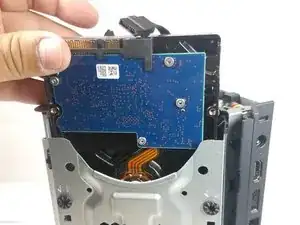
To remove the hard drive, remove the four 8mm Philips screws using a Philips #0 Screwdriver.
-
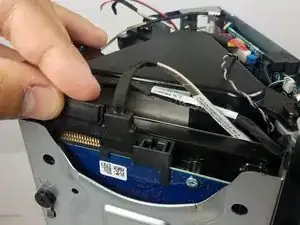
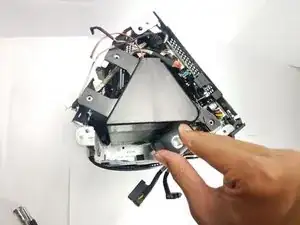
Remove Power and SATA cables from on top of the drive.
-
-
-
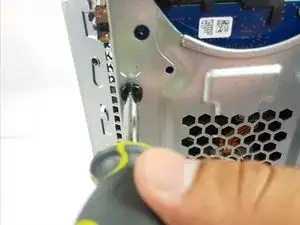
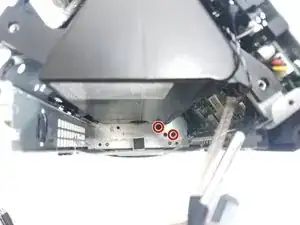
After removing your hard drive, remove the two 1.2mm Phillips #1 screws from the bottom of your case .
-
-
-
Remove the 8 mm Phillips #0 screw that is connected the top bezel and the top cover using the driver kit.
-
-
-
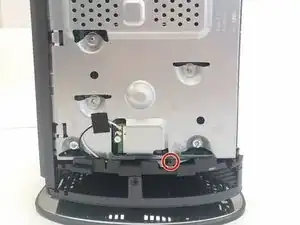
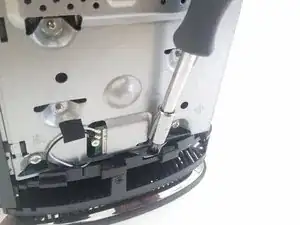
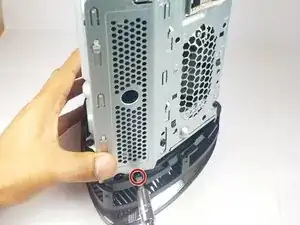
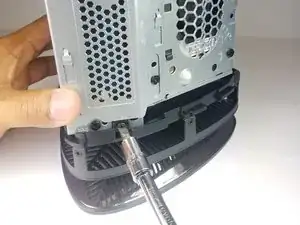
Using a flathead screwdriver, remove the 8 mm Phillips #1 screw that connects the body casing and the top bezel(the one at the bottom of memory card slot).
-
-
-
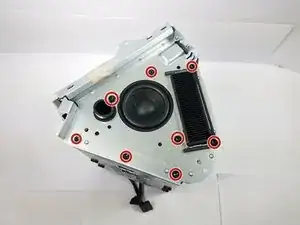
Turn the device to the top side where you can see the top cover and the speaker.
-
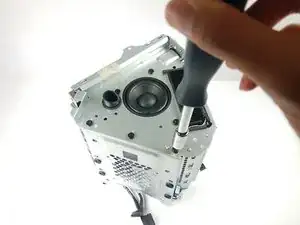
Using a flathead or Phillips #1 screwdriver, unscrew all the eight 8.0 mm screws that connect the top cover to the other components of the casing.
-
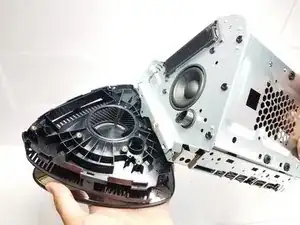
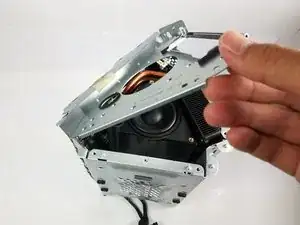
Gently remove the top cover.
-
-
-
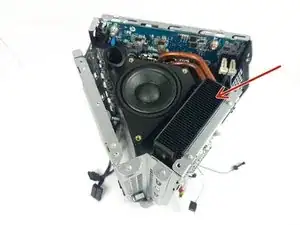
After removing the top cover, locate the system fan on the left side of memory compartment.
-
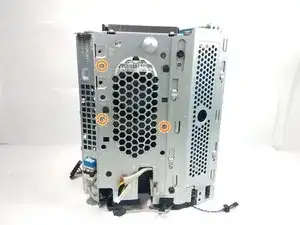
Remove three 1.2 cm Phillips #1 screws that connect the fan with the main body.
-
To reassemble your device, follow these instructions in reverse order.
