Introduction

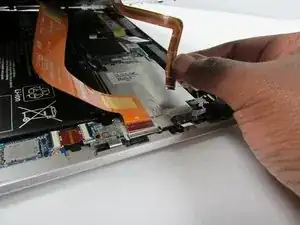
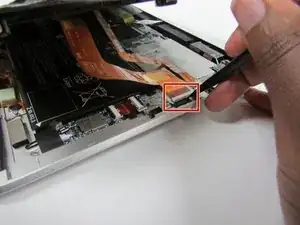
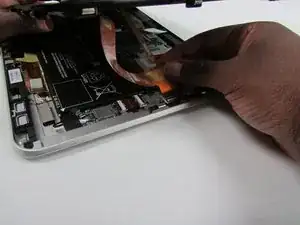
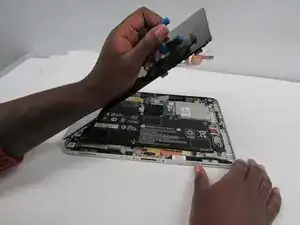
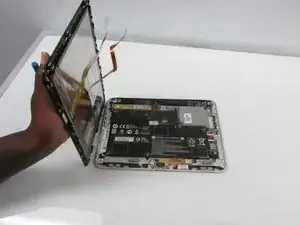
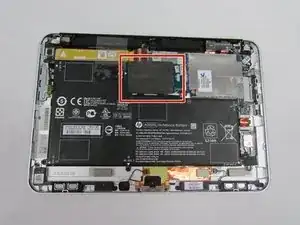
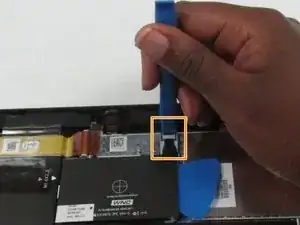
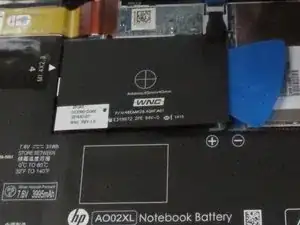
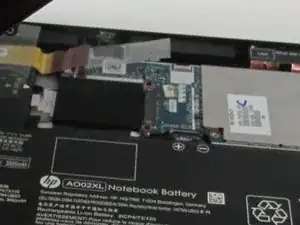
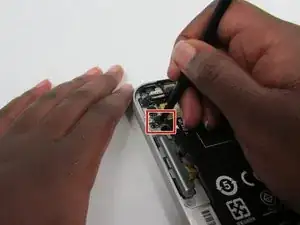
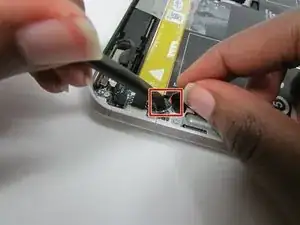
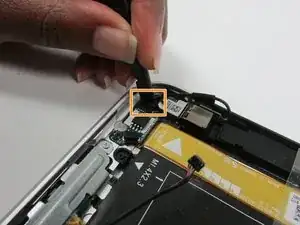
The HP ElitePad 1000 G2’s power and volume buttons, just like any other hardware, are subject to wear and tear. If after troubleshooting you determined that you aren’t having software issues and a replacement is necessary, this guide will walk you through the replacement process.

  1. Y22liYDNHjWXfYWT
    Y22liYDNHjWXfYWT
    XLIKLge56vsTFKcZ
    2NV5yjKuWOhwxe14
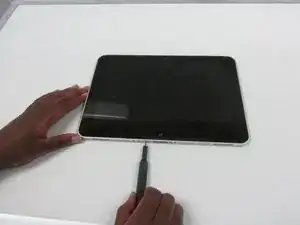
    • Before disassembling the tablet: make sure the tablet is off, disconnect the power cord from the tablet, and disconnect all external devices from the tablet.

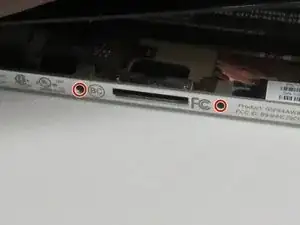
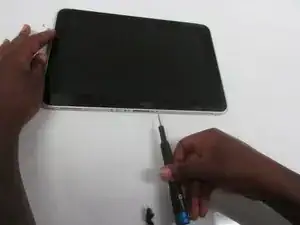
    • Using a Phillips #00 screwdriver, remove the two Phillips PM 1.4×3.2mm screws located next to the charging port.

    have a safe place to save the 8 tiny screws. the screwdriver will need a thin shaft to get inside the holes.

    Teddy Sam -

  2. ZeRo2QYImvbZ5NmH
    ZeRo2QYImvbZ5NmH
    3dWSMfVsm6HT34Ju
    tFIJnfWZJMW3KDma
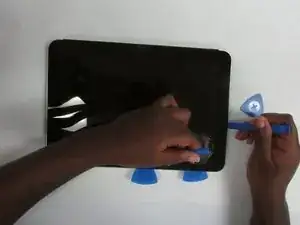
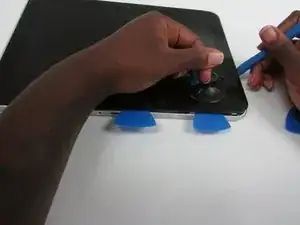
    • Place the suction cup on the lower right corner of the tablet display glass, making sure to place the suction cup inside the edges of the border of the display glass.

    • Insert a plastic pick in between the display and the tablet case. Then use a plastic removal tool to separate the display further.

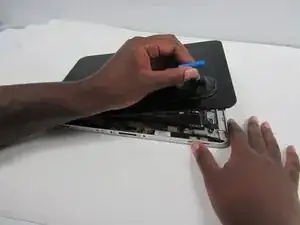
    • Pull on the suction cup while using the prying tool to separate the display from the tablet.

    • Gently lift the display from the tablet in order to avoid damaging the cables.

    Might want to use the spudger tool to pry the screen up. We had difficulty using the pry tool. to pull up the screen.

    Cameron Gow -

    display is held to the base by 3 magnetized tips on the right edge and 4 on the bottom edge (charging port) of the display. the ones on the right are at the center and at each corner before the display curves. on the bottom edge, 2 are at the corners and the other 2 are 1.5” inward. the top and left edges are friction tips. prying along the edges releases the magnetic tips from the base.

    Teddy Sam -

  3. oDy42BFrEGZsNiv2
    oDy42BFrEGZsNiv2
    KNPq1K2ay1CsUawq
    tI1vKplNVQHiutAk
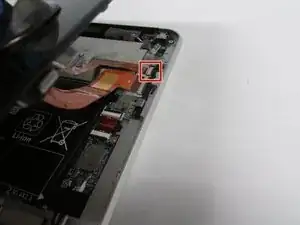
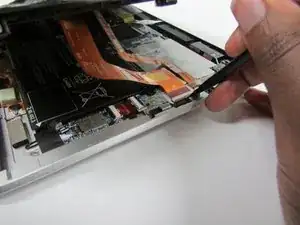
    • To disconnect the cables, use the spudger tool to gently pull back on the black tab located on the side of the connector while gently pulling the cable.

    • Release the zero insertion force (ZIF) connector to which the TouchScreen cable is attached, and then disconnect the TouchScreen cable from the system board.

    Need to Add the spudger tool and differentiate between the black spudger tool and the blue plastic pry tool.

    Cameron Gow -

    When disconnecting the cables we found that the wording “ push the tab” was confusing. We had to pull up the black tab for the ribbon cables to disconnect.

    Cameron Gow -

    i didn’t know what a spudger tool was but didn’t find any black tab to push or pull. both of my cables were taped on the bottom and top. they also had adhesive on the bottoms. i removed the tape, gently lifted the cables away from the silver cover the were stuck to and pulled the cables out from their zif sockets.

    Teddy Sam -

    i figured out how the zif sockets work and am correcting my previous comment. on my unit, the zif sockets are black and the release levers are white. i “opened” the zif sockets by flipping up the white edges that were furthest from the cables. i removed the tape, gently lifted the cables away from the silver cover they were stuck to and pulled the cables out of the zif sockets.

    Teddy Sam -

  4. KbSxlDegIdLbOrbv
    KbSxlDegIdLbOrbv
    DgwXTrwBZRVMg5YC
    • Release the ZIF connector to which the display cable is attached, and then disconnect the display cable from the system board.

    Here, be sure to include the spudger you’re using.

    Alex Watkins -

  5. BT2iuCq6WgRbXUMf
    BT2iuCq6WgRbXUMf
    1iU1OAh5MLRXTj4P
    • Remove the display from the tablet.

    The second shot here is blurry. Do you have a clearer version?

    Alex Watkins -

  6. TMGoRkK4BqdllUm5
    TMGoRkK4BqdllUm5
    wUEYf3dCC6ZZixFy
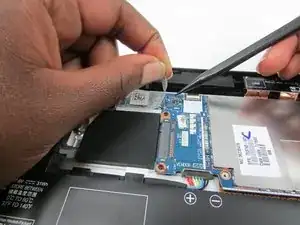
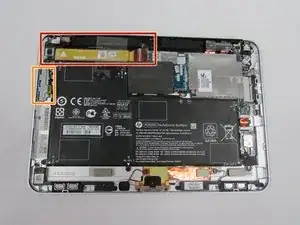
    • Locate the NFC antenna.

    • Release the ZIF connector to which the NFC antenna cable is attached.

    • To disconnect the cable, use the plastic prying tool to gently push on the tab located on the side of the connector.

    The first shot here is blurry and kind of weirdly composed. Can you change it?

    Alex Watkins -

    on my unit, the NFC antenna zif socket is black and the release lever is white.

    Teddy Sam -

  7. A4tkv3YySPwPoJMF
    A4tkv3YySPwPoJMF
    i2bxk3XdLNAcwWfx
    • Detach the NFC antenna from the surface of the system board.

    • The NFC antenna is attached to the system board with double-sided adhesive.

    • Remove the NFC antenna.

    This shot is a bit blurry as well—consider also pulling back a bit.

    Alex Watkins -

    my antenna had thin black foam and was sitting on top of the single sided tape connected to the power button board ribbon cable.

    Teddy Sam -

  8. BfxxUPTSpsWSOmtC
    • Locate the power button board and attached ribbon cable.

    • Locate the volume button board.

  9. PdskrdYkFV6VyTAJ
    PdskrdYkFV6VyTAJ
    io2TEvfEXGW1pRx2
    G4qUJmR5vDDPcIYp
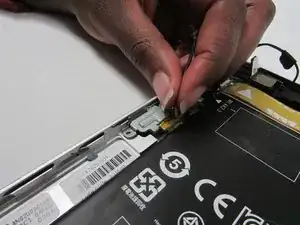
    • Disconnect the volume button board cable from the power button board.

    • Disconnect the left microphone cable from the power button board.

    • For both of these connectors, there's a thin seam in the middle. To disconnect, wedge your tool in between the seam and firmly, but carefully push.

  10. GSuGqCyenIMDAgWC
    GSuGqCyenIMDAgWC
    TKdQTxDE23pbcsfg
    QWWedBXqpnQSNveS
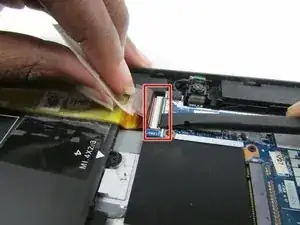
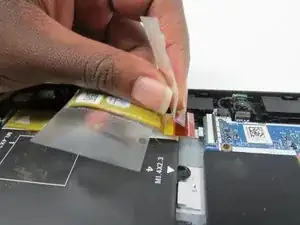
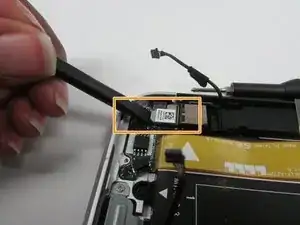
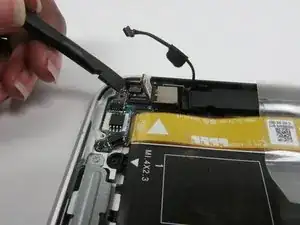
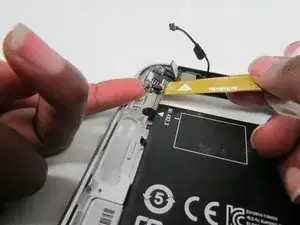
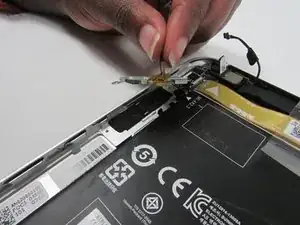
    • Lift the clear tape which is attached to the power button board cable and the motherboard.

    • Release the ZIF connector to which the power button board cable is attached.

    • Detach the power button board cable from the surface of the battery by pulling away from the connector.

    • The power button board cable is attached to the battery with double-sided adhesive.

  11. Rw5aGJYeHLxIknB5
    Rw5aGJYeHLxIknB5
    RyxqI1HeEvljI1vo
    2EuHSqRlrocFtBNd
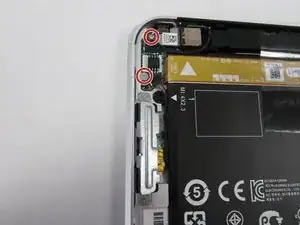
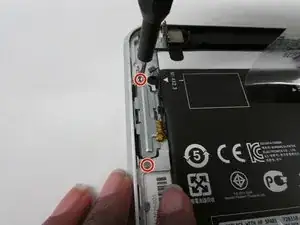
    • Remove the Phillips PM1.3×2.0mm broad head screw and the Phillips PM1.3×2.0mm screw that secure the power button board to the bottom cover.

    • Gently push upwards on the tab

    The red step should be broken in to two steps. For better understanding.

    Meshal Fahad -

    We’re pretty sure this step includes an incorrect picture for this step. Also “Use Spudger…” should be included as it’s shown in photos.

    Zack Colman -

  12. 3GsyowkTWVXkWhFZ
    3GsyowkTWVXkWhFZ
    3meoNOSU2MWupwvb
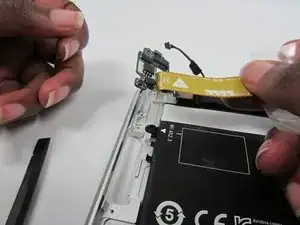
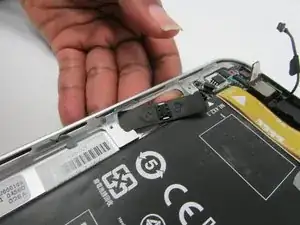
    • Remove the power button board and cable.

  13. KLpC5NoUTeyWkUqm
    • Remove the two Phillips PM1.5×2.0mm screws that secure the volume button board to the bottom cover.

  14. QVyoAHuDLcB3XPCa
    QVyoAHuDLcB3XPCa
    bNro3LBQsAFOAJbI
    J52jTukC4PBuD2qt
    • Remove the volume button board and cable.

Conclusion

To reassemble your device, follow these instructions in reverse order.
Vanessa Onyullo

Member since: 08/07/19

371 Reputation

0 comments