Introduction
If your ElitePad is failing to turn on follow this troubleshooting guide before considering replacing the motherboard.
If your ElitePad’s touch screen is unresponsive follow this troubleshooting guide before considering replacing the motherboard.
Tools
-
-
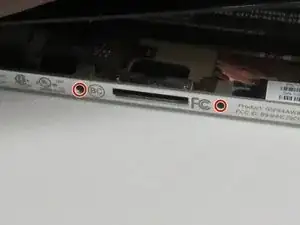
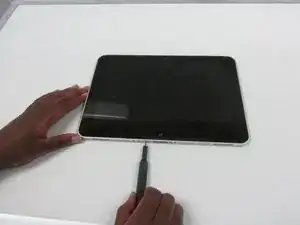
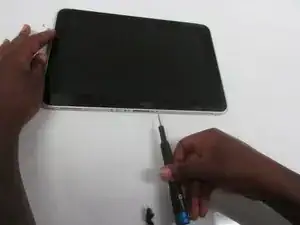
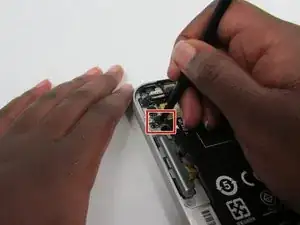
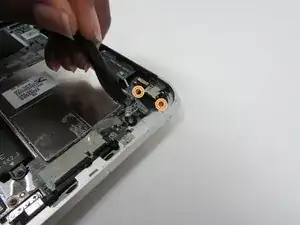
Using a Phillips #00 screwdriver, remove the two Phillips PM 1.4×3.2mm screws located next to the charging port.
-
-
-
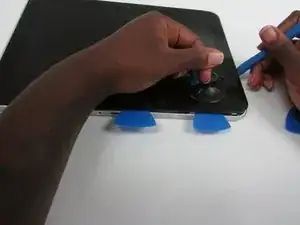
Place the suction cup on the lower right corner of the tablet display glass, making sure to place the suction cup inside the edges of the border of the display glass.
-
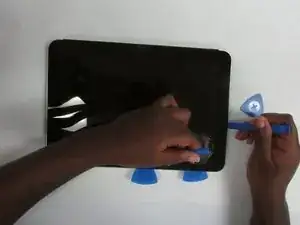
Insert a plastic pick in between the display and the tablet case. Then use a plastic removal tool to separate the display further.
-
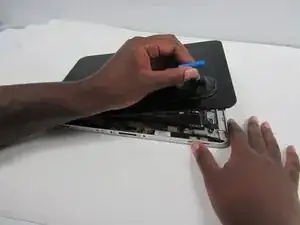
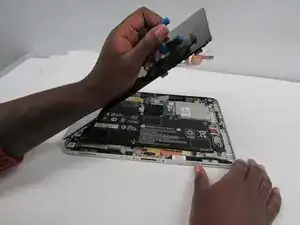
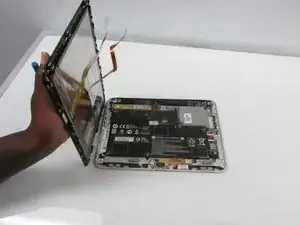
Pull on the suction cup while using the prying tool to separate the display from the tablet.
-
-
-
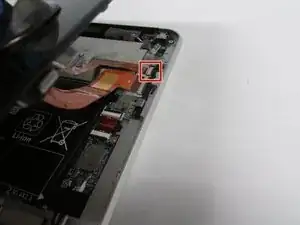
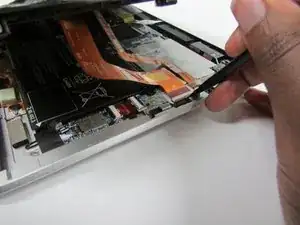
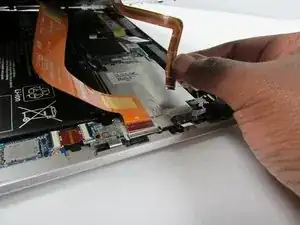
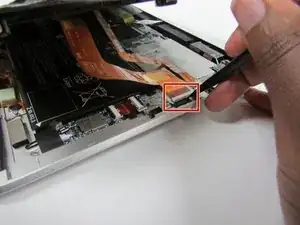
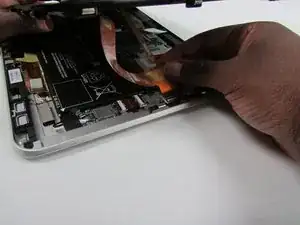
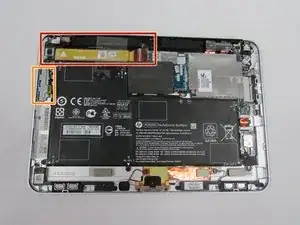
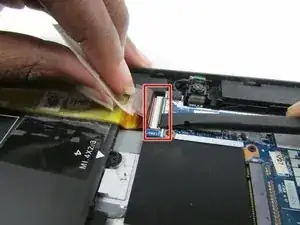
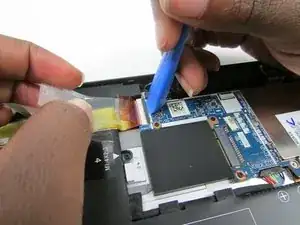
Release the zero insertion force (ZIF) connector to which the TouchScreen cable is attached, and then disconnect the TouchScreen cable from the system board.
-
-
-
Release the ZIF connector to which the display cable is attached, and then disconnect the display cable from the system board.
-
-
-
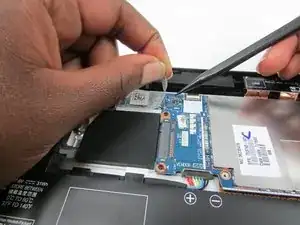
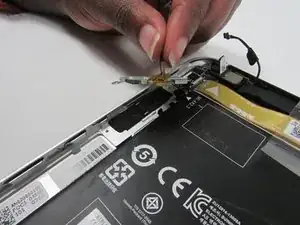
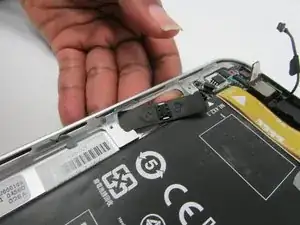
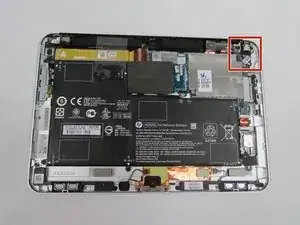
Locate the NFC antenna.
-
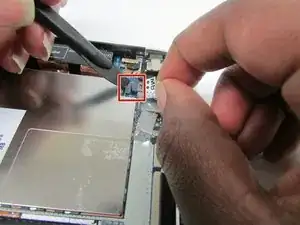
Release the ZIF connector to which the NFC antenna cable is attached.
-
-
-
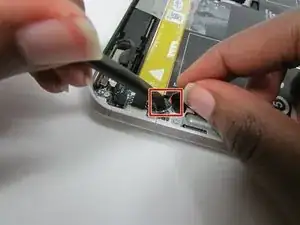
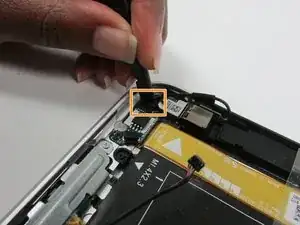
Disconnect the volume button board cable from the power button board.
-
Disconnect the left microphone cable from the power button board.
-
-
-
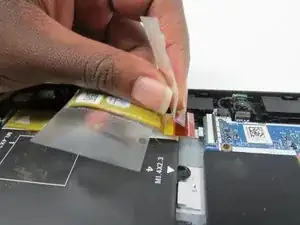
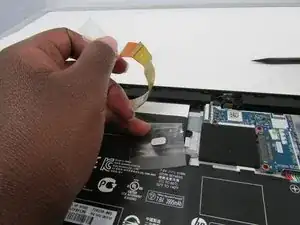
Lift the clear tape which is attached to the power button board cable and the motherboard.
-
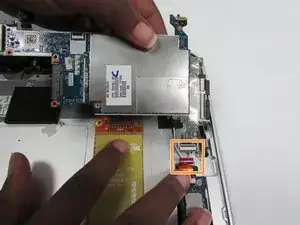
Release the ZIF connector to which the power button board cable is attached.
-
Detach the power button board cable from the surface of the battery by pulling away from the connector.
-
-
-
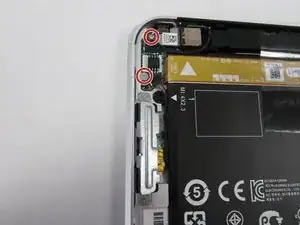
Remove the Phillips PM1.3×2.0mm broad head screw and the Phillips PM1.3×2.0mm screw that secure the power button board to the bottom cover.
-
Gently push upwards on the tab
-
-
-
Remove the two Phillips PM1.5×2.0mm screws that secure the volume button board to the bottom cover.
-
-
-
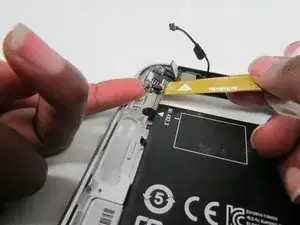
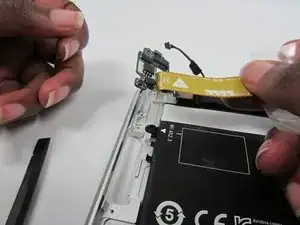
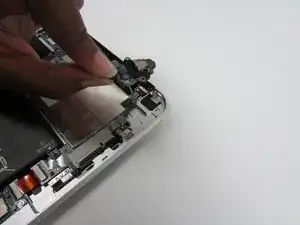
Disconnect audio jack board cable from the motherboard.
-
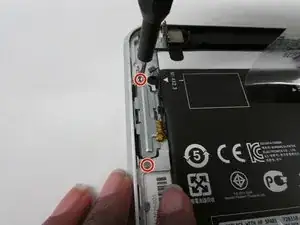
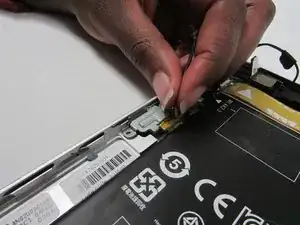
Remove the two Phillips PM 1.3x2.0mm screws that secure the audio jack board from the housing.
-
Remove the audio jack board.
-
-
-
Lift the clear tape attached to the power button board ribbon cable.
-
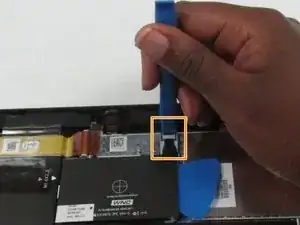
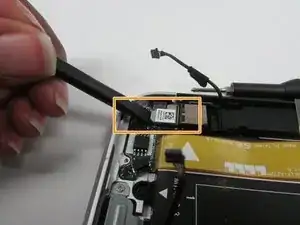
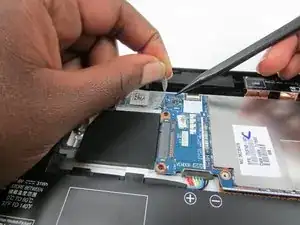
Disconnect the ZIF connector by using a plastic removal tool to gently pull up on the black tab.
-
Lift the power button board ribbon cable up and away so that it doesn't get in the way of the battery during removal.
-
-
-
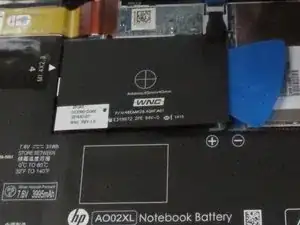
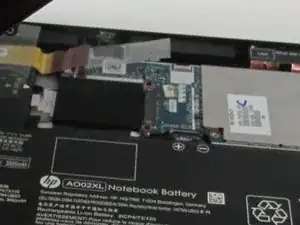
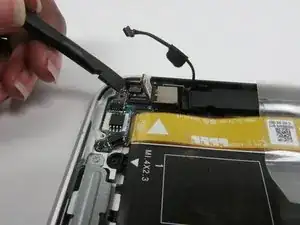
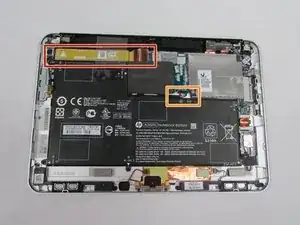
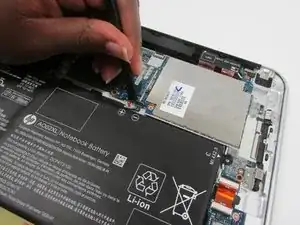
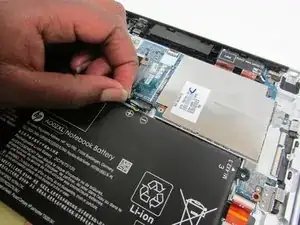
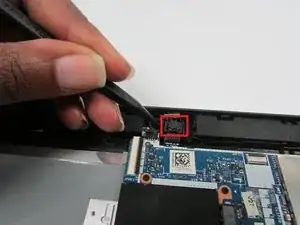
Disconnect the battery to system board connector by pushing gently on it with a plastic pry tool and then pull it away from the system board.
-
-
-
Release the webcam from the housing.
-
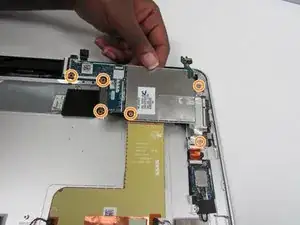
Remove the six Phillips PM 1.3 x 2.0mm screws that secure the board to the bottom cover.
-
-
-
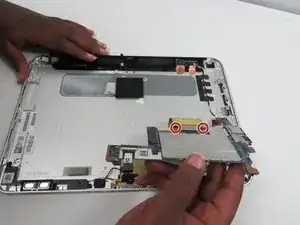
With the backside of the motherboard exposed remove the two Phillips 1.3 mm screws.
-
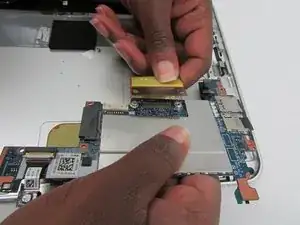
Disconnect the ribbon connector on the back of the board.
-
Remove ribbon connector that connects to the WLAN module.
-
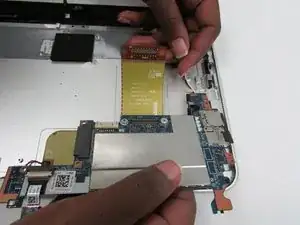
Remove the motherboard.
-
To reassemble your device, follow these instructions in reverse order.
One comment
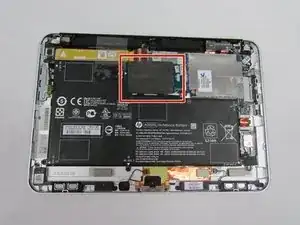
I am looking for the hard drive in the tablet I want upgrade the capacity of the
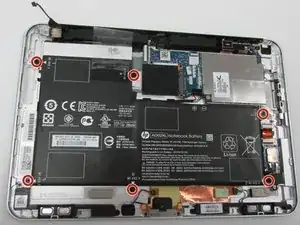
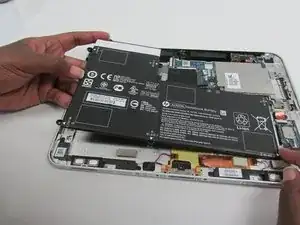
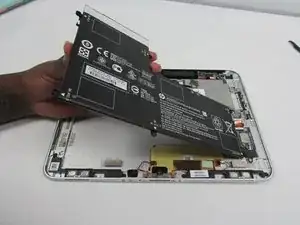
have a safe place to save the 8 tiny screws. the screwdriver will need a thin shaft to get inside the holes.
Teddy Sam -