Introduction
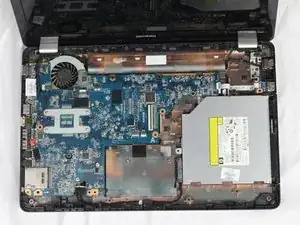
In this guide it will take you through the process of replacing the motherboard. Please make sure the screws from the prerequisite guides are removed.
Tools
-
-
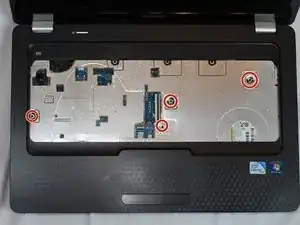
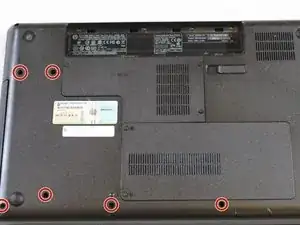
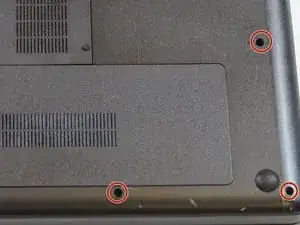
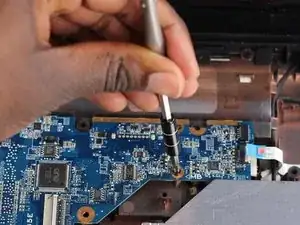
With all the screws removed from the previous guides. Remove the final eight M2.5X5 mm Philips screws on the back of the laptop
-
-
-
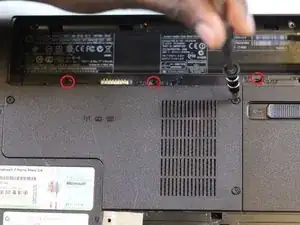
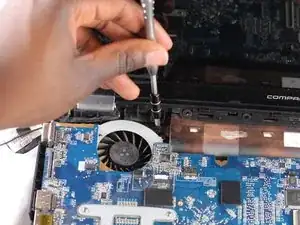
In the battery housing, there are three screws that hold the keyboard on. These screws are located on the side near the front.
-
In the center of the bottom of the computer between the RAM and the wifi antenna is a 4th keyboard screw that also needs to be removed.
-
-
-
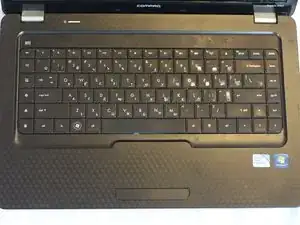
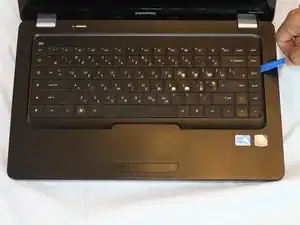
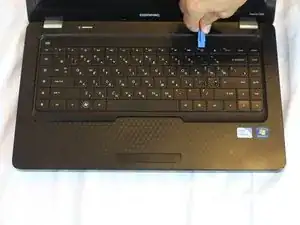
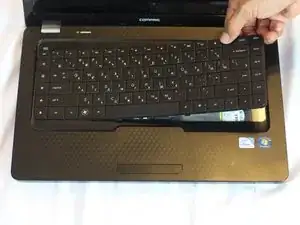
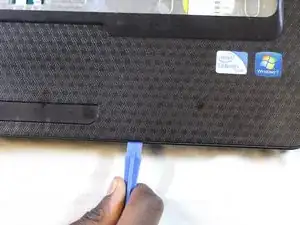
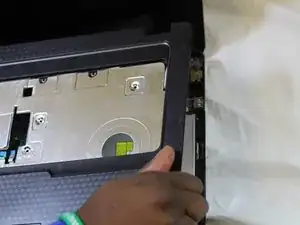
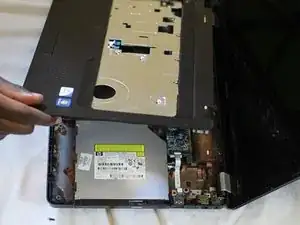
Open up the front of the laptop. Use a plastic opening tool to carefully pry open the keyboard from the edges.
-
-
-
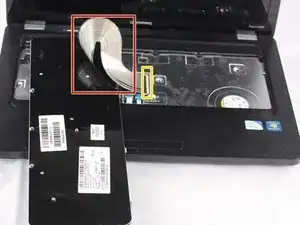
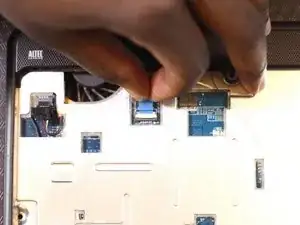
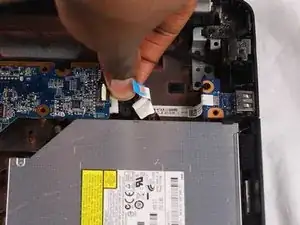
Locate the keyboard cable/wire that attaches the keyboard to the laptop .
-
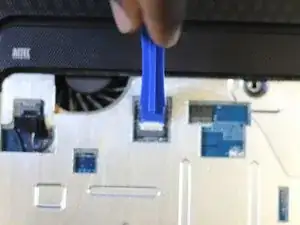
Locate the latch of the wire connector
-
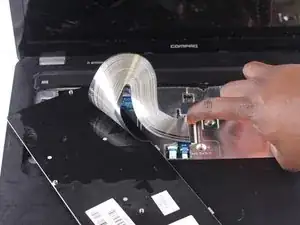
Unlatch the wire connector and gently pull out the wire with your hands
-
-
-
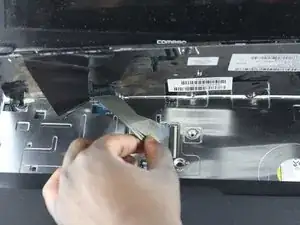
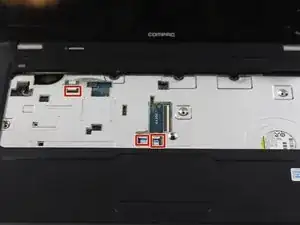
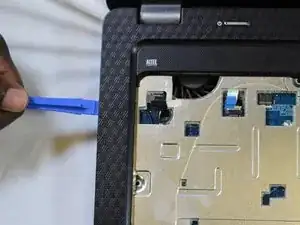
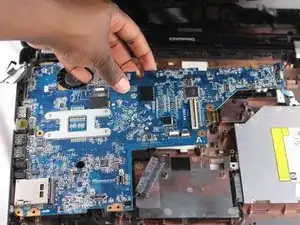
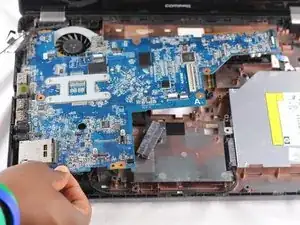
Locate the three tab holding down the cover of the Motherboard.
-
Lift the tabs with using either a plastic opening tool or your fingers.
-
To reassemble your device, follow these instructions in reverse order.
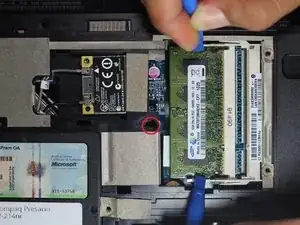
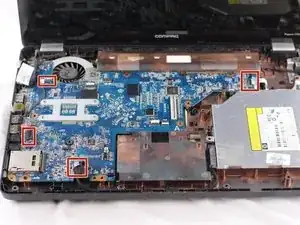
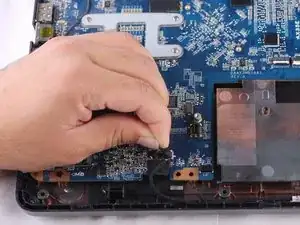
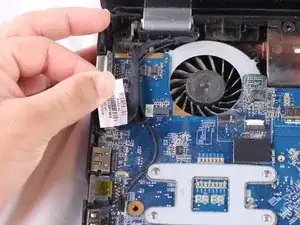
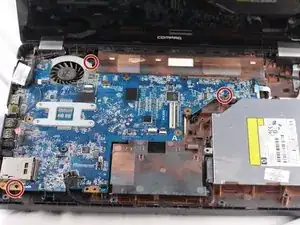
STOP: Insert STEP here: The keyboard screws must be removed before the keyboard can be removed. They are located on the —->front side of the battery housing and between the RAM and wifi antenna housing. This MISSING CRUCIAL STEP almost cost me my laptop.
Brian Fletcher -