Introduction
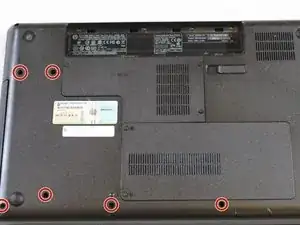
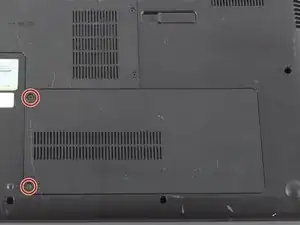
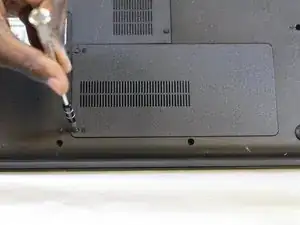
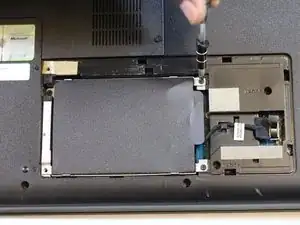
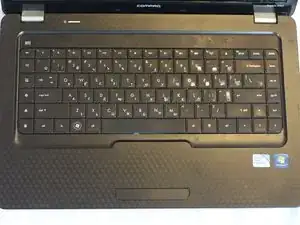
This guide will walk you through the steps on how to remove your keyboard from your laptop. Before starting this guide make sure your laptop is not connected to a power source and your battery is pulled out. The screws from the RAM guide and the Hard drive guide should be removed to access the keyboard.
Tools
-
-
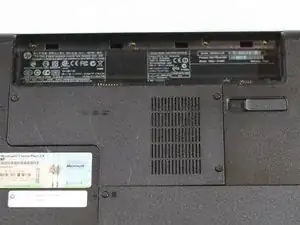
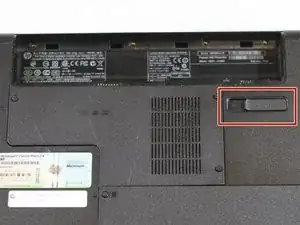
On the underside of the battery, there is lock that keeps the battery in place. Using your finger, slide the battery lock to unlock the battery. When you have unlocked it, just lift the battery to remove it.
-
-
-
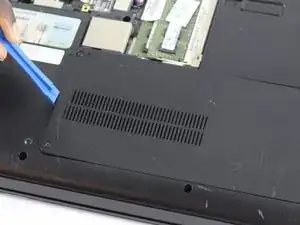
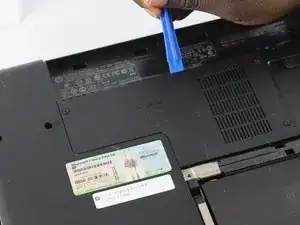
On the same side as the two screws, there should now be an opening to lift off the cover. Using a plastic opening tool, sightly lift the case up to remove it.
-
-
-
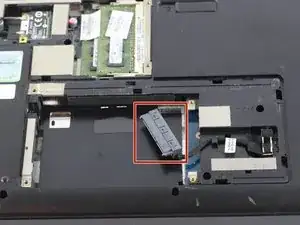
To remove the hard drive, detach it from the the hard drive connector. You can do this by pulling it gently with your hands.
-
-
-
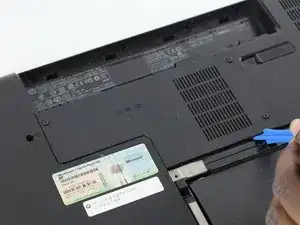
Using a plastic opening tool, insert it alongside any openings on the case. Lift and slide the tool to remove the case.
-
-
-
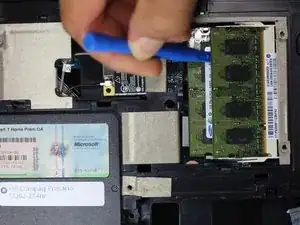
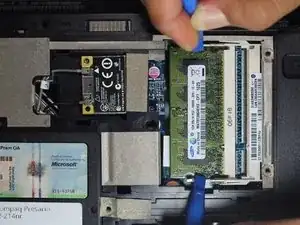
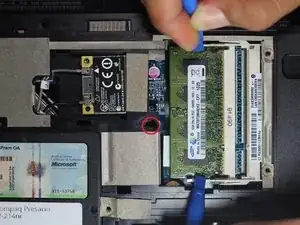
Remove the top RAM chip by lifting up and pulling it towards the left.
-
Once the top RAM chip is removed, remove the one underneath using the same method.
-
-
-
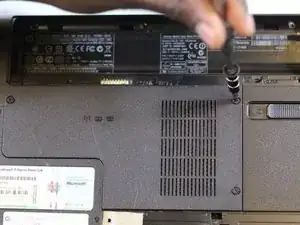
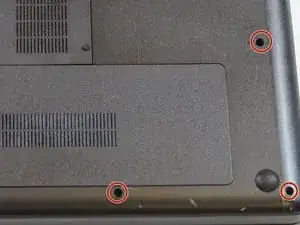
With all the screws removed from the previous guides. Remove the final eight M2.5X5 mm Philips screws on the back of the laptop
-
-
-
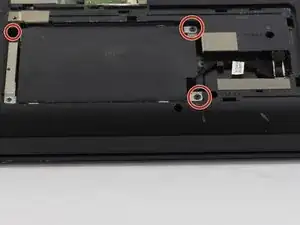
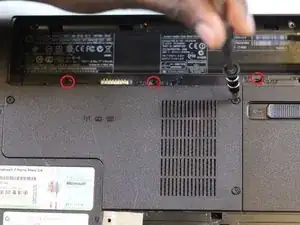
In the battery housing, there are three screws that hold the keyboard on. These screws are located on the side near the front.
-
In the center of the bottom of the computer between the RAM and the wifi antenna is a 4th keyboard screw that also needs to be removed.
-
-
-
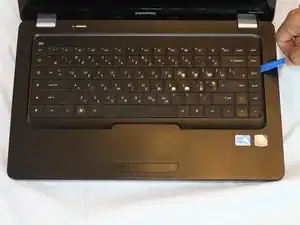
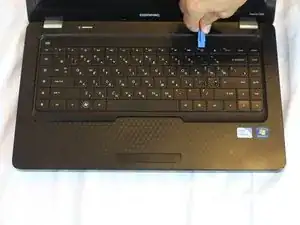
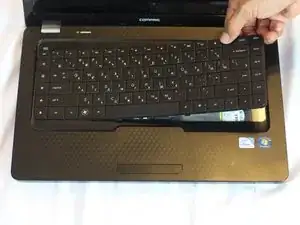
Open up the front of the laptop. Use a plastic opening tool to carefully pry open the keyboard from the edges.
-
-
-
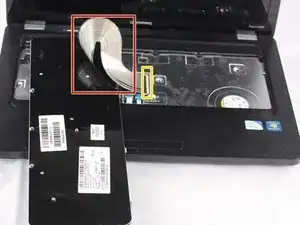
Locate the keyboard cable/wire that attaches the keyboard to the laptop .
-
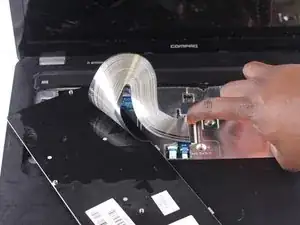
Locate the latch of the wire connector
-
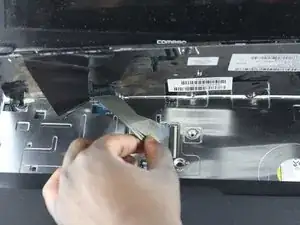
Unlatch the wire connector and gently pull out the wire with your hands
-
To reassemble your device, follow these instructions in reverse order.
