Introduction
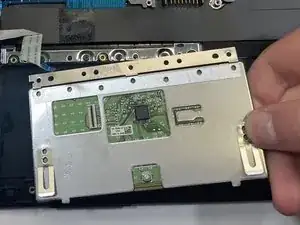
If the touchpad of your HP 14-dq0060nr is not functioning properly, use this guide to replace your touchpad board.
The touchpad board allows the user to easily navigate the user interface by controlling the mouse cursor. A faulty touchpad board may prevent the user from clicking, scrolling, or may be laggy, jumpy and unresponsive.
Before using this replacement guide, make sure that the drivers are updated and try plugging in a USB mouse or using the HP 14-dq0060nr's touchscreen feature to troubleshoot touchpad issues.
Before beginning, make sure to power off your device completely and disconnect from any external power source.
Tools
-
-
Flip the laptop over so the backside is facing up.
-
Use a spudger to remove the grips from the back case to reveal screws underneath.
-
-
-
Use a Phillips #1 screwdriver to remove six 6.0 mm screws and two 4.0 mm Phillips #1 screws.
-
Slide a plastic opening tool underneath the back case near the screen hinges. Gently pry up on either side.
-
-
-
Pull the battery cable away from the connector in the same direction that the individual wires are running.
-
Remove the battery from the laptop frame.
-
-
-
Use the tip of a spudger to lift the bar holding the touchpad cable in place, then disconnect the touchpad cable.
-
-
-
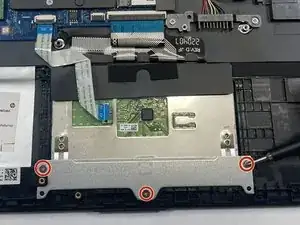
Use a Phillips #1 screwdriver to remove the three 2mm screws holding the touchpad bracket in place.
-
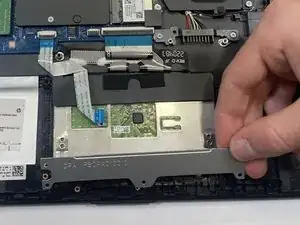
Remove the touchpad bracket.
-
To reassemble your device, follow these instructions in reverse order.


