Introduction

  1. 1oDscAIFGGhE1BLN
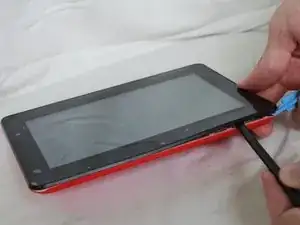
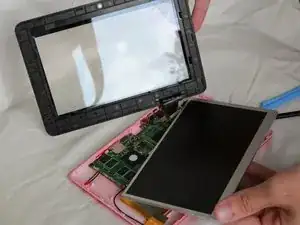
    • Insert the plastic opening tool between the digitizer and the case.

    • Place the spudger in the gap created by the plastic opening tool to assist in separation.

  2. y1ja4YMYPLUwmONF
    y1ja4YMYPLUwmONF
    tbGbZiPvEhJvKfgW
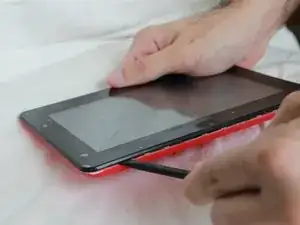
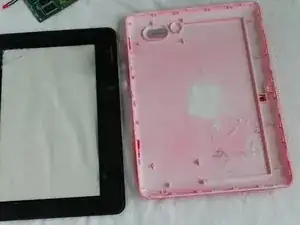
    • Slide the spudger along the perimeter of the device to fully separate the two pieces.

  3. o41O1iZkVrVfGuyf
    o41O1iZkVrVfGuyf
    vDcwq5AEbJITmFAO
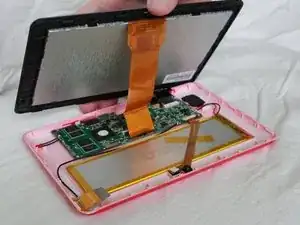
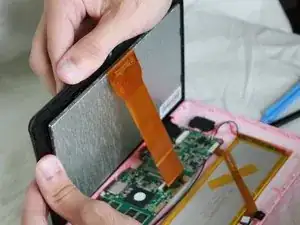
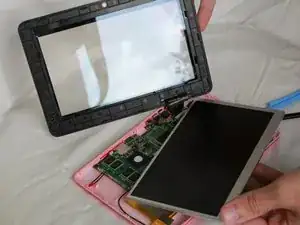
    • Use your fingers to pop the screen out from the digitizer.

  4. EAYPKBKlt6SbXuVH
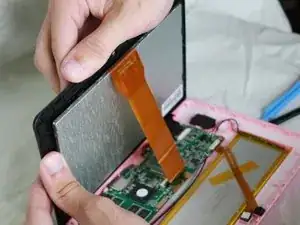
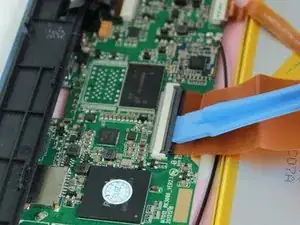
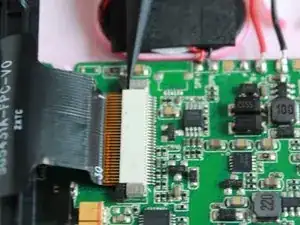
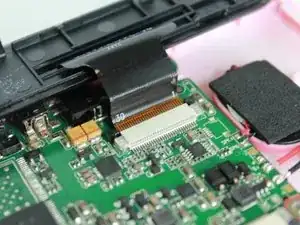
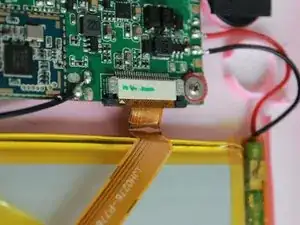
    • With the plastic opening tool, lift the black latch up.

  5. UR52RfaeulbYYRZM
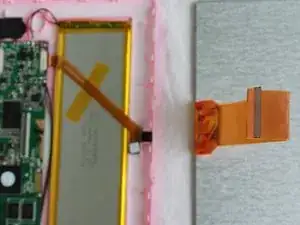
    • Pull the optical cord out from the motherboard.

  6. jarMWiZDMp3TOoAb
    jarMWiZDMp3TOoAb
    ZCu5cYI3GokiW2wg
    • Use your fingers to pop the screen out from the digitizer.

  7. JZxSQ1Ebem24GEeF
    JZxSQ1Ebem24GEeF
    roEBNJeLR5AUROSw
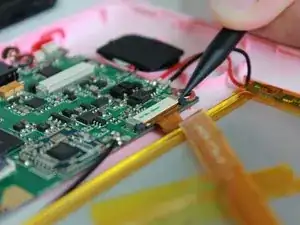
    • Use the tip of the spudger to release the latches on the motherboard.

  8. 5CYsNBnmLF65YcDa
    • Remove the cable from the motherboard.

  9. yJLTrHoPdyEQBatW
    yJLTrHoPdyEQBatW
    IZKukiF2do6STMEQ
    • Use the tip of the spudger to release the latches on the motherboard.

  10. yGNXKZZRJiwJmbKI
    yGNXKZZRJiwJmbKI
    gLQkNAOxBhGaDinJ
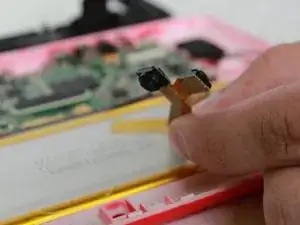
    • Remove the camera from the device.

  11. Sfp1LkgyRVExZ5f5
    Sfp1LkgyRVExZ5f5
    52MR1NuaFEXQMWmJ
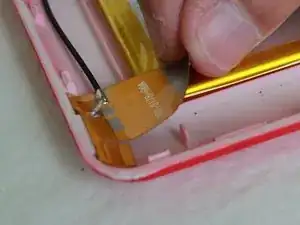
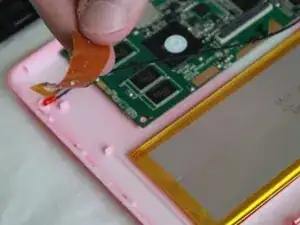
    • Peel off the tape that is attaching the wifi antenna to the case.

  12. 4GeMRCcWOIPrFyFH
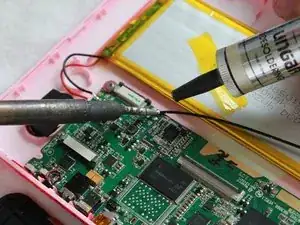
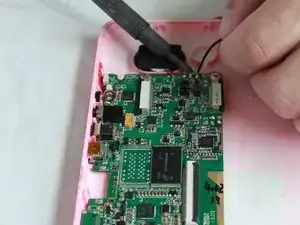
    • Using the soldering iron, heat up the solder that is attaching the antenna to the motheboard.

    • The heat from the soldering iron may cause personal injury or damage the internal components of the tablet.

  13. RrbxPVmtVdyjfMYb
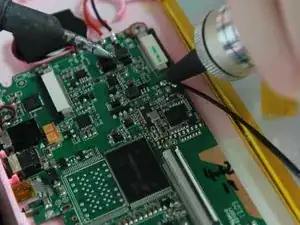
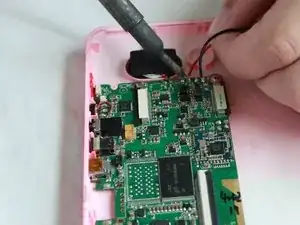
    • Suck up the leftover solder using the desoldering pump.

    • Remove the wifi antenna from the motherboard.

  14. yQjaaiITuL4DbeEE
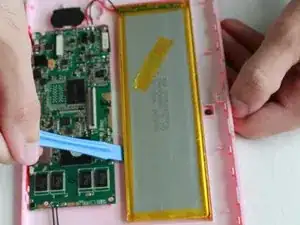
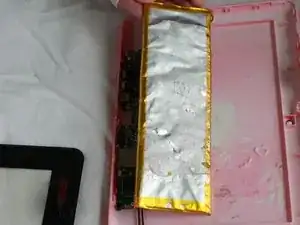
    • Insert the plastic opening tool between the battery and case.

    • Apply leverage to break the glue that is attaching the battery to the case.

  15. RFbthjhMNoBGhDeL
    • Continue breaking the glue along the perimeter of the battery until the battery can be removed.

    • Breaking all the glue between the battery and case may take a long time.

  16. tFA3MTOPU3XiZjHP
    tFA3MTOPU3XiZjHP
    PEWisOXNTPcdVTrc
    • Using the soldering iron, heat up the solder that is attaching the battery to the motheboard.

    • The heat from the soldering iron may cause personal injury or damage the internal components of the tablet.

  17. BT246JdUwYYBotao
    • Suck up the leftover solder using the desoldering pump.

    • Remove the battery from the motherboard.

  18. lPV3nxTPLXL1KOSA
    lPV3nxTPLXL1KOSA
    bedueHeMLfh53bGL
    6p4XrWLQnFgBRfJd
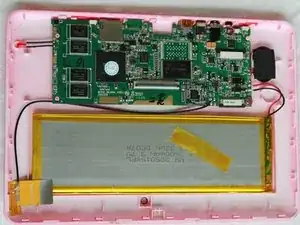
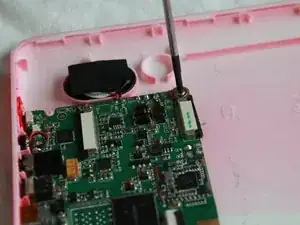
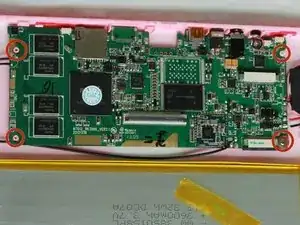
    • Using the screwdriver, remove the four 4mm by 1.5mm screws that are attaching the motherboard to the case.

  19. NdPMVnQBfBYnKTnj
    NdPMVnQBfBYnKTnj
    Qmun4DWv4vUlLgDF
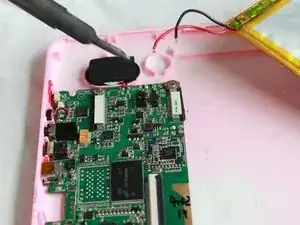
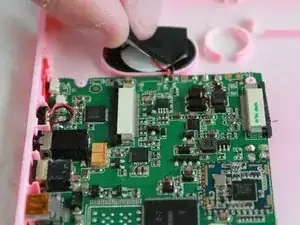
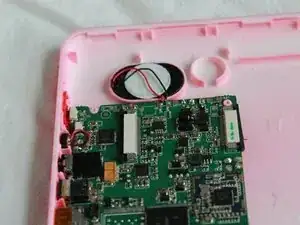
    • Remove the black material that is covering the speaker.

  20. xvAqVTBsqJEBQy3a
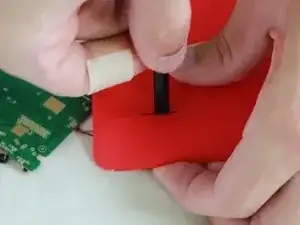
    • Insert the spudger into the speaker slot on the back of the case.

  21. PucuJNKPHh3Yyy1r
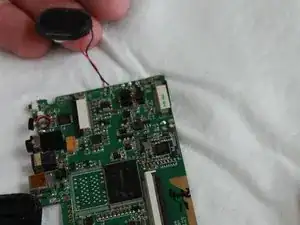
    • Push the speaker out of the case with the spudger.

  22. m1Jc3oDCCtvOF5SK
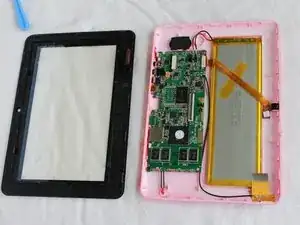
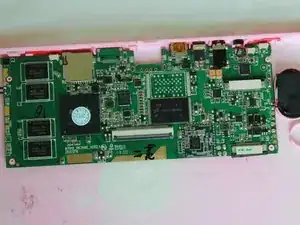
    • Remove the motherboard from the case.

Conclusion

To reassemble your device, follow these instructions in reverse order.
Ryan Gornati

Member since: 22/01/15

409 Reputation

0 comments