Introduction
Tools
-
-
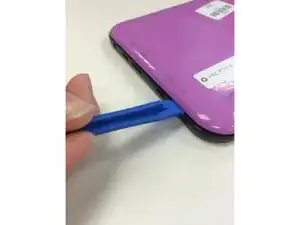
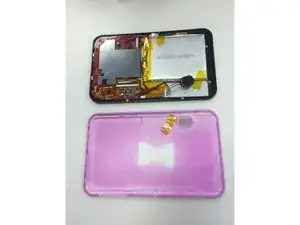
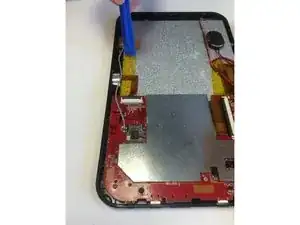
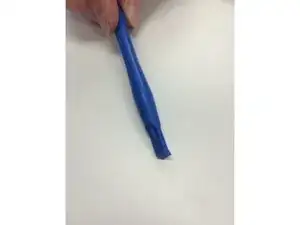
Remove back of tablet using the plastic opening tool
-
Slide the opening tool between the back of the tablet and the digitizer
-
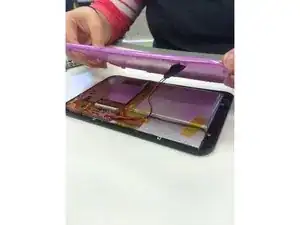
Lift along the edges until the back of the tablet and the digitizer are separated
-
-
-
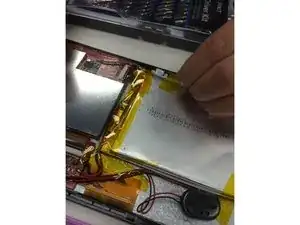
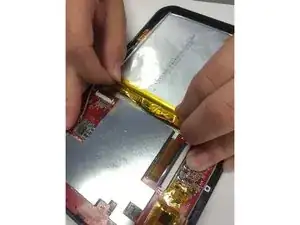
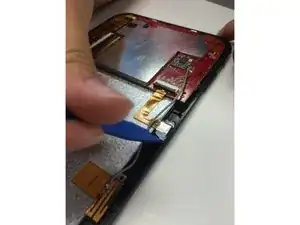
Remove yellow tape around the edges of the battery
-
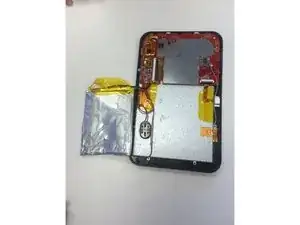
The battery is located on the right side of the tablet when the screen is facing downwards and the camera is on top
-
-
-
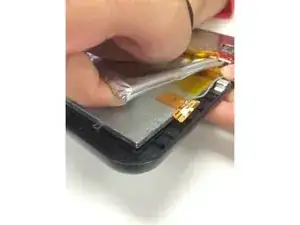
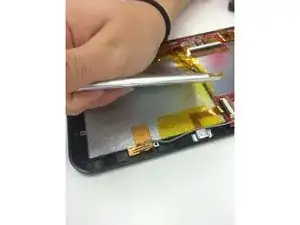
Pry battery away from the back of the tablet until the battery is completely separated from the adhesive
-
-
-
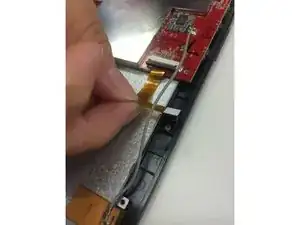
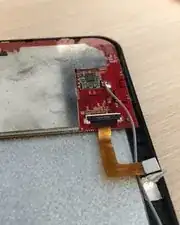
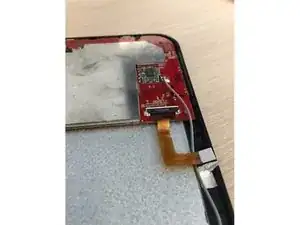
Lift the bronze, L-shaped ribbon
-
The camera is attached to the end of this ribbon so it will move with it
-
-
-
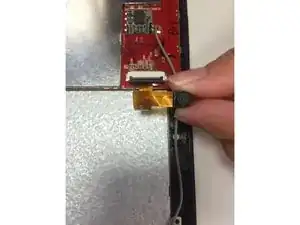
Flip up the black bar located on the motherboard
-
The black bar is to the left of the camera, where the ribbon is attached to the motherboard
-
To reassemble your device, follow these instructions in reverse order.
