Introduction
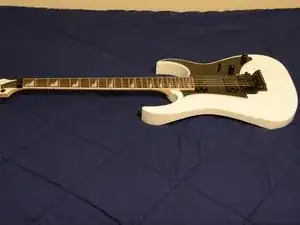
With just a few tools and some time, you can give your guitar the strings it deserves!
Tools
Parts
-
-
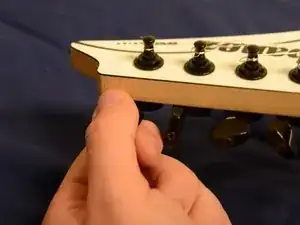
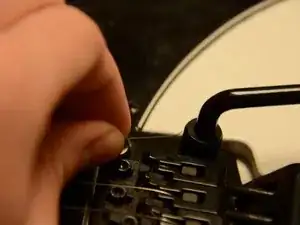
Unlock and remove the string clamps at the head of the guitar by using your allen wrench to unscrew the clamp.
-
-
-
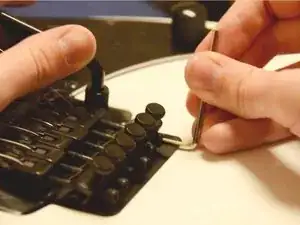
Using your wire cutters, remove the ball end from the string and place that end into the bridge of the guitar.
-
-
-
Using one finger of one hand, press down lightly onto the first fret of the string you are changing. Use the remaining fingers to lift up the string. This will ensure that there is slack on the string to use when winding it later.
-
Wrap the string around the peg clockwise and underneath itself.
-
Fold the string over itself and crease it so it will stay in that position when you wind it.
-
-
-
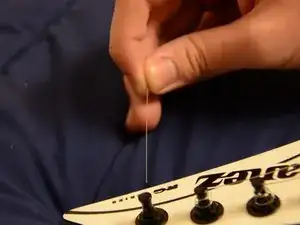
Pull upwards on the string as shown in the picture several times and in several different spots along the neck to stretch the string.
-
-
-
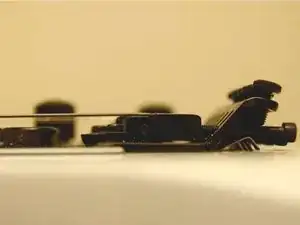
Re-examine the bridge for any changes in bridge balance. If the bridge does not line up with the body of the guitar, move on to the next steps to adjust the tension in the springs on the back of the guitar.
-
-
-
Using your screwdriver, unscrew the 6 1.2 cm Phillips #0 screws that hold on the back plate of the guitar, and remove the back plate.
-
-
-
Adjust the tension in the springs in the back of the guitar by using your Phillips head screwdriver to tighten or loosen the screws pulling on the springs.
-
-
-
Tune your strings once again to see if the adjustment you made to the spring tension was enough to balance the bridge.
-
After balancing the bridge and tuning the strings, simply replace the back plate, lock the string clamps at the head of the guitar, and play to your heart's content!
