Introduction
In this guide we will be showing you how to replace the port assembly in your GoPro Hero4 Silver. This port is used to connect LCD devices, external battery packs, and other accessories. Before you begin make sure the battery is removed from the device and that you have the necessary tools to preform this repair.
Tools
Parts
-
-
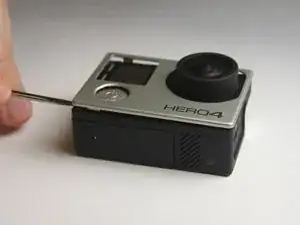
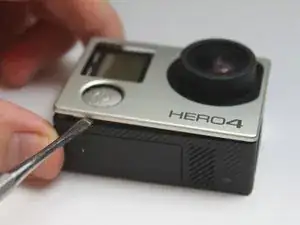
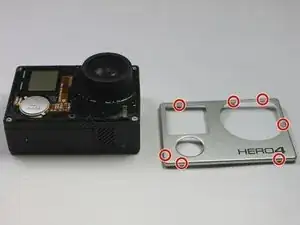
Start by removing the silver plastic face from the camera using a plastic opening tool. Insert the plastic opening tool into the middle of each edge and lift up the tabs that keep the camera face on.
-
The seven plastic tab locations are marked in red.
-
-
-
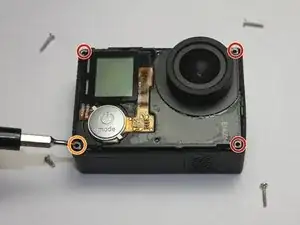
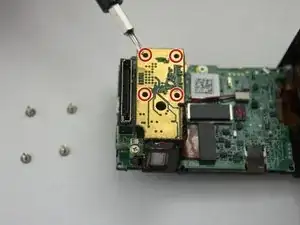
Remove the three 8 mm Phillips #000 screws on each corner of the camera.
-
Remove the single 4 mm Phillips #000 screw on the bottom left corner of the camera.
-
-
-
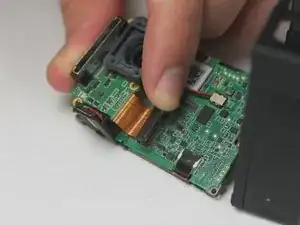
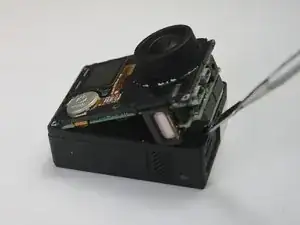
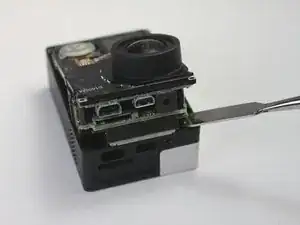
To remove the motherboard assembly from the camera casing, use the plastic opening tool on the lens side of the camera to pry the motherboard assembly out of the camera housing.
-
To avoid breaking the plastic on the lens side of the camera (see photo), pry along the edges near the corners.
-
-
-
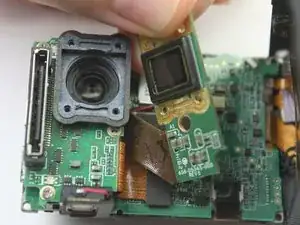
To remove the sensor assembly, simply peel off the lens towards the attached ribbon cable.
-
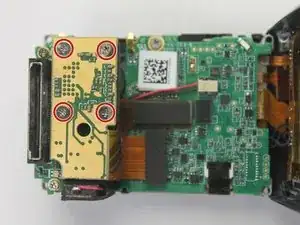
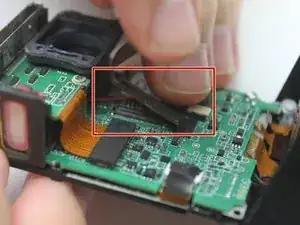
The sensor has ribbon cables running to the motherboard via a black rectangular connector.
-
To remove the sensor, use the spudger to pry up each side, Then, lift the connector straight up from its socket.
-
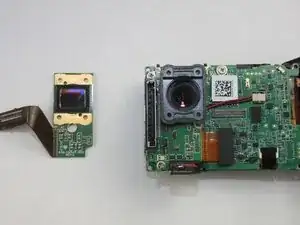
With the old camera sensor assembly removed, you can now replace it with a new sensor.
-
-
-
To remove the free port, simply slide it out from the left side of the camera. It should come out with slight coercion.
-
This piece can be replaced, fixed, or set aside for further tear-down of the GoPro.
-
Pictured left is the port when separated from the motherboard.
-
To reassemble your device, follow these instructions in reverse order.


First step should be make sure you remove memory card first. I accidentally left mine and broke it trying to remove the assembly from the case.
Brad Hodgkinson -