Introduction
Tools
Parts
-
-
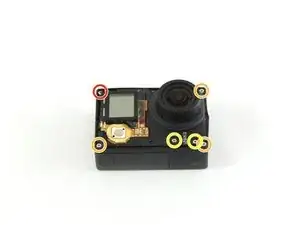
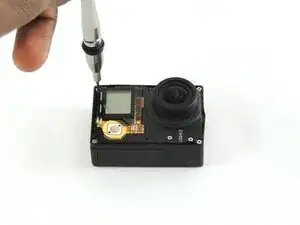
Using a #00 Phillips head screwdriver, remove the following screws:
-
One 4.6 mm screw
-
Three 8.2 mm screws
-
Two 6.1 mm screws
-
-
-
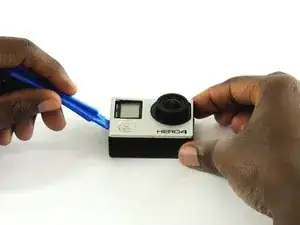
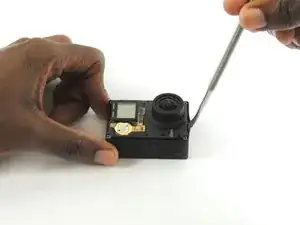
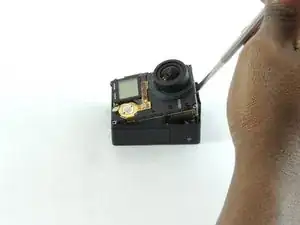
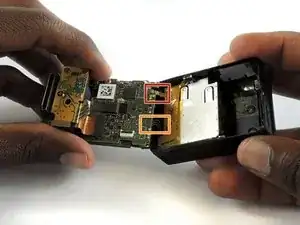
Insert a metal spudger between the back plastic housing and the camera board assembly. Working around the edge to be careful of the inner components, carefully remove the camera.
-
-
-
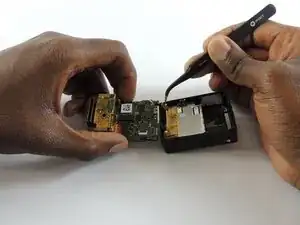
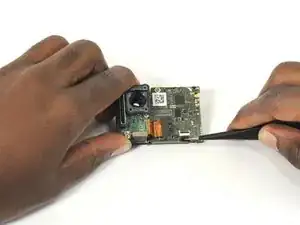
Using tweezers, remove the ribbon strip by pulling on it. This will remove the connection.
-
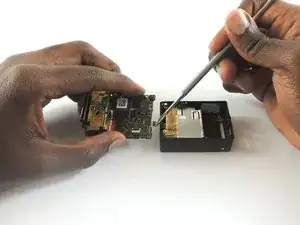
Push down on the three wires with the metal spudger and the clip will disconnect from the motherboard.
-
-
-
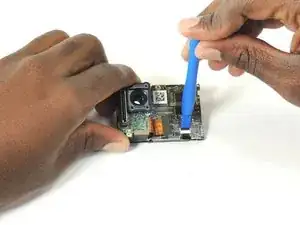
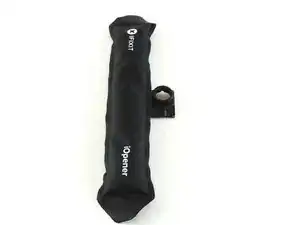
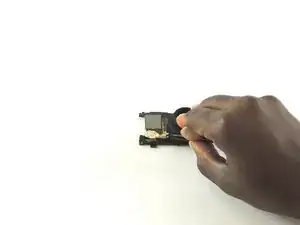
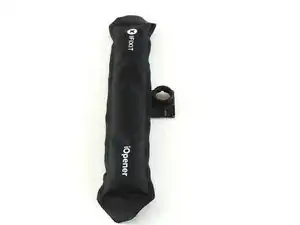
Place the iOpener on the LCD screen cover to release the glue
-
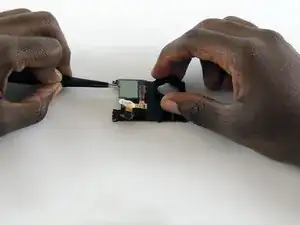
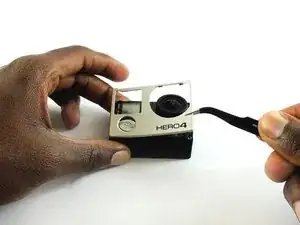
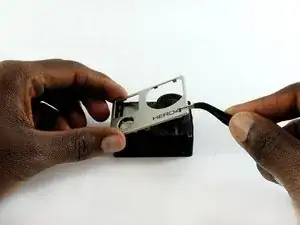
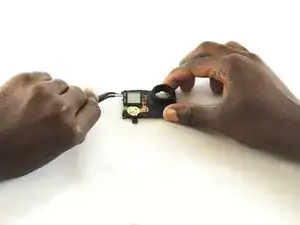
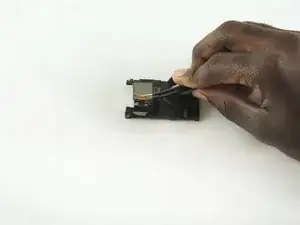
Lift the covering of the LCD screen cover off with a pair of tweezers
-
-
-
Use a pair of tweezers to lift the ribbon through the opening and lift all the way up to the LCD screen
-
-
-
Place the iOpener on the LCD screen to remove the glue
-
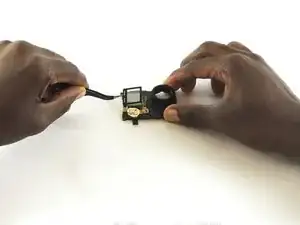
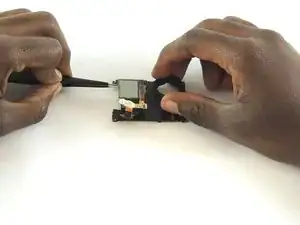
Use a pair of tweezers to left the LCD screen off the device
-
To reassemble your device, follow these instructions in reverse order.
4 comments
Bonjour , est ce que je peux installer un écran LCD sur une hero 4 silver ( sans écran LCD d'origine ) . Je dispose d'une hero 4 black LCD HS . Merci de vos réponses. Sébastien
Coolsaet -
No, ce n'est malheureusement pas possible.
You got the screw locations on the front wrong. Bottom left is the shortest screw, where the battery compartment is. If you try putting one of the longer screws through their it'll bust into the battery compartment. Ask me how I know. And that's the one reason why I came to this, the one thing I couldn't remember.
My GoPro Hero4 Black Button Won't Click After Screen Replacement
I did the GoPro Hero4 Black LCD Screen Replacement. The problem is, I don't get the button to click with the Midframe Housing on. Pressing the naked button works, but the mode plastic button doesn't work when placed above it, there is no clicking sound and no function.
Should I put a placeholder somewhere?
What could be the solution?
