Introduction

You've had a terrible accident and realized that your GoPro has a crack right through the center of the lens! Use our guide to resurrect you GoPro back to life!

  1. Kuf3XZUxAnXEhiQY
    Kuf3XZUxAnXEhiQY
    HmhuPUcyqymaOvnH
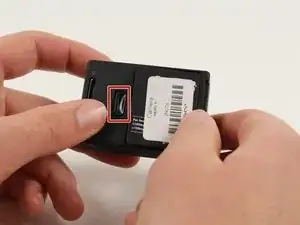
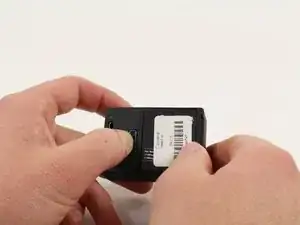
    • Push the tab on the back of the device left to remove the plate covering the battery.

  2. nCvCa1KTBccODJEj
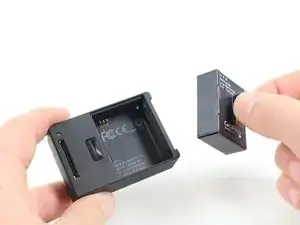
    • Use the strip of tape on the battery to remove the battery from the housing.

  3. i2omQKno2BjLCVpX
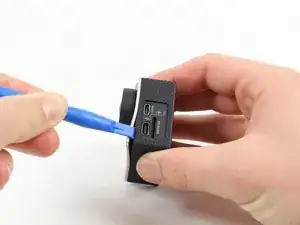
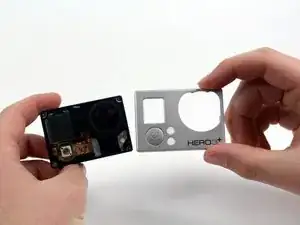
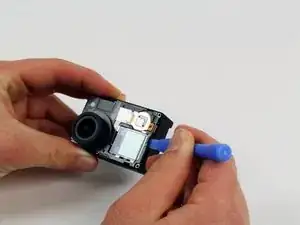
    • Insert a plastic opening tool in between the front face plate and the black housing.

    • Make sure you insert the plastic opening tool next to the microSD card slot. There is a small gap that will help separate the face plate.

  4. ATG2vRDwKQMFMqTO
    • Continue to use the plastic opening tool and separate the front face plate from the rest of the device.

    • There is adhesive that helps attach the front face plate. Some extra prying may be required to separate the face plate, but do not use excessive force.

  5. aCqbHMTFlisHi2rt
    aCqbHMTFlisHi2rt
    R4uL16rCWucEODMH
    mHJDWqbwc512aoeS
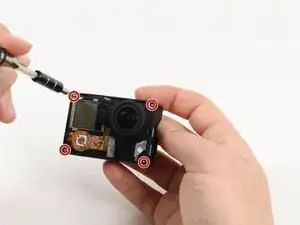
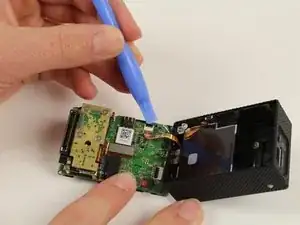
    • Locate the four 8.1mm PH00 screws on the corners of the GoPro and unscrew them using the phillips screwdriver.

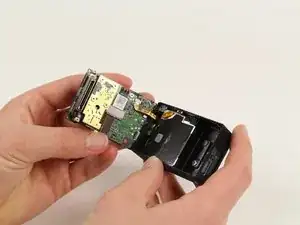
    • Gently remove the motherboard by using a plastic opening tool to pry it out of the housing.

    • Be careful not to damage the ribbon cable connected to the GoPro housing and motherboard.

    Is this the power cable?

    David -

  6. pRYnlO4VhHehTGFr
    pRYnlO4VhHehTGFr
    YNi6MUpcGcCASKWL
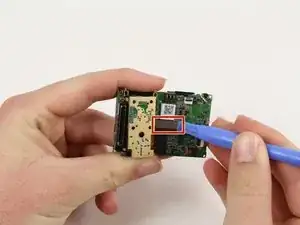
    • Remove the ribbon cable by carefully flipping the black clip up with the plastic opening tool and pulling the cable out.

  7. QZ42OkEFuCBEtcSg
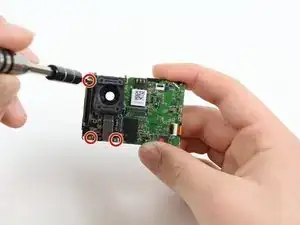
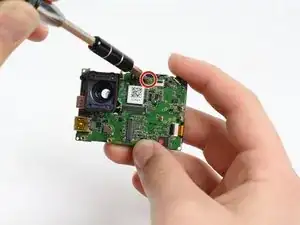
    • Remove the four 4mm PH00 screws attaching the image sensor to the motherboard with your screwdriver.

  8. w1wSLn3if2i2eGRg
    w1wSLn3if2i2eGRg
    sXYeP66I5CK4lMOi
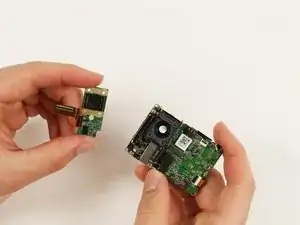
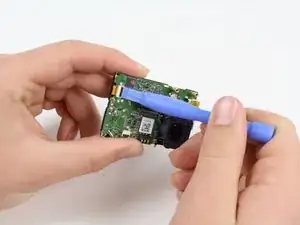
    • Pry off the last ribbon cable with a plastic opening tool.

    • Remove the image sensor from the motherboard.

  9. UvpuIFSrUgJSkYXs
    • Using your screwdriver, unscrew three 4mm PH00 screws that will free the metal plate.

    • A small plate will become separated when the rightmost screw is removed. Just place it to the side.

  10. l3v6gJag6kAJbYBA
    l3v6gJag6kAJbYBA
    sTXUfomxGWhfS5RH
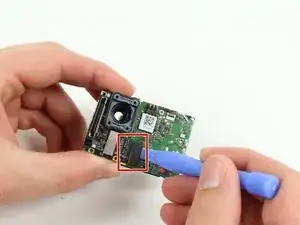
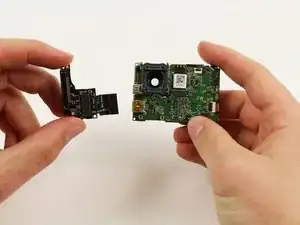
    • Use the plastic opening tool to pry off the referenced ribbon cable from the motherboard.

    • The microSD and Accessory Board is now ready for removal.

  11. VjaFAqy4NcioQS51
    • Remove the single 3.2mm PH00 screw with your screwdriver to detach the motherboard from the mid frame.

  12. OXtLDmejrBsEhytm
    OXtLDmejrBsEhytm
    MsF1QUm2dmQnrTLF
    KqyxEMSuq2b24kwZ
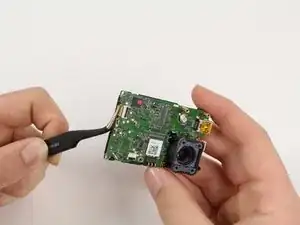
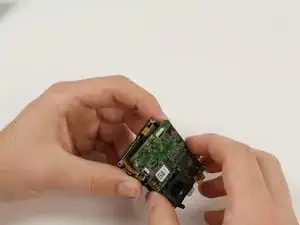
    • Use a plastic opening tool to gently separate the LCD ribbon cable from the motherboard.

    • Gently remove the motherboard from the midframe using tweezers.

    • Remove motherboard by lifting from the edges. This will reduce the chance of damaging components on the motherboard.

  13. SRNqVWUKTkCtxDFQ
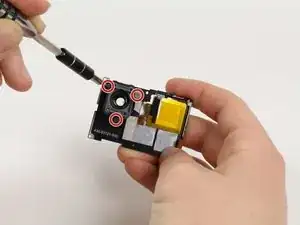
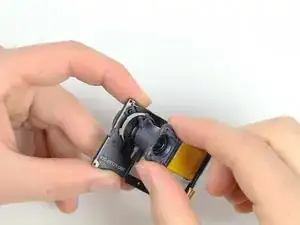
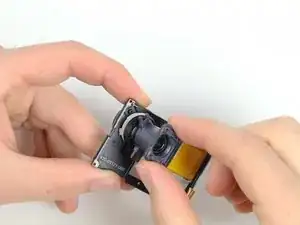
    • Use your PH00 screwdriver to remove the last three screws from the mid frame. This will release the lens housing from the mid frame.

  14. DZislmdhZeZZ6Eny
    • Carefully remove the lens from the font housing.

Conclusion

To reassemble your device, follow these instructions in reverse order.
Patrick Cook

Member since: 01/10/15

687 Reputation

0 comments