Introduction
This guide will help you replace the hard drive in a gigabyte laptop if the main hard drive has failed or you are looking to upgrade it. If you have your original install disk, or a disk imaging software, you can use this to place windows back on the new hard drive. If not, you will need to purchase a new copy of windows to place on the replaced hard drive.
Tools
-
-
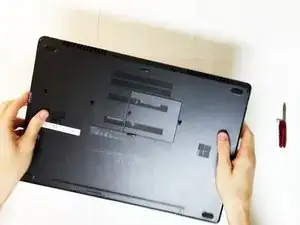
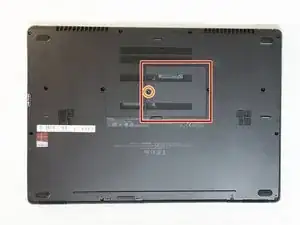
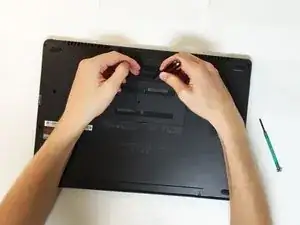
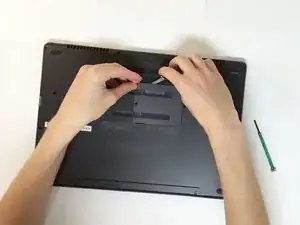
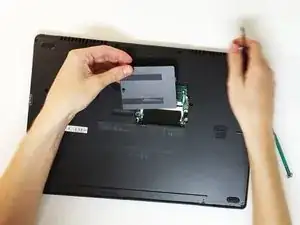
Locate the small plastic back plate.
-
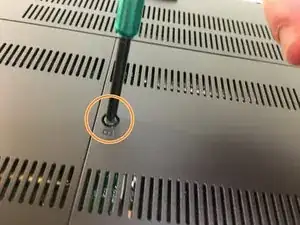
Remove the small 4.0mm screw holding the small plastic back plate in place.
-
-
-
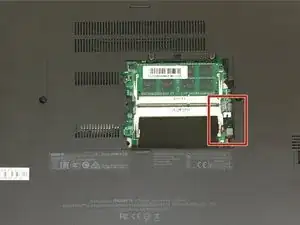
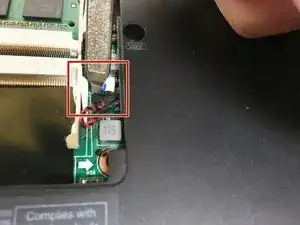
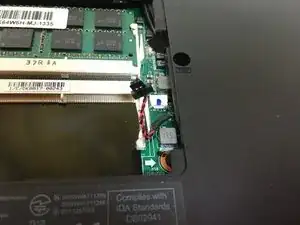
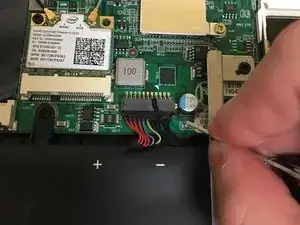
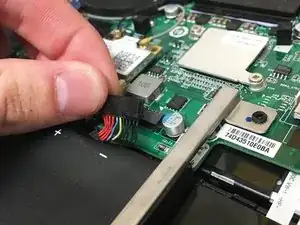
Disconnect the small red and black cord connecting motherboard to the case using a small flathead screwdriver.
-
-
-
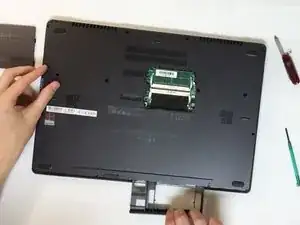
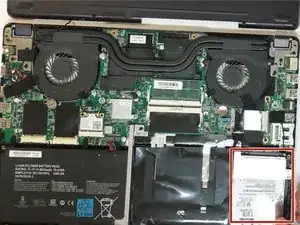
Remove the removable drive bay or CD drive, whichever one is currently present in the laptop.
-
-
-
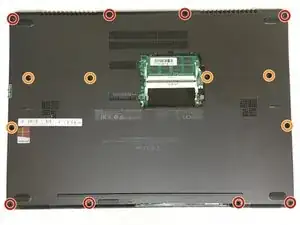
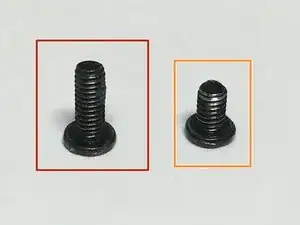
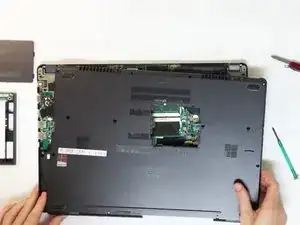
Remove the 8 longer 7.0mm screws from the top and bottom of the laptop.
-
Remove the 6 shorter 5.0mm screws from the middle of the laptop.
-
-
-
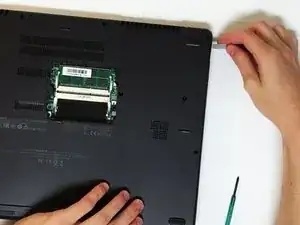
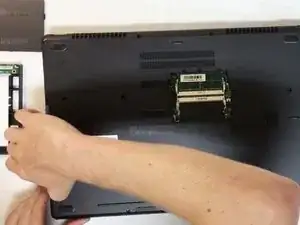
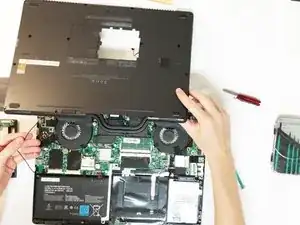
Beginning from the hole created by removing the drive bay in step 6 and moving in a counterclockwise direction, begin separating the base by gently prying between the seam separating the base from the mother board, using either your fingernail or a small flathead tool.
-
-
-
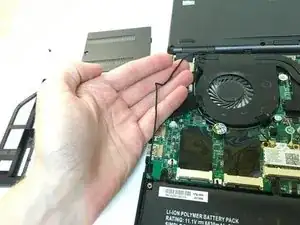
Carefully place base plate aside, ensuring not to disconnect the wire which runs from the motherboard to the baseplate.
-
-
-
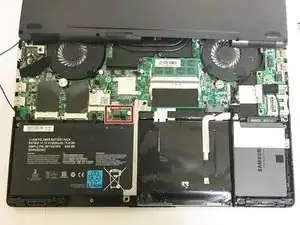
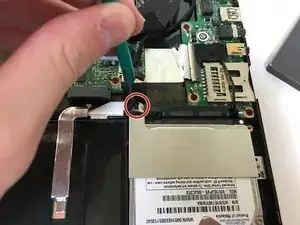
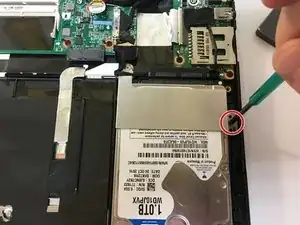
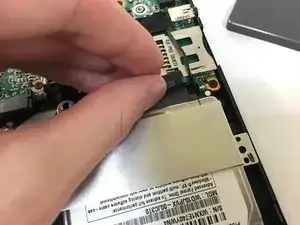
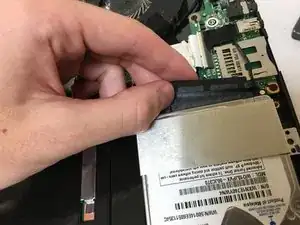
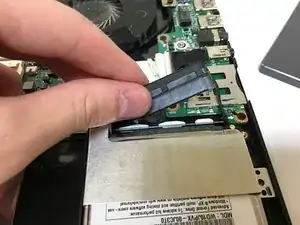
Remove the SATA connector by gently prying the far right, and then the far left of the connector until it slides out of the hard drive.
-
-
-
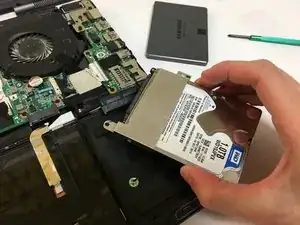
Remove the hard drive from the laptop by picking it up.
-
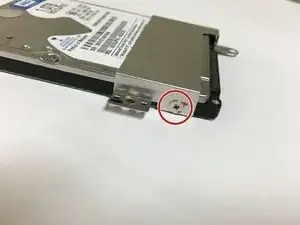
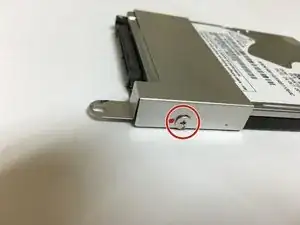
Un-screw the metal holder by removing two more screws, one on either side of the hard drive.
-
-
-
If replacing with an identical hard drive, repeat all the steps backwards and if necessary, reinstall windows.
-
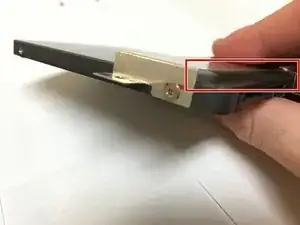
If replacing the hard drive with a solid state drive, there may be a small gap between the metal holder and the top of the SSD, but this is normal.
-
To reassemble your device, follow these instructions in reverse order.


